Copycat Klondike Ice Cream Bars! (Dairy free) Recipe
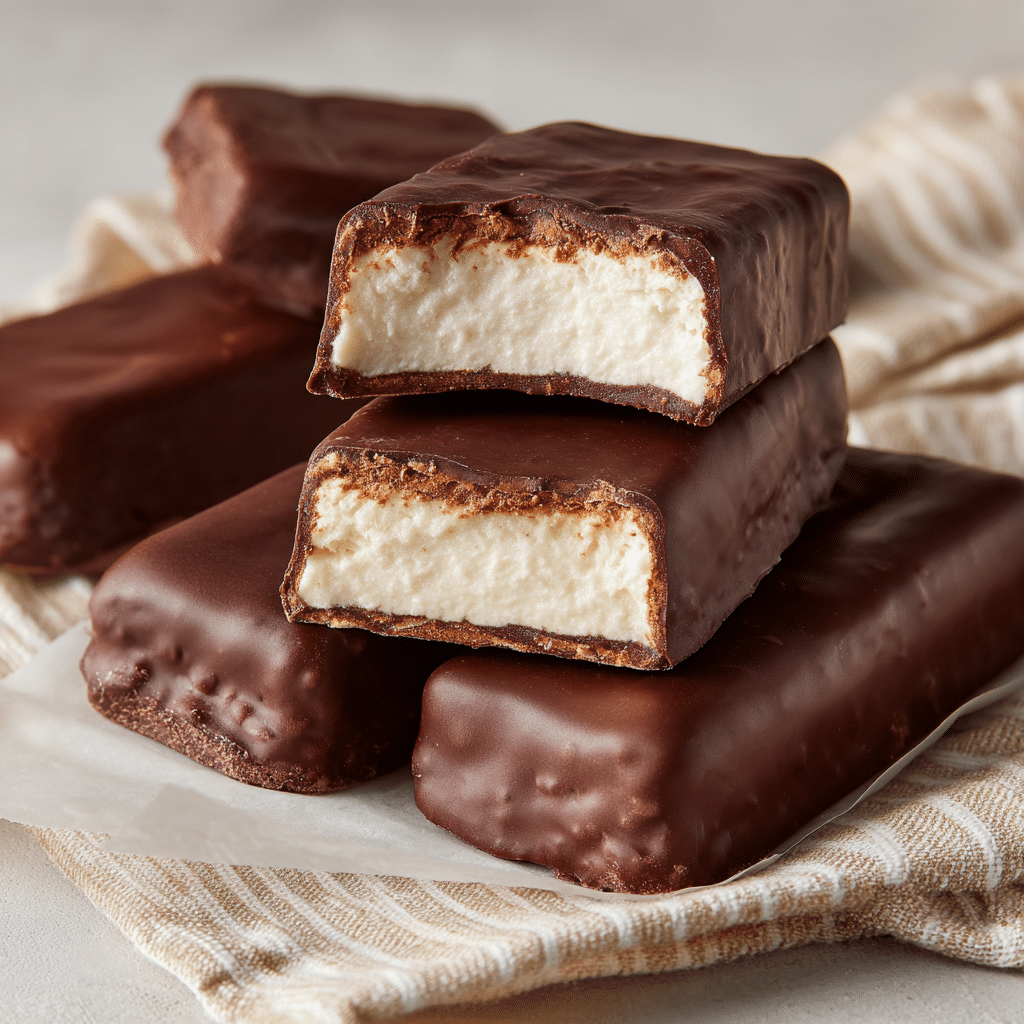
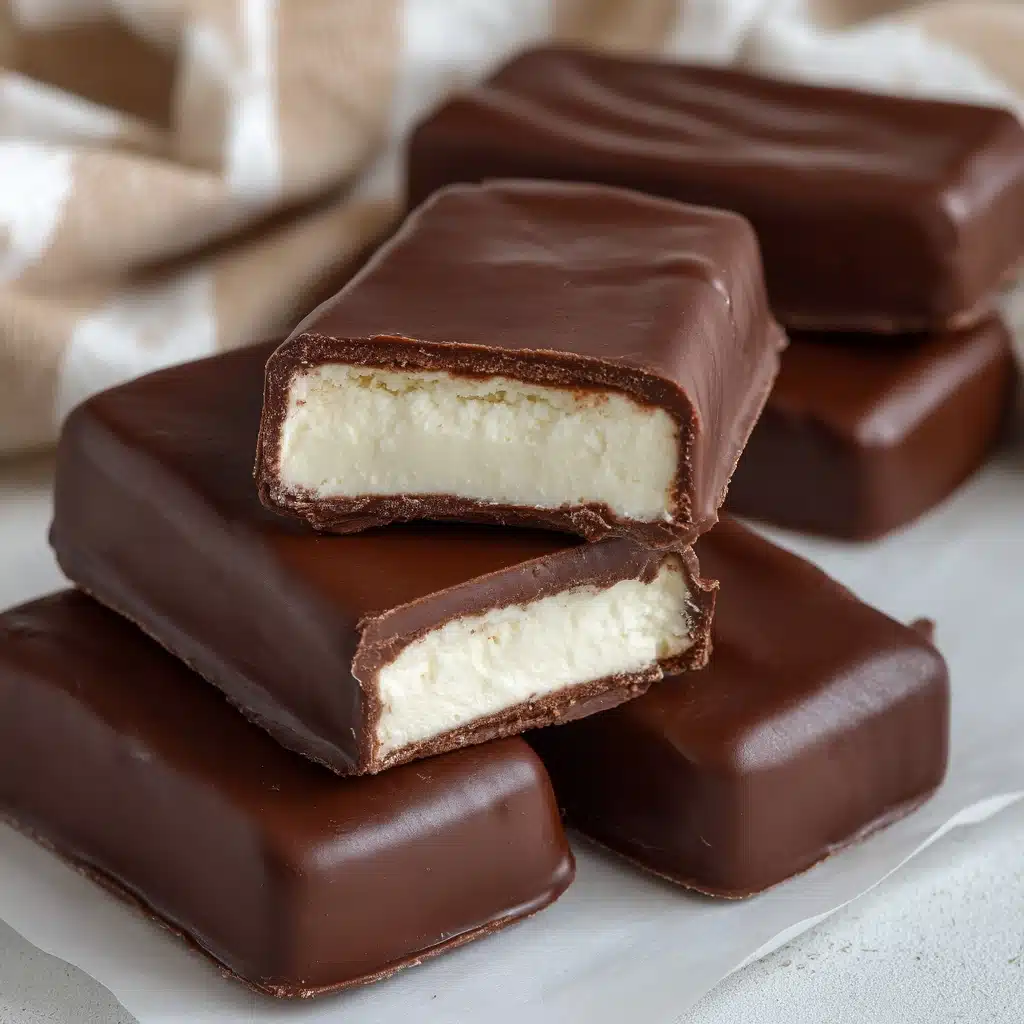
Prepare to indulge in the most nostalgic treat ever, with a twist that makes it just as friendly for dairy-free folks as it is for anyone craving a classic! These Copycat Klondike Ice Cream Bars! (Dairy free) capture everything you loved about the original—creamy center, luscious chocolate shell, and that irresistible “crunch” factor—without a hint of dairy. They’re easy to make and guaranteed to become your new favorite frozen dessert to have stashed away for whenever you need something sweet, cold, and totally satisfying. If you ever doubted whether you could make a true Klondike-style bar at home, let this be the recipe that convinces you.
Ingredients You’ll Need
Ingredients You’ll Need
You won’t believe how a handful of pantry-ready ingredients can combine to deliver the perfect texture, taste, and snap that makes these bars so special. Every item plays an important role in building that dreamy frozen square you won’t be able to put down.
- Coconut Cream: The rich, thick base that makes our ice cream center impossibly creamy and satisfying without any dairy.
- Cashew Butter: Adds a subtle nutty flavor and an extra layer of silkiness for that hallmark ice cream richness.
- Pure Maple Syrup: Sweetens things naturally and keeps the ice cream soft enough to cut, even when frozen.
- Pure Vanilla Extract: Deepens the flavor profile and brings that familiar, old-school ice cream aroma.
- Dark Chocolate Chips: Melts into a glossy, velvety shell that instantly hardens on your frozen bars—ah, nostalgia in every bite!
- Coconut Oil: Ensures your chocolate coating turns perfectly snappy and not overly thick.
- More Pure Maple Syrup: Gives a gentle sweetness to the chocolate shell itself—just the way a real Klondike bar should taste.
- Coconut Flakes (Unsweetened): These bring crunch and whimsy for anyone who loves a little texture in every chocolaty bite.
How to Make Copycat Klondike Ice Cream Bars! (Dairy free)
Step 1: Whip the Creamy Center
Using your trusty hand or stand mixer, beat together the coconut cream, cashew butter, pure maple syrup, and vanilla extract. You want it to become super smooth, fluffy, and a little airy—it should look like the beginning of a decadent mousse. This step sets up that creamy, cloud-like center, so take a moment to admire your work (and maybe sneak a little taste).
Step 2: Pour and Freeze
Line an 8×8 inch baking pan with parchment paper, making sure there’s enough overhanging on the sides to lift the bars out later. Pour your whipped mixture evenly into the pan, smoothing out the top with a spatula. Pop it in the freezer and let it chill for at least 5 hours or, even better, overnight. The wait is the hardest part—but it’s so worth it for the perfect texture!
Step 3: Cut Into Squares
Once your creamy base is set solid, lift it out by the parchment “handles” and place it on a cutting board. Using a sharp knife, slice it into 9 equal squares—this will give you those picture-perfect Copycat Klondike Ice Cream Bars! (Dairy free) that look (and taste) straight out of the wrapper.
Step 4: Melt the Chocolate Shell
Combine the dark chocolate chips and coconut oil in a microwave-safe bowl or over a gentle double boiler. Melt them together, stirring frequently, until glossy and luxuriously smooth. Now, drizzle in that extra tablespoon of maple syrup. This seemingly small step gives your chocolate a beautiful shine and the perfect snap when you bite in.
Step 5: Dip and Set the Bars
Here comes the magic moment! Using a fork, dip each frozen ice cream square into the molten chocolate. Allow any excess chocolate to drip off, then gently transfer each bar onto a parchment-lined baking sheet. If you’re feeling fancy and love a bit of crunch, toss some lightly crushed coconut flakes into your chocolate before dipping for that irresistible textured coating.
Step 6: Final Freeze
Quickly return your dipped Copycat Klondike Ice Cream Bars! (Dairy free) to the freezer—about 10 minutes is all it takes for the chocolate to harden and become that signature crisp shell you remember. Once set, you’re officially in business!
Step 7: Enjoy!
Now, the best part—take a big bite and revel in your homemade triumph! These will taste amazing straight from the freezer, especially on a hot day or whenever you need a little pick-me-up.
How to Serve Copycat Klondike Ice Cream Bars! (Dairy free)
Garnishes
Dress up your Copycat Klondike Ice Cream Bars! (Dairy free) by sprinkling a little flaky sea salt, extra toasted coconut, or some allergy-friendly mini chocolate chips right after you dip them in chocolate. These little touches can really make each bar a tiny work of art!
Side Dishes
If you’re serving these at a party or family gathering, they pair perfectly with bowls of fresh berries or a tangy fruit salad. The bright flavors and cool fruit provide a delightful contrast to the creamy, rich bars and make dessert feel positively celebratory.
Creative Ways to Present
Go all out by serving your bars on a platter packed with ice, like an old-fashioned ice cream social. Or thread them onto popsicle sticks before dipping for easy, mess-free fun—kids (and adults!) absolutely love this. You can even wrap each one individually in wax paper and tie it with baker’s twine for retro-inspired snack vibes.
Make Ahead and Storage
Storing Leftovers
Keep any leftover Copycat Klondike Ice Cream Bars! (Dairy free) tightly sealed in a freezer-safe container, with parchment or wax paper between each bar to prevent sticking. They’ll stay just as delectable for up to two weeks—if they last that long!
Freezing
For best results, always store these bars in the coldest part of your freezer. If you want to prep a bigger batch, you can double the recipe and freeze the extras. They’re a total lifesaver when you need dessert at a moment’s notice.
Reheating
No need to reheat—just let your bars sit at room temperature for about five minutes to soften slightly before serving. This brings out the creaminess and makes every bite extra luscious.
FAQs
Can I use another nut butter instead of cashew butter?
Absolutely! Almond butter or sunflower seed butter both work beautifully, though each will give a slightly different flavor twist. Cashew butter just keeps the filling extra neutral and creamy, but go ahead and personalize as you see fit.
Do I have to use dark chocolate chips for the shell?
Nope! If you prefer milk or semi-sweet chocolate, use any dairy-free chips you love. Dark chocolate just provides that classic, slightly bitter edge to balance the sweet, creamy center.
How can I make these bars extra crunchy?
Easy—simply toss some coconut flakes (the big, shattery kind work best) or even a handful of your favorite gluten-free crispy cereal into the melted chocolate before dipping. It’s a seriously fun way to add texture and amp up the nostalgia.
Is there a substitute for coconut cream?
If you can’t tolerate coconut, try full-fat canned oat milk or chilled, thick cashew milk instead. Just make sure it’s quite rich so you still get that classic creamy consistency for your Copycat Klondike Ice Cream Bars! (Dairy free).
Why do I need coconut oil in the chocolate coating?
Coconut oil lowers the melting point of the chocolate, which means your coating turns crisp and crackly as soon as it hits the cold bar. Skipping it can make the shell thick and a bit too chewy!
Final Thoughts
Once you take that first bite, you’ll see exactly why these Copycat Klondike Ice Cream Bars! (Dairy free) are always a hit in my kitchen. They’re nostalgic, customizable, and totally irresistible—plus, you can feel good knowing exactly what’s in every delicious square. Give them a try, and don’t be surprised if they become your go-to frozen treat all summer (or all year) long!
PrintCopycat Klondike Ice Cream Bars! (Dairy free) Recipe
Indulge in these homemade dairy-free copycat Klondike ice cream bars for a delicious frozen treat that is perfect for a hot summer day. Creamy coconut ice cream coated in rich dark chocolate – a refreshing and satisfying dessert!
- Prep Time: 15 minutes
- Cook Time: 0 minutes
- Total Time: 5 hours 25 minutes
- Yield: 9 bars 1x
- Category: Dessert
- Method: Freezing
- Cuisine: American
- Diet: Vegan
Ingredients
For the Ice Cream:
- 1.75 cups Coconut Cream
- 0.5 cup Cashew Butter
- 0.33 cup Pure Maple Syrup
- 2 tsp Pure Vanilla Extract
For the Chocolate Coating:
- 1.5 cup Dark Chocolate Chips
- 2 Tbsp Coconut Oil
- 1 Tbsp Pure Maple Syrup
For Topping (Optional):
- 0.5 cup Coconut Flakes, Unsweetened
Instructions
- Whip the Ice Cream: Use a hand or stand mixer to whip coconut cream, cashew butter, maple syrup, and vanilla extract together until smooth.
- Freeze the Mixture: Pour the mixture into an 8×8 pan lined with parchment paper. Freeze for at least 5 hours or overnight until set.
- Cut into Squares: Once frozen, cut the mixture into 9 squares.
- Prepare the Chocolate Coating: Melt the dark chocolate chips and coconut oil together. Stir in the maple syrup.
- Coat the Ice Cream Squares: Dip each ice cream square into the chocolate mixture using a fork, then place them on a parchment paper-lined baking sheet.
- Chill the Bars: Place the coated bars back in the freezer for about 10 minutes or until the chocolate hardens.
- Optional Crunchy Version: For a crunchy variation, mix coconut flakes or crushed cornflake cereal into the melted chocolate. Coat the ice cream squares in this mixture before chilling.
- Serve and Enjoy: Your homemade Klondike ice cream bars are ready to be enjoyed! Store any leftovers in the freezer.
Notes
- For a quicker chill, you can place the ice cream bars in the freezer for a shorter time, but the texture may be softer.
- Feel free to customize the toppings or coatings to suit your preferences.
Nutrition
- Serving Size: 1 bar
- Calories: 290
- Sugar: 16g
- Sodium: 50mg
- Fat: 19g
- Saturated Fat: 13g
- Unsaturated Fat: 4g
- Trans Fat: 0g
- Carbohydrates: 27g
- Fiber: 3g
- Protein: 3g
- Cholesterol: 0mg
Keywords: Dairy-free, Ice Cream Bars, Frozen Treat, Homemade, Vegan Dessert