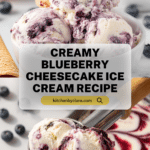
Blueberry Cheesecake Ice Cream Recipe
Introduction
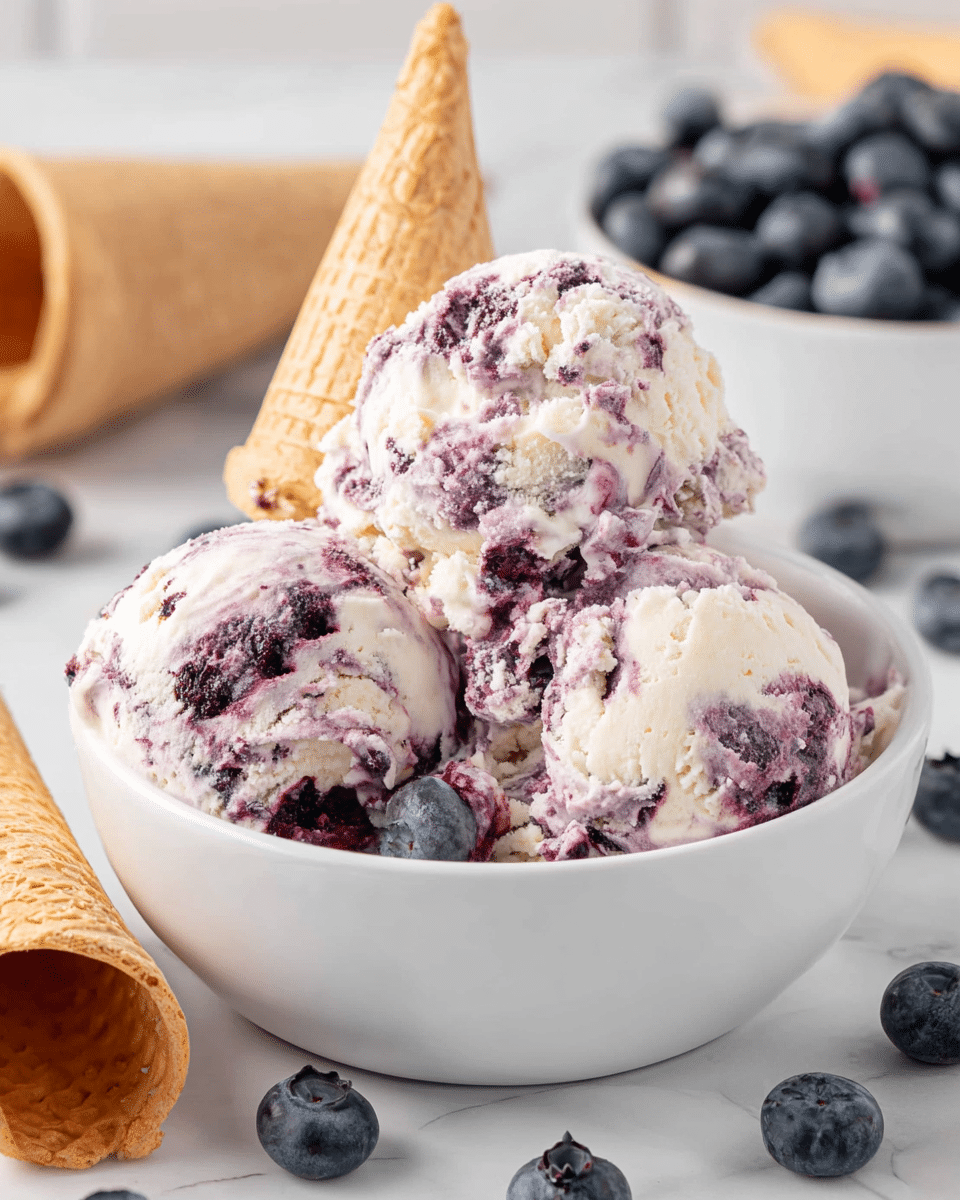
Enjoy a creamy, no-churn blueberry cheesecake ice cream that’s bursting with fruity swirls and rich flavor. This easy homemade treat blends smooth cream cheese and whipped cream with sweet blueberry pie filling for a delightful summer dessert.
Ingredients
- 2 cups heavy whipping cream (very cold)
- 8 ounces cream cheese (softened to room temperature)
- 14 ounces sweetened condensed milk
- 1 tablespoon fresh lemon juice
- 1½ teaspoons vanilla extract
- 1½ cups blueberry pie filling (divided: 1¼ cup and ¼ cup)
Instructions
- Step 1: In a large mixing bowl, beat the cold heavy whipping cream with a hand mixer or stand mixer on low, gradually increasing to high, until stiff peaks form (about 3-5 minutes). Chill the whipped cream in the refrigerator while preparing the other ingredients.
- Step 2: In a separate large bowl, beat the softened cream cheese on medium speed for 1-2 minutes until smooth and fluffy.
- Step 3: Add the sweetened condensed milk, fresh lemon juice, and vanilla extract to the cream cheese. Mix for another 1-2 minutes until fully combined and smooth.
- Step 4: Remove the whipped cream from the refrigerator and gently fold it into the cream cheese mixture with a rubber spatula. Fold carefully to keep the mixture light and fluffy and avoid deflating the whipped cream.
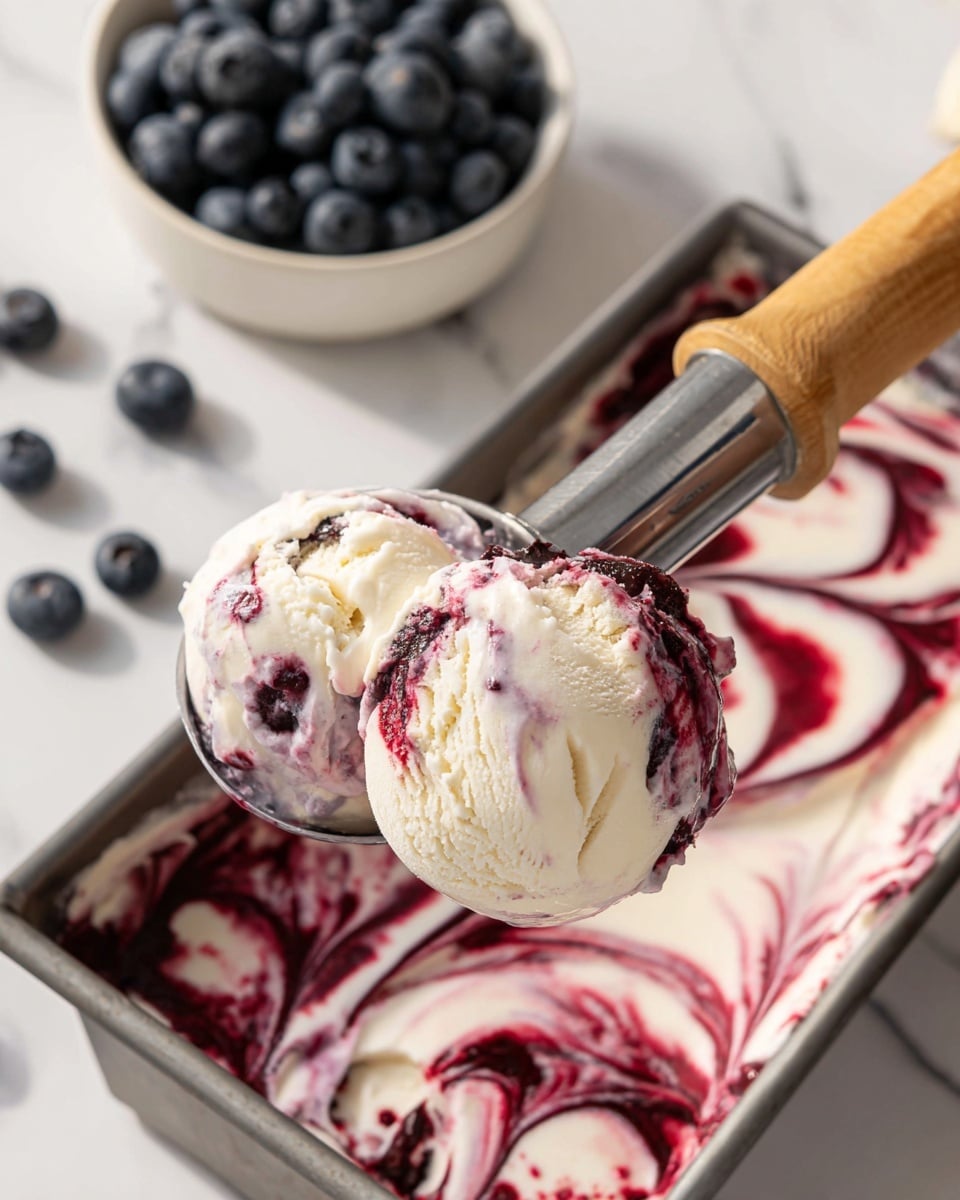
- Step 5: Spoon 1¼ cups of blueberry pie filling over the mixture and use the spatula held upright to swirl it in, creating marbled blue and white patterns. Do not fully mix.
- Step 6: Pour the mixture into a freezer-safe loaf pan and spread evenly.
- Step 7: Add 4-5 dollops of the remaining ¼ cup blueberry pie filling on top. Use a butter knife or toothpick to lightly swirl the topping decoratively.
- Step 8: Cover the pan lightly with aluminum foil, avoiding disturbing the swirl, and freeze for 8-10 hours or overnight until firm.
- Step 9: Scoop the ice cream into cones or bowls and serve straight from the freezer.
Tips & Variations
- Use chilled bowls and beaters to help the heavy cream whip faster and better.
- Swap blueberry pie filling with other fruit preserves like cherry or raspberry for a different twist.
- For an extra creamy texture, fold in mini white chocolate chips before freezing.
- If you prefer a tangier flavor, add a little extra fresh lemon juice to the cream cheese mixture.
Storage
Store the ice cream in an airtight container in the freezer for up to one week. Let it sit at room temperature for 5 minutes before scooping to soften slightly for easier serving.
How to Serve
Serve this delicious recipe with your favorite sides.
FAQs
Can I use regular cream instead of heavy whipping cream?
No, heavy whipping cream is essential for achieving the right whipped texture needed for this no-churn ice cream.
Do I need an ice cream maker for this recipe?
No, this recipe is designed to be no-churn, so it only requires mixing and freezing—no ice cream maker needed.
PrintBlueberry Cheesecake Ice Cream Recipe

This Blueberry Cheesecake Ice Cream is a luscious no-churn dessert combining smooth, creamy cheesecake flavors with sweet and tangy blueberry pie filling swirls. Made with whipped heavy cream, cream cheese, sweetened condensed milk, and fresh lemon juice, it delivers a rich and fluffy frozen treat without the need for an ice cream maker. Perfect for berry lovers looking for an easy homemade ice cream recipe.
- Prep Time: 15 minutes
- Cook Time: 0 minutes
- Total Time: 8 hours 15 minutes
- Yield: Approximately 8 servings 1x
- Category: Dessert
- Method: No-Cook
- Cuisine: American
- Diet: Vegetarian
Ingredients
Base Ingredients
- 2 cups heavy whipping cream, very cold
- 8 ounces cream cheese, softened to room temperature
- 14 ounces sweetened condensed milk
- 1 tablespoon fresh lemon juice
- 1½ teaspoons vanilla extract
Fruit Swirl
- 1½ cups blueberry pie filling, divided (1¼ cup and ¼ cup)
Instructions
- Whip the Cream: In a large mixing bowl, beat the cold heavy whipping cream using a hand mixer or stand mixer starting on low speed and gradually increasing to high. Continue beating for 3-5 minutes until stiff peaks form. Place the whipped cream in the refrigerator to keep cold while preparing other ingredients.
- Beat Cream Cheese: In a separate large bowl, beat the softened cream cheese on medium speed for 1-2 minutes until smooth and fluffy.
- Incorporate Sweetened Condensed Milk and Flavorings: Add sweetened condensed milk, fresh lemon juice, and vanilla extract to the cream cheese. Mix for 1-2 minutes until the mixture is smooth and fully combined.
- Fold in Whipped Cream: Remove whipped cream from the refrigerator and gently fold it into the cream cheese mixture using a rubber spatula. Fold carefully to preserve the airiness and avoid deflating the whipped cream, ensuring the mixture remains light and fluffy.
- Add Blueberry Swirl: Dollop 1¼ cups of blueberry pie filling randomly over the ice cream mixture. Using the spatula held upright, gently swirl the pie filling into the base to create visible swirls without fully blending it in.
- Transfer to Freezer Container: Pour the ice cream mixture into a freezer-safe loaf pan and spread evenly.
- Decorate Top: Place small dollops (4-5) of the remaining ¼ cup blueberry pie filling on top. Use a butter knife or toothpick to lightly swirl it decoratively into the surface of the ice cream.
- Freeze: Cover the loaf pan lightly with aluminum foil, being careful not to disturb the decorative swirls. Freeze for at least 8-10 hours or overnight until fully set.
- Serve: Remove from freezer, scoop into cones or bowls, and enjoy immediately while frozen.
Notes
- Ensure the heavy cream is very cold before whipping for best volume and texture.
- Gently folding is critical to keep the mixture light and prevents deflating the whipped cream.
- Use softened cream cheese at room temperature to avoid lumps and ensure smooth mixing.
- The blueberry pie filling can be substituted with fresh blueberries cooked down with sugar and lemon juice for a homemade swirl.
- For easier scooping, let the ice cream sit at room temperature for 5 minutes before serving.
- This recipe requires no ice cream maker and is simple to prepare with common kitchen tools.
Keywords: blueberry cheesecake ice cream, no churn ice cream, blueberry dessert, homemade ice cream, easy ice cream recipe, frozen dessert, creamy blueberry ice cream
