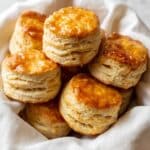
Buttermilk Biscuits Recipe
Introduction
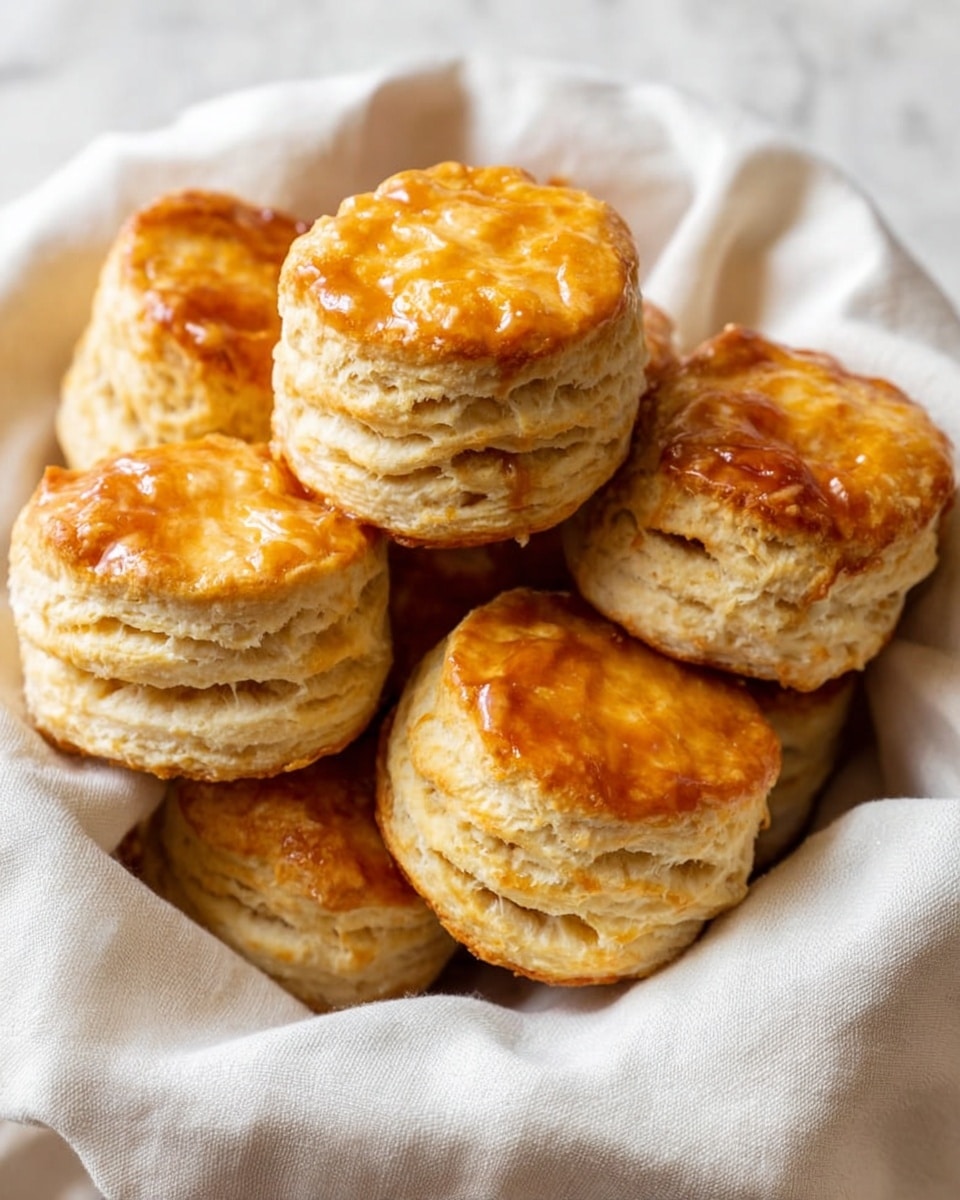
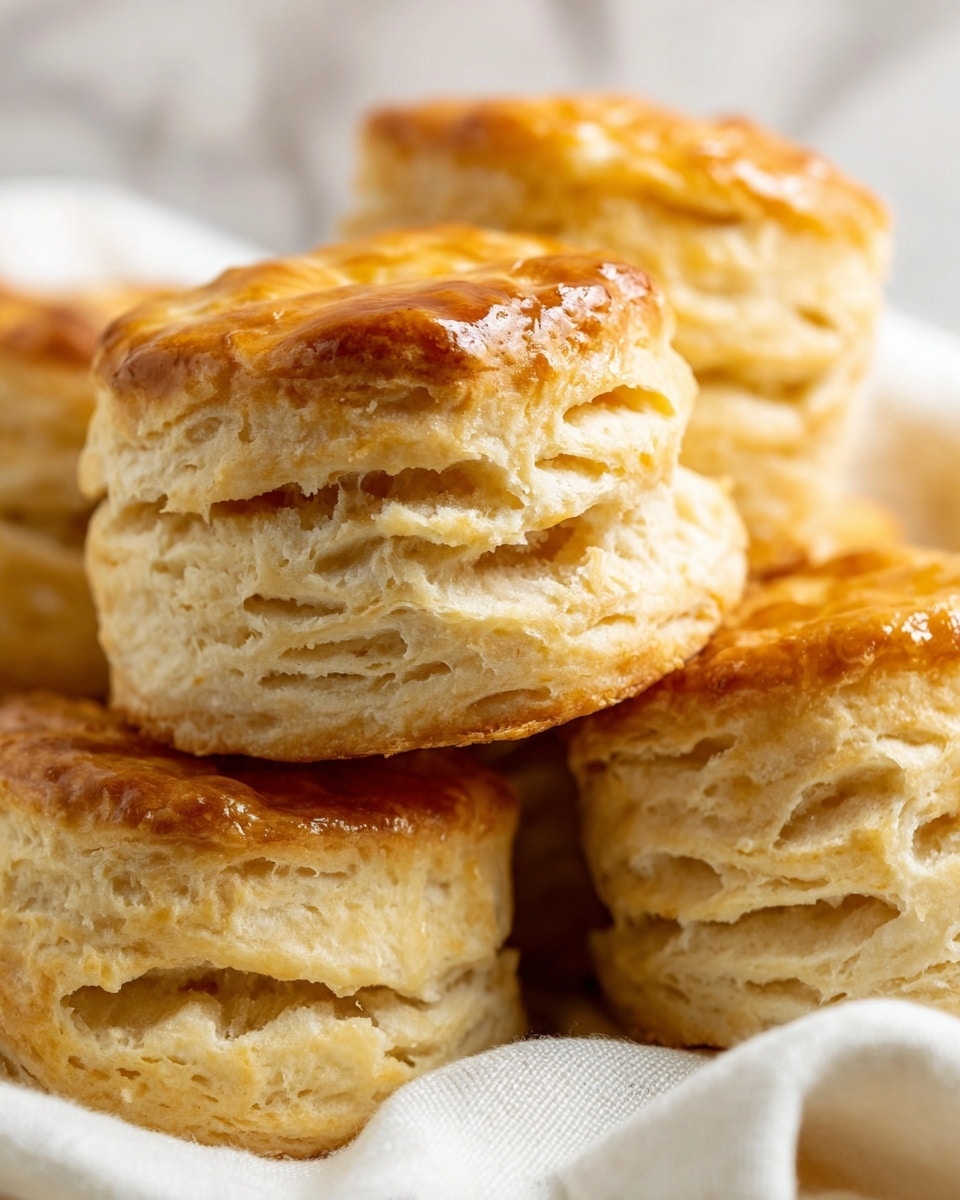
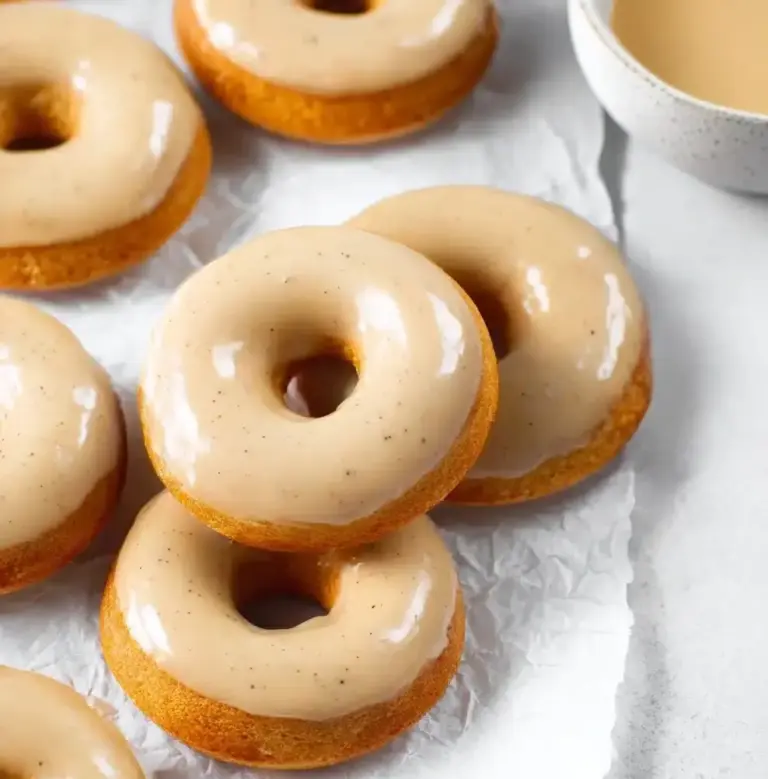
These classic buttermilk biscuits are tender, flaky, and buttery—perfect for breakfast or any time you crave a warm, comforting bread. Made with simple ingredients and a clever folding technique, they rise beautifully and have a golden, honey-butter glaze.
Ingredients
- 2 ½ cups all-purpose flour
- 2 tablespoons aluminum free baking powder (not baking soda)
- 1 teaspoon salt
- 2 teaspoons honey
- ½ cup very cold butter (1 stick), cut into cubes
- 1 cup + 3 tablespoons cold buttermilk
- 2 tablespoons honey (for brushing)
- 1 tablespoon butter (melted, for brushing)
Instructions
- Step 1: Preheat the oven to 425°F (220°C).
- Step 2: In a large mixing bowl, stir together the flour, baking powder, and salt until well combined.
- Step 3: Add the cold butter cubes to the flour mixture. Use a pastry cutter or the back of a fork to work the butter in until coarse crumbs form.
- Step 4: Make a hole in the center of the dry mixture. Pour in the cold buttermilk and 2 teaspoons honey. Gently stir with a silicone spatula until just combined. The dough will be crumbly—avoid overmixing.
- Step 5: Turn the dough onto a floured surface and shape it into a 9-inch rectangle with your hands.
- Step 6: Fold the left side of the dough into the center, then fold the right side over it.
- Step 7: Rotate the dough so it lies horizontally, gently flatten into a rectangle again, and repeat the folding process two more times.
- Step 8: Form the dough into a 10 x 7 inch rectangle about 1 inch thick.
- Step 9: Using a 3-inch cookie cutter, cut out 6 biscuit circles without twisting the cutter. Flour the cutter between cuts to prevent sticking. Refrigerate the cut biscuits as you go to keep them cold.
- Step 10: Roll out the remaining dough to 1 inch thickness and cut 2 more biscuits, for a total of about 8 biscuits.
- Step 11: Butter a 10-inch cast iron skillet and arrange the biscuits inside so they are nearly touching. This helps them rise better. Alternatively, place them close together on a parchment-lined baking sheet.
- Step 12: Bake for 15 minutes or until the tops are golden brown.
- Step 13: Mix the 2 tablespoons honey with the melted butter and brush it over the warm biscuits. For extra browning, bake them for up to 5 more minutes at 450°F (230°C).
Tips & Variations
- Use very cold butter and buttermilk to create flaky layers.
- Do not twist the cutter when cutting biscuits; this seals edges and prevents rising.
- Try adding shredded cheese or herbs to the dough for a savory twist.
- For dairy-free options, substitute with plant-based butter and a buttermilk alternative.
Storage
Store leftover biscuits in an airtight container at room temperature for up to 2 days, or in the refrigerator for up to 5 days. To freeze, wrap biscuits individually and place them in a freezer bag for up to 3 months. Reheat frozen or refrigerated biscuits in a 350°F oven until warmed through, about 10 minutes.
How to Serve
Serve this delicious recipe with your favorite sides.
FAQs
Can I use baking soda instead of baking powder?
No, this recipe requires baking powder to provide the right rise and texture. Baking soda will not work correctly here unless acidity in the recipe is adjusted.
How do I keep biscuits flaky and tender?
Keeping the butter and liquids cold is key. Also, avoid overmixing the dough and fold it gently to create layers that bake into flaky biscuits.
PrintButtermilk Biscuits Recipe
These classic Buttermilk Biscuits are tender, flaky, and buttery, with a hint of honey sweetness. Perfect for breakfast or as a side, they feature a layered dough technique that creates light, fluffy biscuits with a golden crust. Made with simple ingredients like all-purpose flour, cold butter, and tangy buttermilk, they bake quickly in a cast iron skillet or on a baking sheet for the best rise and texture.
- Prep Time: 15 minutes
- Cook Time: 15-20 minutes
- Total Time: 30-35 minutes
- Yield: 8 biscuits 1x
- Category: Breakfast, Side
- Method: Baking
- Cuisine: American
Ingredients
Dough Ingredients
- 2 ½ cups all-purpose flour
- 2 tablespoons aluminum-free baking powder (not baking soda)
- 1 teaspoon salt
- 2 teaspoons honey
- ½ cup (1 stick) very cold butter, cubed
- 1 cup + 3 tablespoons cold buttermilk
Finishing Ingredients
- 2 tablespoons honey
- 1 tablespoon butter, melted
Instructions
- Preheat oven: Set your oven to 425°F (218°C) to prepare for baking the biscuits.
- Mix dry ingredients: In a large mixing bowl, combine the all-purpose flour, aluminum-free baking powder, and salt, stirring until evenly mixed.
- Incorporate butter: Add cold cubed butter to the dry mixture. Use a pastry cutter or the back of a fork to cut the butter in until the mixture resembles coarse crumbs.
- Add wet ingredients: Make a well in the center of the flour mixture and pour in the cold buttermilk along with 2 teaspoons of honey. Gently stir with a silicone spatula until just combined; the dough should be crumbly and not overmixed.
- Shape the dough: Transfer the dough to a floured surface and shape it into a rectangle approximately 9 inches long.
- Fold the dough: Fold the left side of the rectangle into the center, then fold the right side over it, creating layers.
- Repeat folds: Rotate the dough so it lies horizontally, flatten it gently into a rectangle again, and repeat the folding process two more times to build layers.
- Final shaping: Form the dough into a 10 by 7 inch rectangle about 1-inch thick.
- Cut biscuits: Using a 3-inch cookie cutter, cut out six rounds from the dough without twisting the cutter to maintain the layers. Lightly flour the cutter between cuts and keep the dough cold in the fridge if needed.
- Cut extra biscuits: Re-roll the remaining dough to 1-inch thickness and cut two additional biscuits, making about 8 total.
- Prepare for baking: Butter a 10-inch cast iron skillet and place the biscuits inside so they are close but not touching. Alternatively, place them close together on parchment paper on a baking sheet.
- Bake biscuits: Bake in the preheated oven for 15 minutes or until the tops turn golden brown.
- Finish with honey butter: Mix the honey and melted butter together and brush the warm biscuits with this glaze. For extra browning, bake for up to 5 more minutes at 450°F (232°C).
- Storage: Store any leftovers in an airtight container or refrigerate for up to 5 days. Biscuits can also be frozen for longer storage.
Notes
- Do not twist the biscuit cutter when cutting the dough; twisting seals edges and prevents proper rising.
- Keep butter and buttermilk as cold as possible to achieve flaky layers.
- Folding the dough multiple times creates layers that enhance the flakiness of the biscuits.
- Using a cast iron skillet to bake helps biscuits rise better due to heat retention and even cooking.
- Brush with honey butter immediately after baking for a sweet, glossy finish.
- Baking an additional 5 minutes at higher heat gives biscuits a deeper golden crust if desired.
Keywords: buttermilk biscuits, flaky biscuits, honey butter biscuits, homemade biscuits, breakfast biscuits
