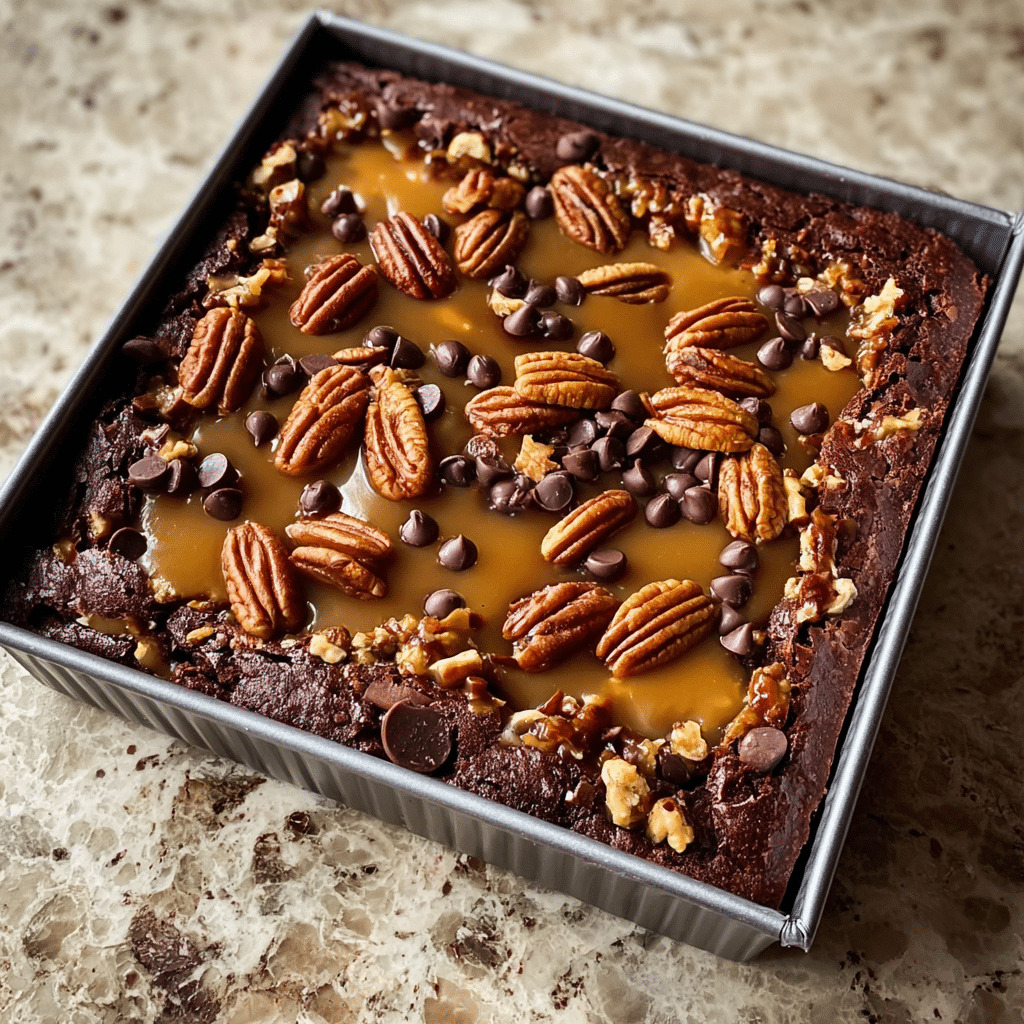
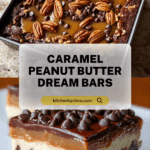
Caramel-Peanut Butter Dream Bars Recipe
If you’re searching for the ultimate decadent dessert to wow your friends or satisfy an intense sweet tooth, look no further than these Caramel-Peanut Butter Dream Bars. With their irresistibly gooey caramel-peanut butter center, rich chocolate chips, and a cookie crust that stays just the right amount of soft, these bars combine everything you crave in one heavenly bite. Whether you’re baking for a potluck, holiday, or simply want to treat yourself, this recipe is all about bold flavor, delightful texture, and pure joy.
Ingredients You’ll Need
Every ingredient in Caramel-Peanut Butter Dream Bars plays a crucial part in the magic, from the buttery base to the gooey layers. Here’s what you’ll need, along with why each one matters to the finished treat.
- All-purpose flour: The foundation of the cookie layers, providing just the right structure to hold everything together.
- Baking soda: Adds lift and a tender texture to the cookie base and top.
- Salt: Balances the sweetness and enhances every layer’s flavor.
- Butter, softened: Gives the bars richness, flavor, and that perfect cookie texture.
- Sugar: Adds classic sweetness and a beautiful golden brown color when baked.
- Packed brown sugar: Brings moisture and a hint of molasses for extra depth in the cookie base.
- Vanilla extract: The fragrant undertone that makes everything taste homemade and comforting.
- Eggs: Bind the dough and create a soft, chewy bite.
- Semi-sweet chocolate chips: Melty chocolate pools in every bar for a classic pairing with peanut butter.
- Evaporated milk: Helps create a silky caramel layer that’s smooth and luscious.
- Caramels: The star of the gooey filling, they melt down into a luxuriously sticky center.
- Peanut butter: Added to the caramel for a nutty richness and perfectly creamy texture in every bite.
How to Make Caramel-Peanut Butter Dream Bars
Step 1: Prepare the Oven and Pan
Begin by preheating your oven to 375 degrees. While that’s heating up, generously grease your 9×13 inch pan. This prevents sticking and helps those magical bars slip out when you’re ready to serve.
Step 2: Mix Dry Ingredients
In a small bowl, whisk together the flour, baking soda, and salt. This quick step ensures every bite of the cookie layer bakes up lovely and even, with a tender crumb that doesn’t get lost under all the gooeyness.
Step 3: Cream Butter and Sugars
Grab a large mixing bowl and beat together the softened butter, sugar, brown sugar, and vanilla extract until everything is creamy and dreamy. Next, add in the eggs one by one, making sure they’re fully incorporated after each addition. This is where the magic in the cookie texture happens!
Step 4: Combine with Dry Ingredients
Slowly add your flour mixture to the wet ingredients, blending just until combined. Stir in those semi-sweet chocolate chips for pops of melty chocolate throughout the bars.
Step 5: Form the Base Layer
Spread half of the cookie dough into your prepared pan, smoothing it out so it covers edge to edge. Pop the pan into the oven and bake for 8 to 10 minutes. This partial bake gives you a sturdy base ready to soak up the caramel-peanut butter filling.
Step 6: Prepare Caramel Sauce
While the base bakes, melt the caramels together with the evaporated milk in a double boiler or a heat-safe bowl set over simmering water. Stir frequently until silky smooth. Once it’s perfectly melted, stir in the peanut butter—this step turns that caramel into the unforgettable star of Caramel-Peanut Butter Dream Bars.
Step 7: Add Caramel Layer
Gently pour your warm caramel-peanut butter mixture over the baked cookie base. Use a spatula to spread it evenly; don’t worry if it isn’t perfect. Every nook that gets extra caramel is a bonus bite later!
Step 8: Top with Remaining Dough
Scoop out the rest of your cookie dough and dollop it by spoonfuls over the caramel layer. You don’t need full coverage—the little pockets where caramel peeks through are pure joy after baking.
Step 9: Bake
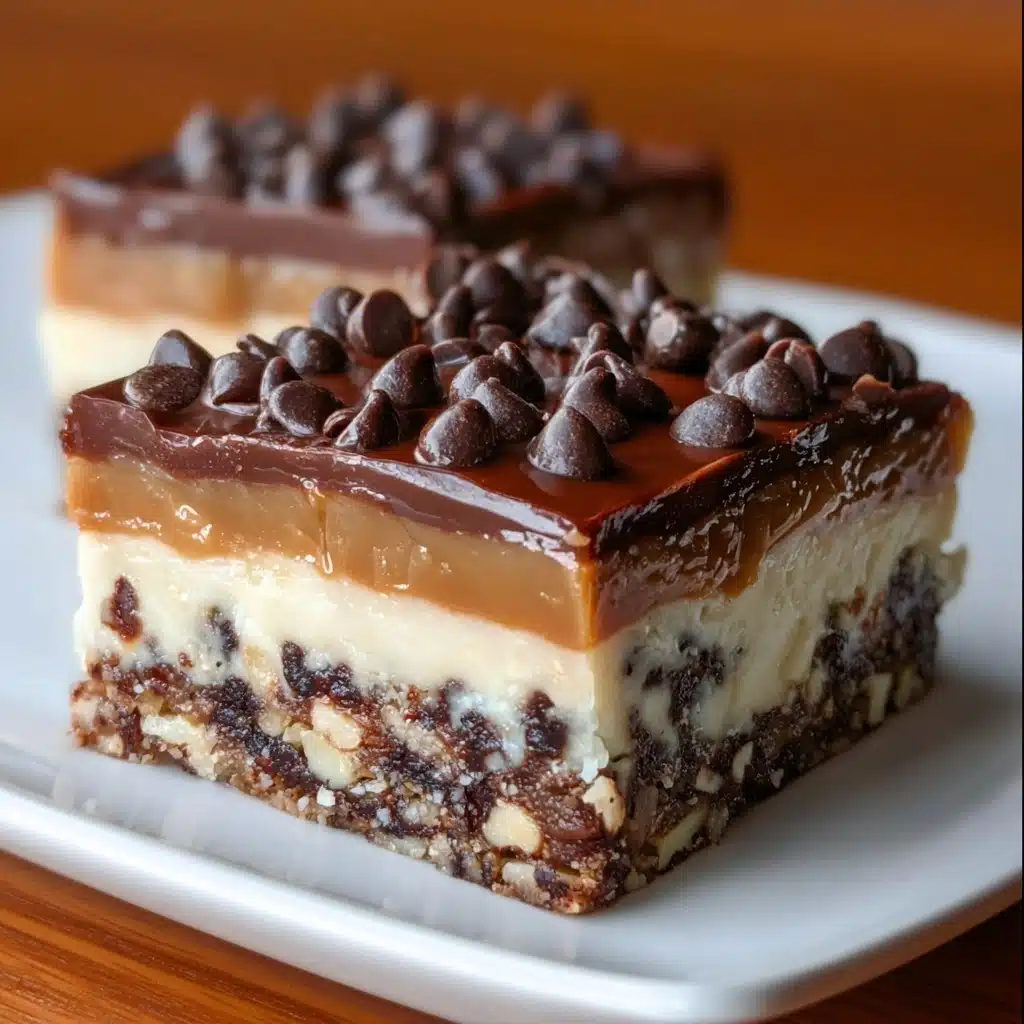
Return the pan to the oven and bake for another 15 to 20 minutes, until the top is light golden brown. Try not to overbake—these bars are meant to be soft and luscious. Let them cool at room temperature so the layers set up and slice cleanly.
How to Serve Caramel-Peanut Butter Dream Bars
Garnishes
The fun doesn’t stop once the Caramel-Peanut Butter Dream Bars come out of the oven! Dust the top with a sprinkle of flaky sea salt to bring out every flavor, or drizzle with a little extra melted chocolate for café-style flair. A light sprinkle of chopped peanuts can add even more crunch and contrast.
Side Dishes
These bars are definitely rich, so consider serving them alongside something cool and refreshing like a scoop of vanilla ice cream or a glass of cold milk. Fresh berries or sliced bananas make a lovely side if you’d like a hint of brightness amid all the decadence.
Creative Ways to Present
For parties, cut your Caramel-Peanut Butter Dream Bars into small squares and pop them into colorful paper liners for easy nibbling. Stack them on a tiered tray between chocolate-dipped strawberries for a bakery-style dessert board. Feeling fancy? Present larger bars still slightly warm, topped with a scoop of ice cream and a drizzle of extra caramel for a show-stopping plated dessert.
Make Ahead and Storage
Storing Leftovers
Leftovers (if you’re lucky enough to have any!) keep well at room temperature in an airtight container for up to 4 days. Layer parchment or wax paper between bars to prevent sticking, and keep them covered so they don’t dry out.
Freezing
Caramel-Peanut Butter Dream Bars freeze like a dream. Let the bars cool completely, then cut and wrap each square individually in plastic wrap or foil. Place them in a zip-top freezer bag and they’ll stay fresh for up to 2 months. Thaw at room temperature when ready to eat—no one will ever guess they weren’t just baked.
Reheating
If you want that fresh-baked gooeyness, pop a bar in the microwave for about 10 seconds. The caramel and peanut butter will melt slightly, making the center even more luscious, and the chocolate chips will be just the right amount of melty.
FAQs
What if I don’t have a double boiler to melt the caramels?
No worries! Simply use a heatproof bowl set over a pot of simmering water, or melt the caramels and evaporated milk together in short intervals in the microwave, stirring frequently until smooth.
Can I use a different kind of nut butter?
Absolutely. While creamy peanut butter is classic for Caramel-Peanut Butter Dream Bars, you can substitute almond or cashew butter for a delicious twist. Just make sure it’s a smooth variety for blending into the caramel.
Do these bars have to be fully cooled before cutting?
Yes—letting them cool gives the caramel and cookie layers time to set, making slicing much neater. If you’re impatient, pop the pan in the fridge for quicker setting!
Can I make these gluten-free?
Yes, you can swap the all-purpose flour for a high-quality one-to-one gluten-free flour blend. Double-check your other ingredients to ensure they’re certified gluten-free, and you’re good to go.
How do I prevent the caramel from sticking to the pan?
It helps to line your pan with parchment paper, leaving enough overhang to lift the bars out once cool. Combined with greasing the pan, this makes for easy removal and cleanup.
Final Thoughts
Few treats deliver on decadence the way Caramel-Peanut Butter Dream Bars do, and once you take that first ooey-gooey bite, you’ll see why they’re always a hit wherever they’re served. Whether you bake them up for company or just to keep on hand for sweet cravings, these dreamy bars are sure to bring smiles. Give the recipe a try and make your own batch of caramel, chocolate, and peanut butter bliss!
PrintCaramel-Peanut Butter Dream Bars Recipe
Indulge in the irresistible combination of caramel, peanut butter, and chocolate with these decadent Caramel-Peanut Butter Dream Bars. Perfect for satisfying your sweet tooth!
- Prep Time: 20 minutes
- Cook Time: 30 minutes
- Total Time: 50 minutes
- Yield: 24 bars 1x
- Category: Dessert
- Method: Baking
- Cuisine: American
- Diet: Vegetarian
Ingredients
Dry Ingredients:
- 2 1/4 cups all-purpose flour
- 1 tsp baking soda
- 1 tsp salt
Wet Ingredients:
- 1 cup butter, softened
- 3/4 cup sugar
- 3/4 cup packed brown sugar
- 1 tsp vanilla extract
- 2 eggs
Additional Layers:
- 2 cups semi-sweet chocolate chips
- 5 oz evaporated milk
- 14 oz caramels
- 1/2 cup peanut butter
Instructions
- Prepare the Oven and Pan – Preheat the oven to 375 degrees and grease a 9×13 inch pan.
- Mix Dry Ingredients – In a small bowl, combine flour, baking soda, and salt.
- Cream Butter and Sugars – In a large bowl, beat together butter, sugar, brown sugar, and vanilla until creamy. Add eggs one at a time, mixing well after each addition.
- Combine with Dry Ingredients – Gradually blend in the flour mixture. Stir in chocolate chips.
- Form the Base Layer – Spread half of the cookie dough in the prepared pan and bake for 8-10 minutes.
- Prepare Caramel Sauce – While the base is baking, melt caramels with evaporated milk in a double boiler. Once smooth, stir in peanut butter.
- Add Caramel Layer – Pour the caramel mixture over the baked layer.
- Top with Remaining Dough – Drop spoonfuls of the remaining cookie dough over the caramel.
- Bake – Return to the oven and bake for an additional 15-20 minutes until light golden brown.
Nutrition
- Serving Size: 1 bar
- Calories: 290
- Sugar: 20g
- Sodium: 230mg
- Fat: 14g
- Saturated Fat: 7g
- Unsaturated Fat: 5g
- Trans Fat: 0g
- Carbohydrates: 38g
- Fiber: 2g
- Protein: 4g
- Cholesterol: 30mg
Keywords: Caramel-Peanut Butter Dream Bars, dessert, caramel bars, peanut butter bars, chocolate dessert
