Cookies and Cream Ice Cream with Ninja Creami Recipe
Introduction
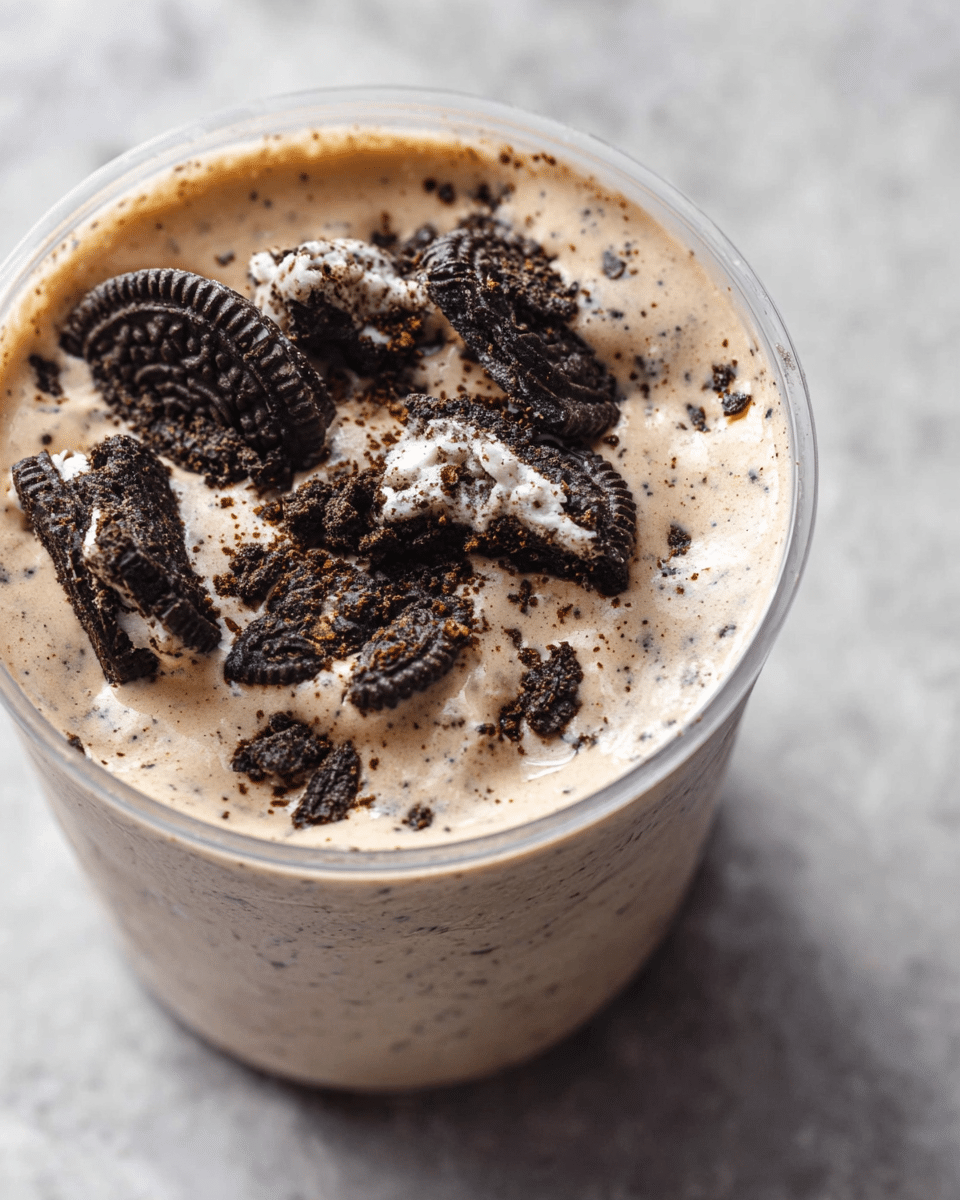
This Ninja Creami Cookies and Cream Ice Cream recipe is a delightful treat that combines creamy texture with crunchy cookie pieces. Perfect for home ice cream makers, it’s easy to prepare and wonderfully customizable to your taste.
Ingredients
- 75-100 g caster sugar or superfine sugar
- 200 g milk (full fat recommended, light can work)
- 200 g full fat thickened cream (35% milk fat, heavy whipping cream)
- ½ – 1 teaspoon vanilla bean paste or extract, to taste
- Tiny pinch of fine salt
- 2-4 Oreos or chocolate sandwich cookies (regular or gluten free)
Instructions
- Step 1: Combine the sugar and milk in a medium mixing bowl. Stir until the sugar dissolves completely; this takes about a minute with caster sugar and a bit longer with regular white sugar.
- Step 2: Add the cream, vanilla, and salt to the milk mixture and whisk thoroughly to combine.
- Step 3: Pour the mixture into the 470ml Ninja Creami container, filling just below the fill line.
- Step 4: Freeze the mixture without a lid for 16 to 24 hours until solid.
- Step 5: Process the frozen mixture using the ice cream function on your Ninja Creami. The texture should be smooth and creamy after the first spin.
- Step 6: Hollow out a small hole in the center of the ice cream and crumble in 2 cookies. Secure the lid and use the mix-in function to blend the cookies evenly. If the cookies remain on top, gently stir or respin, but be aware that respinning may soften the ice cream, requiring a brief re-freeze.
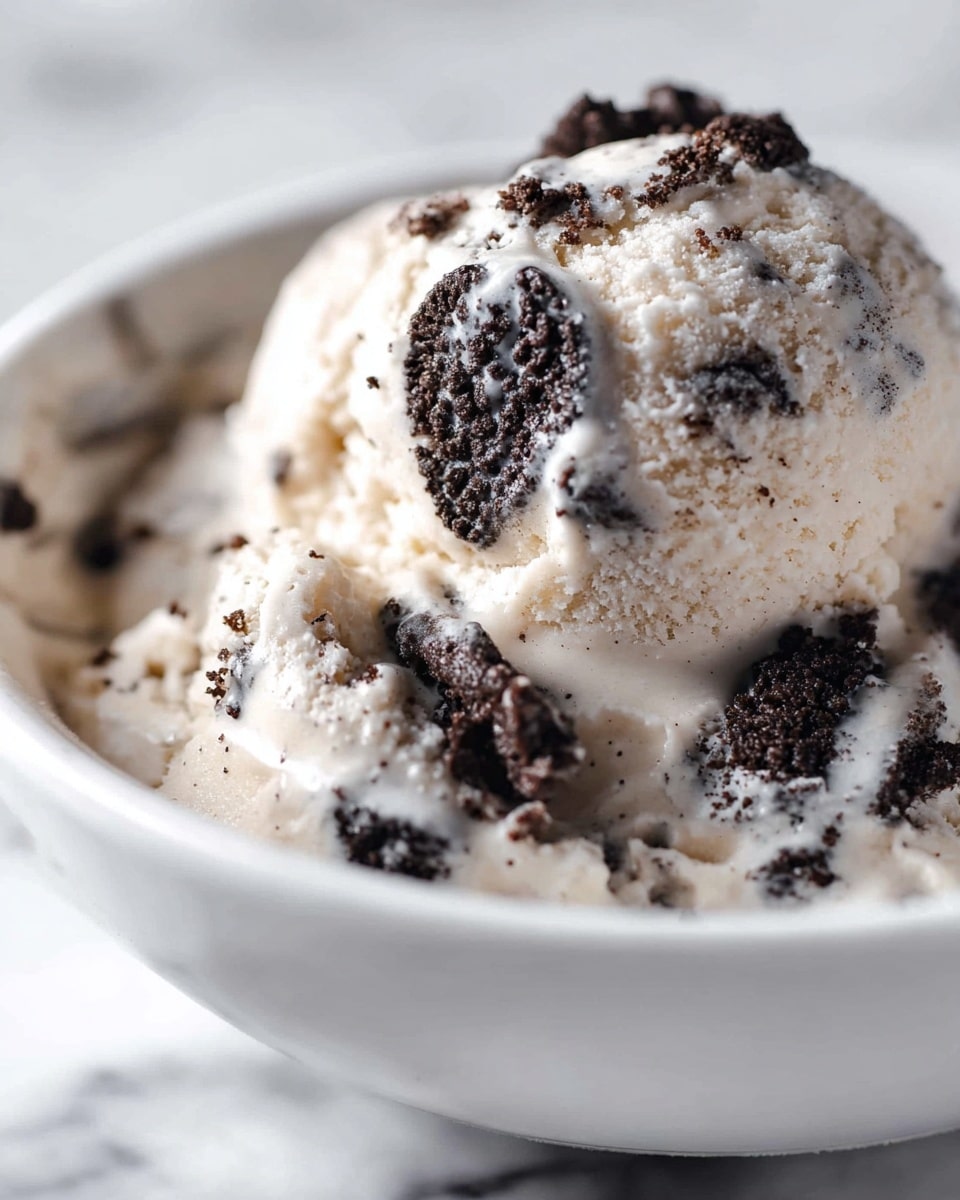
- Step 7: For added texture and presentation, sprinkle larger cookie crumbles on top before serving (optional).
- Step 8: Store any leftovers in the freezer with the lid on. Cream-based ice creams typically don’t require respinning when serving leftovers.
Tips & Variations
- For a richer flavor, use full fat cream and milk, but lighter versions can also work well.
- Try gluten-free chocolate sandwich cookies if needed for dietary restrictions.
- Adjust the amount of vanilla to suit your preference, from subtle to pronounced.
- For more cookie crunch, mix in extra cookie pieces before serving.
Storage
Store leftover ice cream in the Ninja Creami container with the lid secured in the freezer. It will keep well for up to 1 week. When ready to enjoy again, no need to respin if it was cream-based originally; simply scoop and serve. If the texture softens, a brief re-freeze can help.
How to Serve
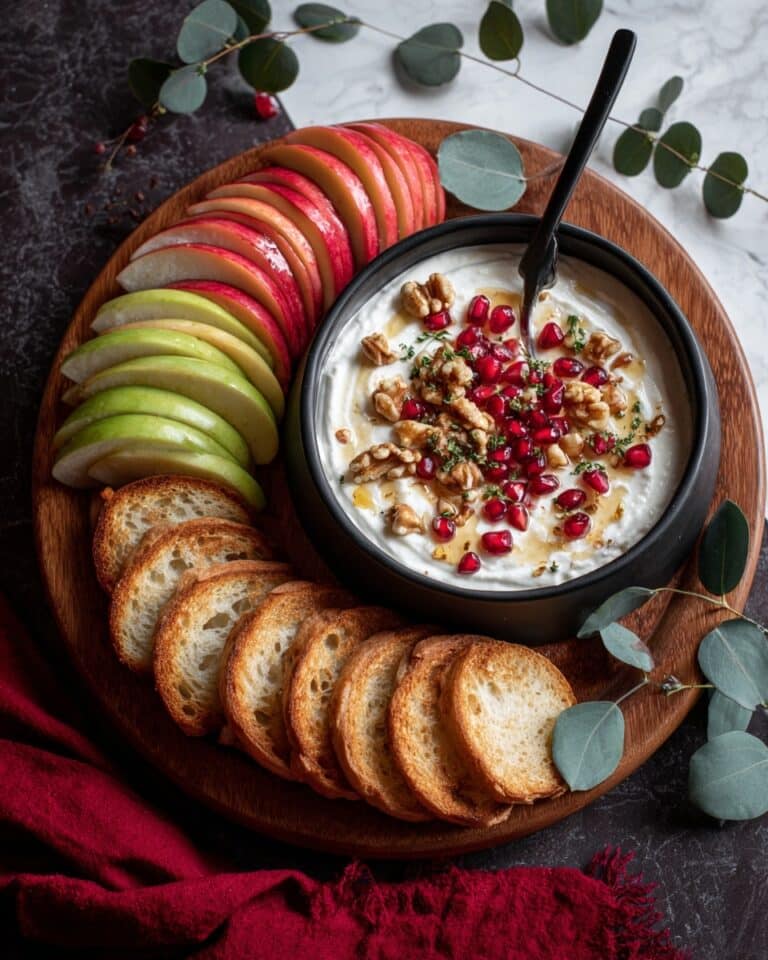
Serve this delicious recipe with your favorite sides.
FAQs
Can I use a different type of cookie instead of Oreos?
Yes, you can use any chocolate sandwich cookie or firm cookie of your choice. Just adjust the amount to your preference and ensure they are crushed into manageable pieces for mixing.
What if I don’t have vanilla bean paste?
You can substitute vanilla extract in equal amounts. Both will provide a lovely vanilla flavor, though bean paste offers a slightly richer and more aromatic taste.
PrintCookies and Cream Ice Cream with Ninja Creami Recipe

This Ninja Creami Cookies and Cream Ice Cream recipe delivers a creamy, rich homemade dessert bursting with classic cookies and cream flavor. Using simple ingredients like milk, cream, sugar, vanilla, and Oreo cookies, you can create a smooth and indulgent ice cream with a perfect balance of sweetness and cookie crunch. The recipe is designed specifically for the Ninja Creami ice cream maker, allowing you to enjoy fresh, customizable ice cream in your own kitchen with minimal effort.
- Prep Time: 10 minutes
- Cook Time: 0 minutes
- Total Time: 16-24 hours (includes freezing time)
- Yield: Approximately 470 ml (1 tub) of ice cream, serves 4 1x
- Category: Dessert
- Method: Instant Pot
- Cuisine: American
Ingredients
Ice Cream Base
- 75–100 g caster/superfine or white sugar
- 200 g full fat milk (light milk may also work)
- 200 g full fat thickened cream (35% milk fat, heavy whipping cream)
- ½ – 1 teaspoon vanilla bean paste or vanilla extract
- Tiny pinch of fine salt
Add-ins
- 2–4 Oreo or chocolate sandwich cookies (regular or gluten free)
Instructions
- Dissolve Sugar in Milk: Combine the sugar and milk in a medium mixing bowl and stir until the sugar fully dissolves. This prevents sugar granules from getting caught in the Ninja Creami tub grooves and ensures a smooth ice cream texture.
- Add Cream and Flavorings: Pour in the thickened cream and add the vanilla bean paste or extract along with a tiny pinch of salt. Whisk the mixture thoroughly to combine all ingredients evenly.
- Fill Ninja Creami Tub: Pour the ice cream base mixture into the 470 ml Ninja Creami tub, filling it just below the fill line to allow room for expansion.
- Freeze Mixture: Place the tub in the freezer uncovered and freeze for 16 to 24 hours until completely solidified.
- Process Ice Cream: Attach the lid and process the ice cream using the Ninja Creami’s ice cream function. This initial spin creates a creamy and well-textured base.
- Add Cookies: Make a hole in the center of the ice cream and crumble 2 Oreo cookies into it. Secure the lid and use the mix-in function to incorporate the cookie pieces evenly into the ice cream. If cookie pieces remain on the top, stir them in or respin; be aware respinning may soften the ice cream slightly.
- Optional Topping: For extra cookie crunch, crumble 2 additional cookies on top while serving, if desired.
- Store Leftovers: Return any leftover ice cream to the freezer with the lid on. Due to the creamy base, the ice cream maintains texture well and typically does not require respinning before serving leftovers.
Notes
- Use caster or superfine sugar for faster dissolving; larger granules might take longer.
- Adjust vanilla amount to your flavor preference between ½ and 1 teaspoon.
- Gluten-free Oreos or sandwich cookies can be used for a gluten-free treat.
- The mixing-in step ensures cookies remain crunchy but evenly dispersed; avoid over respinning to keep a firm texture.
- Freezing time can be up to 24 hours but no less than 16 hours for best consistency.
Keywords: Ninja Creami, cookies and cream, homemade ice cream, Oreo ice cream, no churn, creamy dessert


