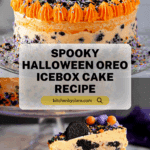
Halloween Icebox Cake Recipe
Introduction
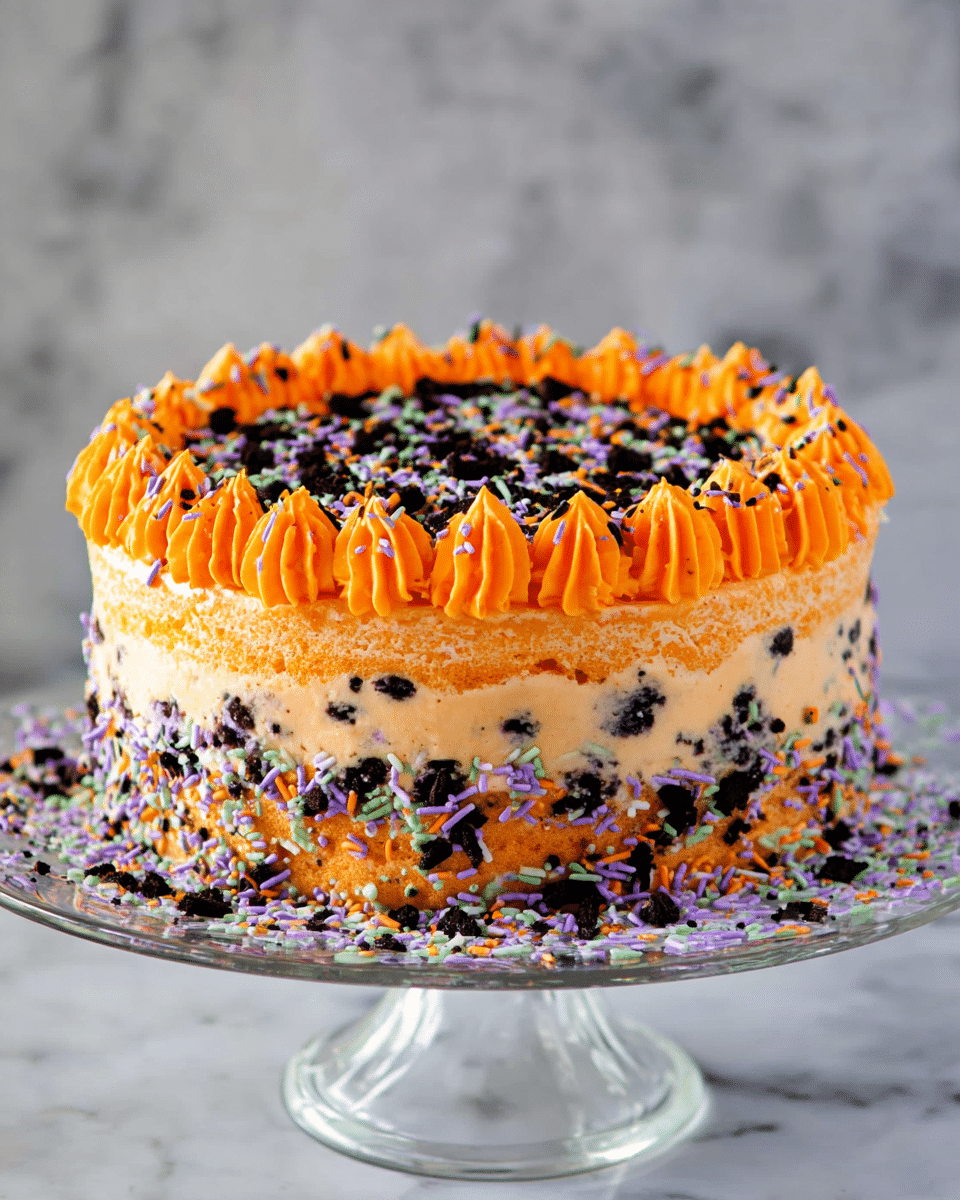
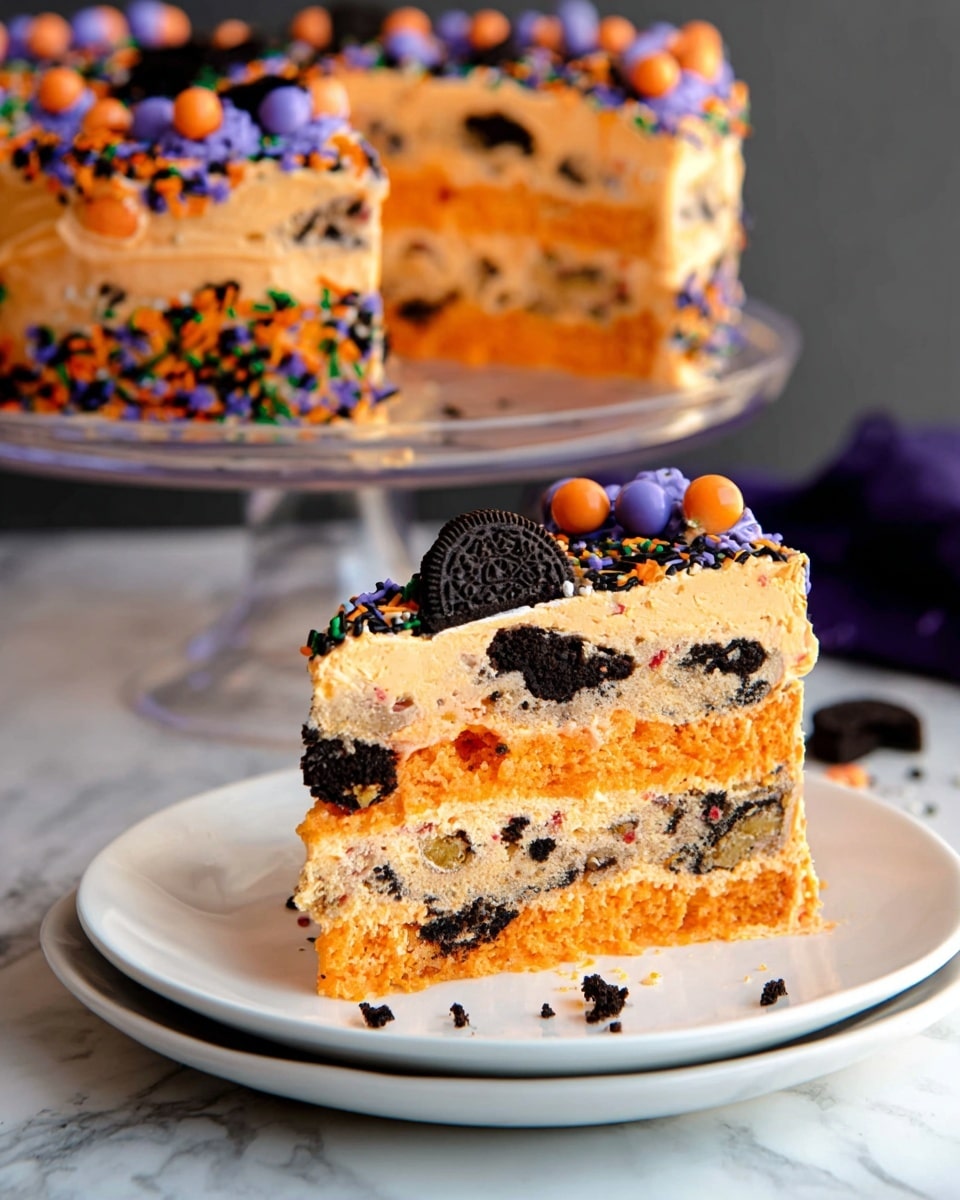
This Halloween Icebox Cake is a festive and creamy dessert perfect for spooky gatherings. Layers of Oreo cookies and orange-tinted whipped cream create a visually striking and delicious treat that requires no baking.
Ingredients
- 4 cups heavy whipping cream (1 quart)
- 1 teaspoon vanilla extract
- 1 cup powdered sugar
- Orange food coloring (gel recommended)
- 2 (14.5 ounce) packages Oreo cookies (about 42 cookies total)
- Orange icing
- Sprinkles
Instructions
- Step 1: Line a 9-inch springform pan with plastic wrap or parchment paper, allowing it to extend about an inch above the sides of the pan for easy removal.
- Step 2: In a mixing bowl with a whisk attachment, whip the heavy cream, vanilla extract, and powdered sugar on high speed until stiff peaks form, about 5 minutes.
- Step 3: Divide the whipped cream evenly into three bowls. Add orange food coloring to each, creating three different shades from light to dark by gently folding in the color.
- Step 4: Arrange a single layer of Oreo cookies at the bottom of the prepared pan. Feel free to use broken pieces to fill any gaps for even coverage.
- Step 5: Spread one third of the whipped cream (using the darkest shade) evenly over the cookies with a spatula.
- Step 6: Add a second layer of Oreo cookies on top of the whipped cream.
- Step 7: Spread another third of the whipped cream (a medium shade) evenly over the second cookie layer.
- Step 8: Add a final layer of Oreo cookies, then spread the remaining whipped cream (the lightest shade) on top. Cover the pan with plastic wrap and refrigerate for at least 6 hours or overnight to set.
- Step 9: Remove the cake from the refrigerator, unwrap, and decorate the top with orange icing and sprinkles before serving.
Tips & Variations
- For extra festive flair, use Halloween-themed sprinkles or crushed candy corn on top.
- If you can’t find orange food coloring, mix red and yellow gel colors until you achieve the desired shade.
- Use a sharp knife warmed under hot water to slice the cake cleanly after chilling.
Storage
Store the icebox cake covered in the refrigerator for up to 3 days. Because it contains whipped cream, avoid leaving it at room temperature for extended periods. Re-chill before serving if it warms up.
How to Serve
Serve this delicious recipe with your favorite sides.
FAQs
Can I use a different type of cookie instead of Oreos?
Yes, you can substitute with any sturdy sandwich cookie or chocolate wafer cookie. Just ensure they hold up well against moisture from the whipped cream.
How far in advance can I make this cake?
This icebox cake can be made up to 24 hours in advance. Just keep it covered and refrigerated until ready to decorate and serve.
PrintHalloween Icebox Cake Recipe

This Halloween Icebox Cake is a festive and creamy dessert featuring layers of Oreo cookies and vibrant orange-tinted whipped cream. Perfect for Halloween celebrations, it’s simple to assemble and requires no baking, making it an ideal make-ahead treat that impresses with its colorful appearance and rich, smooth texture.
- Prep Time: 20 minutes
- Cook Time: 0 minutes
- Total Time: 6 hours 20 minutes (including chilling time)
- Yield: 12 servings 1x
- Category: Dessert
- Method: No-Cook
- Cuisine: American
Ingredients
Whipped Cream Mixture
- 4 cups heavy whipping cream (1 quart)
- 1 teaspoon vanilla extract
- 1 cup powdered sugar
- Orange gel food coloring (enough to create 3 different shades)
Cookie Layers
- 2 (14.5 ounce) packages Oreo cookies (about 42 cookies total, plus extra for filling gaps as needed)
Decoration
- Orange icing
- Sprinkles
Instructions
- Prepare the Pan: Line a 9-inch springform pan with plastic wrap or parchment paper so that it extends about an inch above the pan sides to easily lift the cake later.
- Make Whipped Cream: In the bowl of an electric mixer fitted with a whisk attachment, combine the heavy whipping cream, vanilla extract, and powdered sugar. Whisk on high speed until stiff peaks form, which takes about 5 minutes.
- Color the Whipped Cream: Divide the whipped cream evenly into 3 separate bowls. Add varying amounts of orange gel food coloring to each bowl and gently fold the color in until fully incorporated, creating three different shades of orange from light to dark.
- First Layer of Cookies: Place a single layer of Oreo cookies at the bottom of the prepared pan. If there are gaps, fill them with broken pieces of Oreos, although this is optional.
- First Whipped Cream Layer: Spread one-third of the darkest orange whipped cream over the cookie layer evenly with a spatula.
- Second Cookie Layer: Add another layer of whole Oreo cookies on top of the whipped cream.
- Second Whipped Cream Layer: Spread one-third of the medium shade orange whipped cream evenly over the second cookie layer.
- Top Layer: Place a final layer of Oreo cookies, followed by the remaining lightest shade of whipped cream spread evenly on top. Cover the cake with plastic wrap.
- Chill: Refrigerate the cake for a minimum of 6 hours or overnight to allow the cookies to soften and flavors to meld.
- Decorate and Serve: Remove the cake from the refrigerator and carefully lift it out of the pan using the plastic wrap. Decorate the top with orange icing and sprinkles as desired, then slice and serve.
Notes
- Using gel food coloring ensures vibrant orange hues without watering down the whipped cream.
- The cake can be made up to 24 hours in advance and kept covered in the refrigerator.
- For easier removal, make sure the plastic wrap or parchment paper is well overhanging the pan edges.
- If you prefer a less sweet treat, adjust the powdered sugar quantity to taste.
- Leftovers should be stored refrigerated and consumed within 3 days for optimal freshness.
Keywords: Halloween dessert, icebox cake, Oreo cake, no-bake dessert, whipped cream cake, festive dessert, layered cake


