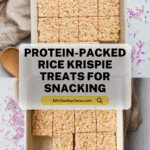
Protein Rice Krispie Treats Recipe
If you’re looking for a snack that marries nostalgia with a healthy twist, Protein Rice Krispie Treats might just become your new obsession. Imagine biting into a chewy, marshmallowy square that doesn’t just satisfy your sweet tooth but also packs a punch of protein — all while retaining the classic crispy, gooey texture you remember from childhood. This recipe is super simple, yet it delivers in flavor, satiety, and fun, making it perfect for everything from post-workout munchies to afternoon treats shared with friends.
Ingredients You’ll Need
One of the best things about Protein Rice Krispie Treats is how it transforms a handful of pantry staples into something magical and, dare I say, a little bit addictive. These four core ingredients work together to create those iconic layers of sweetness, crunch, and chewy satisfaction — with a hidden nutritional boost.
- Butter: Adds creaminess and rich flavor, helping to bind everything together with a subtle savory note.
- Marshmallows: The glue (and the goo!) that lends these treats their signature chew and sugary shine.
- Protein Powder: Pumps up the nutritional value without altering the flavor much; stick with a neutral or vanilla-flavored powder for best results.
- Rice Krispies: The classic base brings unmistakable crunch and that iconic lightness — don’t be tempted to swap with anything else for authenticity!
How to Make Protein Rice Krispie Treats
Step 1: Melt the Butter
Start by placing a large pot over low heat and dropping in the butter. Let it melt gently, swirling the pan occasionally to coat the bottom. This slow melt is key to developing rich depth of flavor without browning or burning the butter.
Step 2: Add and Melt the Marshmallows
Toss all your marshmallows into the warm butter, stirring frequently. As the mixture heats, you’ll see the marshmallows become glossy and start to lose their shape. Continue stirring until you reach a totally smooth, lump-free texture — this ensures every bite of your Protein Rice Krispie Treats is creamy and cohesive.
Step 3: Stir in the Protein Powder
Remove the pot from the heat, then quickly add in your protein powder. Stir briskly; as the marshmallow mixture cools, it will start to stiffen, so work efficiently to evenly distribute the powder and avoid lumps. This step sneaks in all that extra protein without sacrificing the beloved marshmallow stretch.
Step 4: Fold in the Rice Krispies
Pour in the Rice Krispies and use a sturdy spatula or wooden spoon to fold them into the mixture. Work gently but thoroughly to coat every puffed grain with the marshmallow-protein goodness, which is the heart and soul of great Protein Rice Krispie Treats.
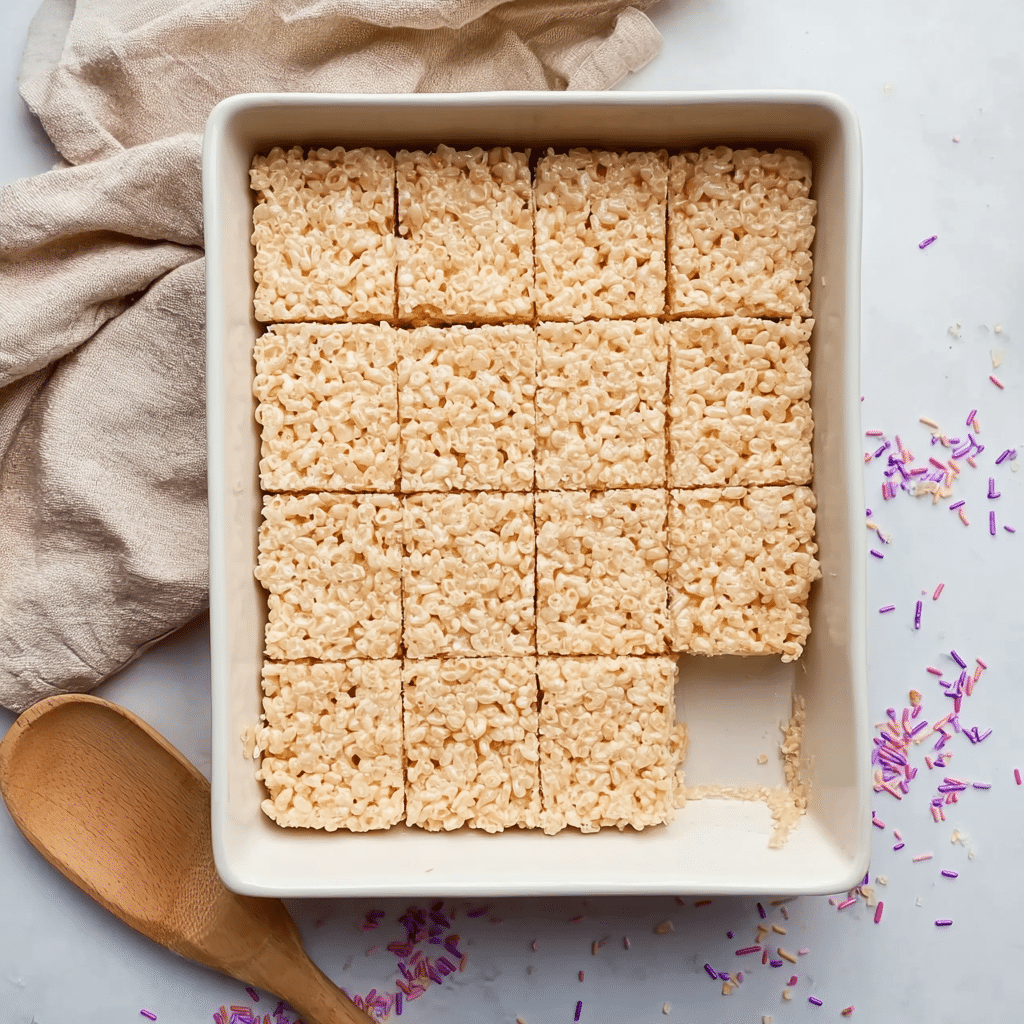
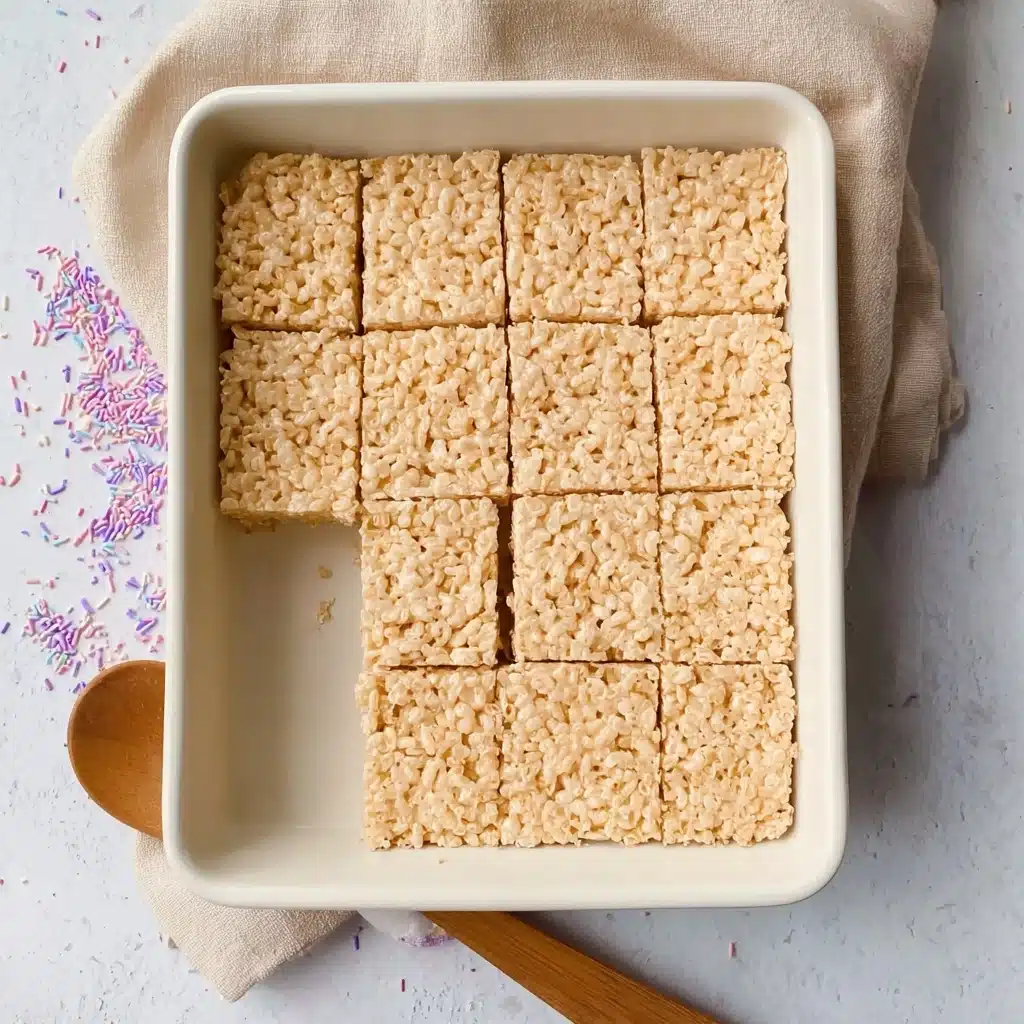
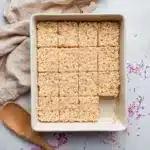
Step 5: Press, Set, and Slice
Coat a 9×13-inch pan with cooking spray (avocado oil spray is my favorite for a neutral taste) and also spray the back of your spoon or your hands. Scrape the mixture into the pan, then press it out evenly to the edges, smoothing the surface. Let the treats set at room temperature for 1–2 hours to achieve the ideal balance of soft chew and crisp bite.
How to Serve Protein Rice Krispie Treats
Garnishes
For an extra flourish, try sprinkling a handful of mini chocolate chips, a drizzle of melted peanut butter, or a dash of colorful sprinkles across the top while the treats are still slightly warm. These little touches make your Protein Rice Krispie Treats look party-ready and add even more flavor layers.
Side Dishes
Pair your treats with a cool glass of milk (dairy or non-dairy), a fresh fruit platter, or a protein smoothie for a balanced snack. The light, sweet crunch of Protein Rice Krispie Treats contrasts beautifully with juicy fruit or creamy beverages, making snack time feel extra special.
Creative Ways to Present
Cut your treats into fun shapes using cookie cutters, or skewer them onto sticks for playful, portable snacks. Stack squares on a pretty platter with parchment between layers, or wrap individual treats in wax paper for grab-and-go gym snacks or lunchbox surprises. There’s no wrong way to share the love!
Make Ahead and Storage
Storing Leftovers
Store any leftover Protein Rice Krispie Treats in an airtight container at room temperature for up to 3 days. They’ll keep their signature chewiness and crunch, making them ideal for prepping ahead for busy weeks or friendly gatherings.
Freezing
You can freeze Protein Rice Krispie Treats! Individually wrap squares in plastic wrap and store them in a freezer-safe bag or container for up to one month. When you need a quick protein fix, just let them thaw at room temperature for 30–60 minutes.
Reheating
For a just-made taste, pop an individual square in the microwave for 5–10 seconds. This refreshes the marshmallow and brings back a bit of that gooey texture. Just be careful not to overheat, as they can melt quickly!
FAQs
Can I use vegan marshmallows and butter?
Absolutely! Vegan marshmallows and plant-based butter work wonderfully in Protein Rice Krispie Treats. Keep in mind that vegan marshmallows sometimes melt a bit differently, so stir gently and allow a little extra time for them to become smooth.
What kind of protein powder is best?
A neutral or vanilla-flavored whey, casein, or plant-based protein powder all work well. Choose a type you enjoy, since its flavor will subtly peek through in the final treat. Avoid protein powders with strong artificial sweeteners unless you love their taste.
Can I add mix-ins like nuts or dried fruit?
Definitely! Chopped nuts, dried cranberries, or even a handful of seeds can be added for extra nutrition and texture. Just fold them in with the Rice Krispies to keep them evenly distributed.
Why are my treats too hard or crumbly?
If the marshmallow mixture is cooked too long or at too high a heat, it can become tough as it cools. Always melt on low heat and move quickly when mixing in the protein powder and cereal. Press gently into the pan to avoid packing the treats too tightly.
How can I make them gluten-free?
Simply swap in certified gluten-free crisped rice cereal, and double-check that your protein powder and marshmallows are gluten-free. You’ll still enjoy the same delicious flavor and texture in your gluten-free Protein Rice Krispie Treats!
Final Thoughts
Once you’ve tried Protein Rice Krispie Treats, you’ll never look at traditional cereal bars the same way. They’re fun, easy to make, and bring a delightful protein punch to snack time. Give them a whirl — you might just find these upgraded classics become a staple in your homemade treat arsenal!
PrintProtein Rice Krispie Treats Recipe
Delicious and protein-packed twist on the classic Rice Krispie Treats, perfect for a quick snack or dessert.
- Prep Time: 10 minutes
- Cook Time: 10 minutes
- Total Time: 20 minutes
- Yield: 12 bars 1x
- Category: Dessert
- Method: Mixing, Pressing
- Cuisine: American
- Diet: Vegetarian
Ingredients
Butter:
- 3 tbsps (44 grams)
Marshmallows:
- 6 cups (11 ounces)
Protein Powder:
- 1 cup (84 grams)
Rice Krispies:
- 6 cups (211 grams)
Instructions
- Melt Butter: In a large pot over low heat, melt the butter.
- Add Marshmallows: Once butter is melted, add the marshmallows, and stir often until smooth and lump-free. Remove from heat.
- Stir in Protein Powder: Add the protein powder and stir quickly.
- Combine with Rice Krispies: Add Rice Krispies and mix until well combined.
- Press Into Pan: Spray a 9×13 pan with cooking oil, transfer the mixture, and press it down. Let set for 1-2 hours.
Notes
- You can add a dash of vanilla extract for extra flavor.
- For a chocolatey version, mix in some cocoa powder with the protein powder.
Nutrition
- Serving Size: 1 bar
- Calories: 200
- Sugar: 15g
- Sodium: 150mg
- Fat: 5g
- Saturated Fat: 3g
- Unsaturated Fat: 2g
- Trans Fat: 0g
- Carbohydrates: 35g
- Fiber: 1g
- Protein: 5g
- Cholesterol: 10mg
Keywords: Protein, Rice Krispie Treats, Snack, Dessert, Marshmallows

