Spicy Salmon Sushi Bake Recipe
Introduction
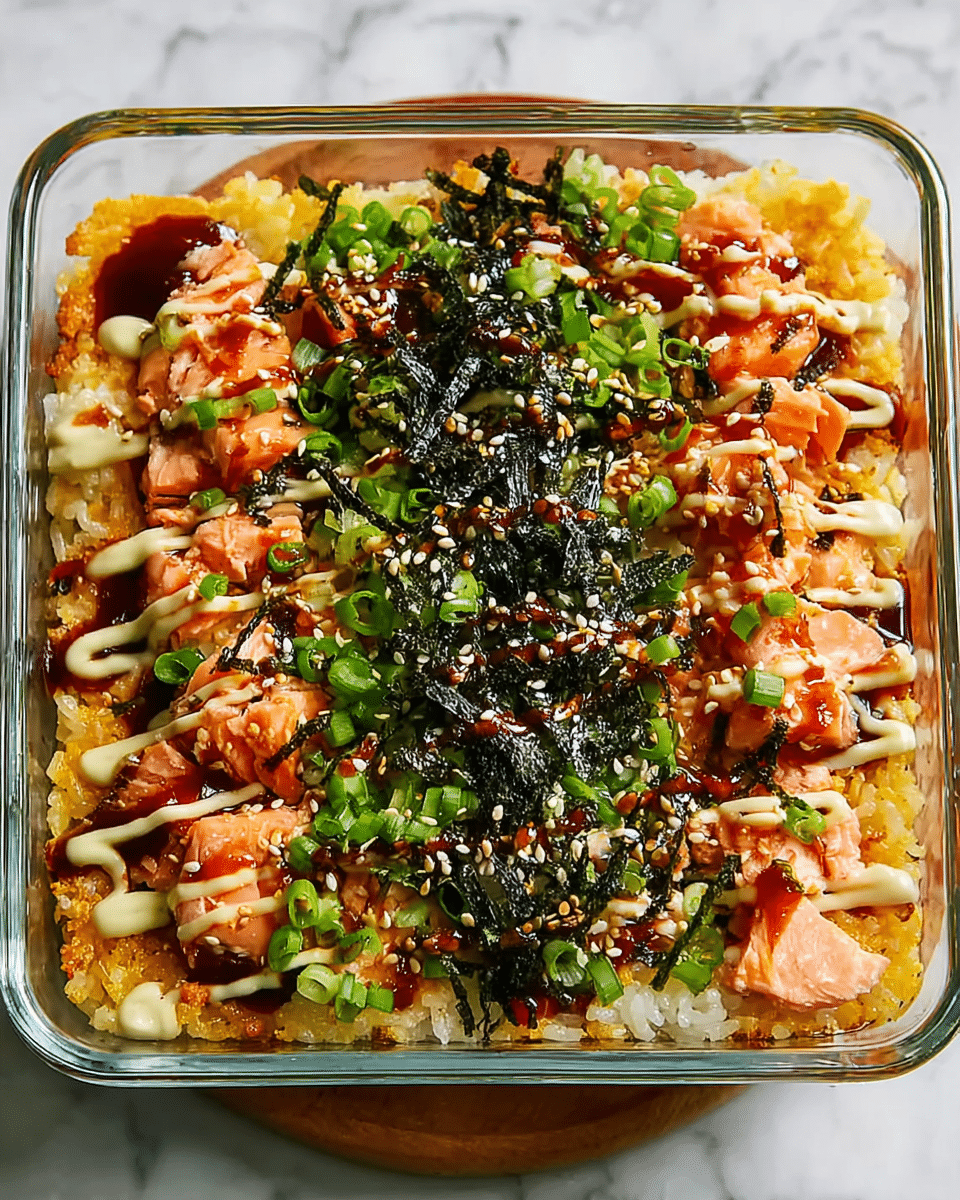
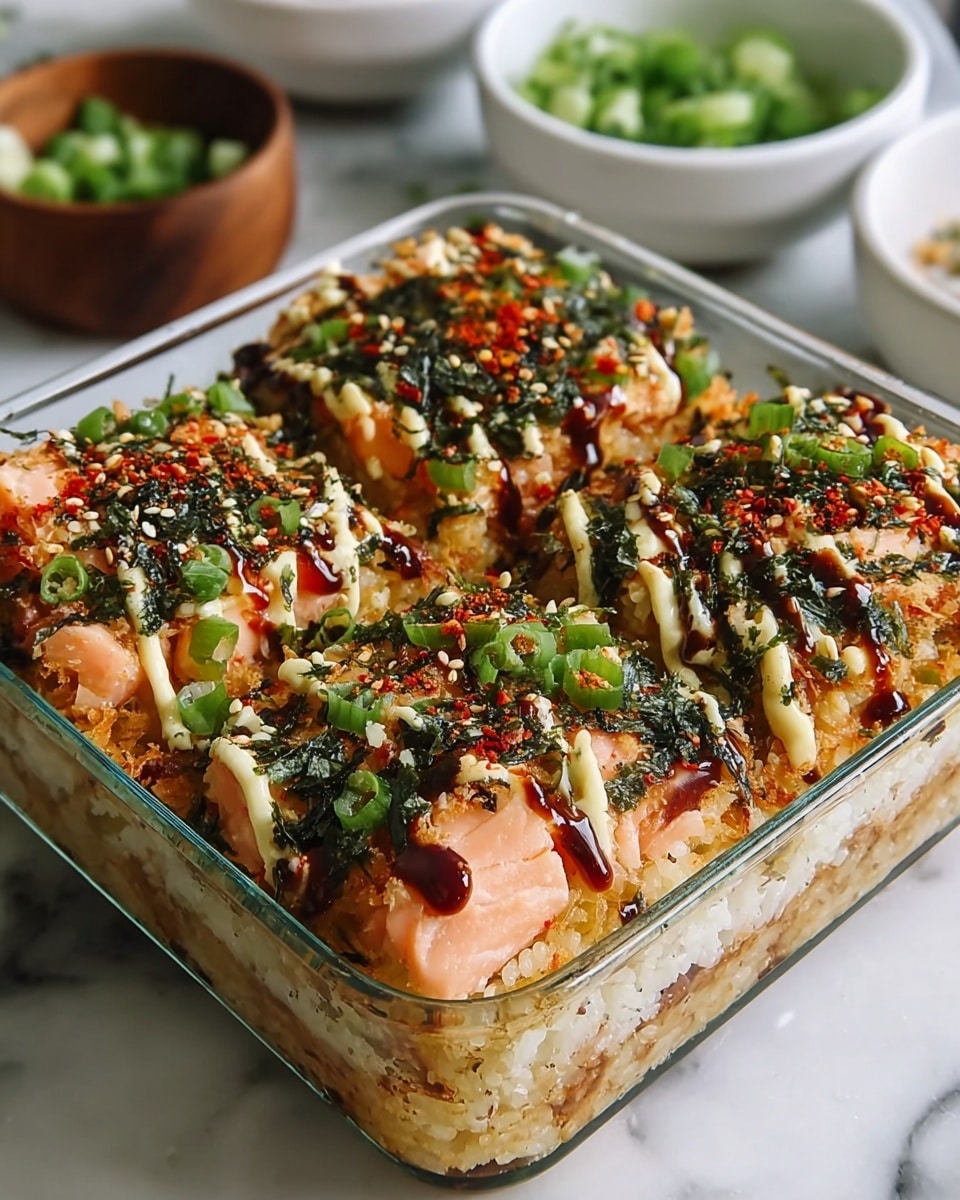
This Spicy Salmon Sushi Bake is a delicious, easy-to-make twist on traditional sushi that you can enjoy from the comfort of your own kitchen. Layers of seasoned sushi rice, creamy spicy salmon, and fresh toppings come together for a crowd-pleasing dish perfect for gatherings or weeknight dinners.
Ingredients
- 1 cup sushi rice
- ¼ cup rice wine vinegar
- 2 teaspoons sugar
- 1 teaspoon salt
- ½ cup furikake seasoning
- 8 oz salmon fillets (2 portions)
- 1 tablespoon soy sauce (gluten free or tamari if needed)
- ¼ cup cream cheese, softened
- ¼ cup mayonnaise (Kewpie or regular)
- 2 tablespoons sriracha sauce or sambal oelek
- 1 avocado, sliced or cubed
- ½ cucumber, sliced or cubed
- 2 green onions, sliced
- Nori seaweed sheets
- Additional Kewpie mayo for drizzling
- Unagi sauce for drizzling
Instructions
- Step 1: Rinse the sushi rice thoroughly under cold water using a fine mesh sieve until the water runs clear.
- Step 2: Cook the rinsed rice according to package instructions, usually about 20 minutes.
- Step 3: Once cooked, gently fold in the rice wine vinegar, sugar, and salt using a rice paddle or spatula. Set aside to cool slightly.
- Step 4: Rub the salmon fillets with soy sauce to season.
- Step 5: Cook the salmon in an air fryer at 400°F for 10 minutes, or bake in the oven at 400°F for 15-20 minutes depending on thickness. This can be done while the rice is cooking.
- Step 6: Flake the cooked salmon into small pieces with a fork.
- Step 7: In a large bowl, mix the salmon with cream cheese, mayonnaise, and sriracha until well combined.
- Step 8: Preheat the oven to 425°F. Line a 9×9 inch baking dish with parchment paper or lightly grease it with cooking spray.
- Step 9: Press the seasoned sushi rice evenly into the bottom of the prepared baking dish. Sprinkle the furikake seasoning over the rice.
- Step 10: Spread the salmon mixture evenly over the rice layer.
- Step 11: Bake for 15 minutes, until the top is heated through and slightly bubbling.
- Step 12: Remove from oven and top with drizzles of mayo and unagi sauce, then scatter sliced green onions, avocado, and cucumber on top.
- Step 13: Serve warm with squares of nori seaweed sheets for scooping.
Tips & Variations
- Use Kewpie mayo for a richer, more authentic Japanese flavor.
- Substitute sriracha with sambal oelek for a different spicy kick.
- Add thinly sliced jalapeños on top for extra heat.
- Gently press the rice before adding the salmon to ensure the bake holds its shape when served.
- Try replacing salmon with cooked crab or shrimp for a variation.
Storage
Store leftovers in an airtight container in the refrigerator for up to 2 days. Reheat in the oven at 350°F until warmed through to keep the texture intact. Avoid microwaving as it may make the rice soggy.
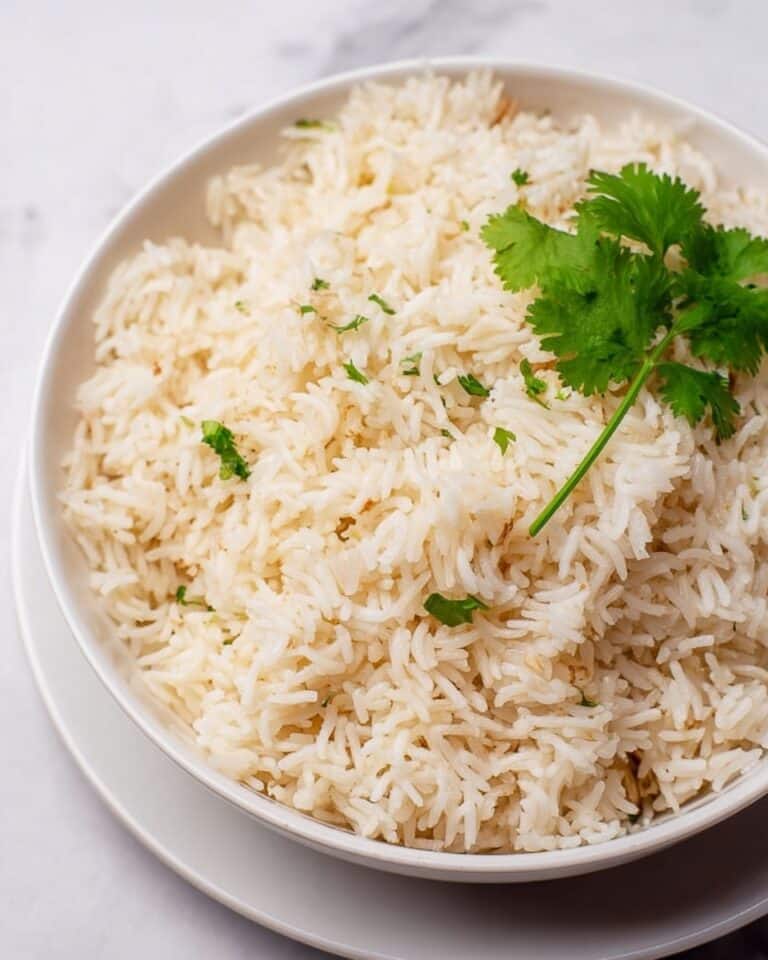
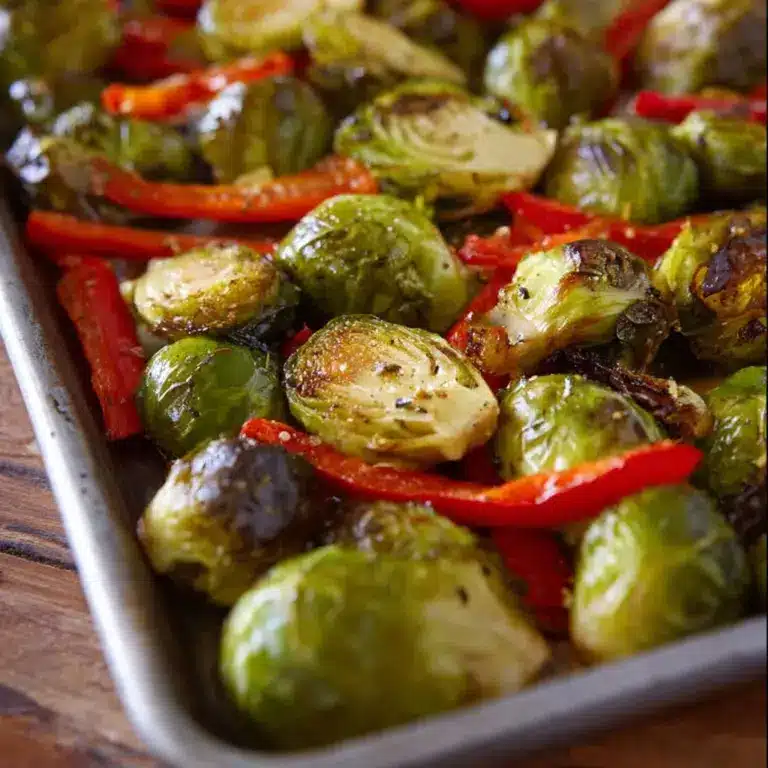
How to Serve
Serve this delicious recipe with your favorite sides.
FAQs
Can I use regular rice instead of sushi rice?
Sushi rice works best because of its sticky texture which helps the bake hold together, but you can use short-grain rice if sushi rice is unavailable. Avoid long-grain rice as it won’t bind well.
Is it necessary to cook the salmon before baking?
Yes, cooking the salmon first ensures it’s fully cooked and flakes easily. Baking the salmon mixture alone would not cook the fish thoroughly and could affect food safety.
PrintSpicy Salmon Sushi Bake Recipe

A flavorful and comforting Spicy Salmon Sushi Bake that combines tender baked salmon mixed with creamy mayo and sriracha over seasoned sushi rice. Topped with fresh avocado, cucumber, green onions, and served with nori sheets, this dish offers a delightful twist on traditional sushi, perfect for sharing or a cozy meal at home.
- Prep Time: 15 minutes
- Cook Time: 40 minutes
- Total Time: 55 minutes
- Yield: 4 servings 1x
- Category: Main Course
- Method: Baking
- Cuisine: Japanese Fusion
Ingredients
Sushi Rice
- 1 cup sushi rice
- ¼ cup rice wine vinegar
- 2 teaspoons sugar
- 1 teaspoon salt
Salmon Mixture
- ½ cup furikake seasoning
- 8 oz salmon fillets (2 portions)
- 1 tablespoon soy sauce (gluten free if needed or tamari)
- ¼ cup cream cheese, softened
- ¼ cup mayonnaise (Kewpie or regular)
- 2 tablespoons sriracha sauce or sambal oelek
Toppings
- 1 avocado, sliced or cubed
- ½ cucumber, sliced or cubed
- 2 green onions, sliced
- Nori seaweed sheets
- Additional Kewpie mayonnaise for drizzling
- Unagi sauce (optional, for drizzling)
Instructions
- Rinse the Sushi Rice: Using a fine mesh sieve, thoroughly rinse the sushi rice under cold water until the water runs clear to remove excess starch.
- Cook the Rice: Cook the rinsed rice according to the package instructions, typically about 20 minutes, until tender.
- Season the Rice: While the rice is still warm, sprinkle the rice vinegar, sugar, and salt over it. Use a rice paddle or spatula to gently fold and combine without crushing the grains. Set aside.
- Prepare the Salmon: Rub the salmon fillets with soy sauce for seasoning.
- Cook the Salmon: Air fry the salmon at 400°F for 10 minutes or bake in a preheated oven at 400°F for 15-20 minutes depending on thickness. This can be done concurrently while the rice is cooking.
- Flake the Salmon: Once cooked, break the salmon into small pieces using a fork.
- Make the Salmon Mixture: In a large bowl, combine the flaked salmon, cream cheese, mayonnaise, and sriracha sauce. Mix until smooth and well incorporated.
- Prepare the Baking Dish: Preheat the oven to 425°F. Line a 9×9-inch baking dish with parchment paper or spray it with cooking spray.
- Assemble the Sushi Bake: Press the seasoned sushi rice evenly into the bottom of the prepared baking dish. Sprinkle the furikake seasoning evenly over the rice.
- Add the Salmon Mixture: Spread the salmon mixture evenly over the layer of rice and furikake.
- Bake: Place the dish in the oven and bake for 15 minutes until the mixture is heated through and slightly bubbly.
- Add Toppings: Remove the bake from the oven and drizzle with additional Kewpie mayonnaise and unagi sauce if using. Top with sliced green onions, avocado, and cucumber.
- Serve: Serve warm with squares of nori sheets for wrapping and enjoying each bite like sushi.
Notes
- You can substitute sriracha with sambal oelek for a different level of heat.
- Using Kewpie mayonnaise adds a richer, umami flavor typical of Japanese cuisine, but regular mayo works fine.
- Ensure the salmon is fully cooked before flaking to avoid any raw texture.
- This dish is great for make-ahead meals and leftovers reheat well in the oven.
- Adjust the amount of sriracha to suit your spice preference.
Keywords: Spicy salmon sushi bake, baked sushi, salmon recipe, sushi rice bake, Japanese fusion dish


