Easy Baked Pears Recipe
Introduction
Easy baked pears are a warm and comforting dessert that highlights the natural sweetness of ripe fruit. With just a few simple ingredients, you can create a delicious dish perfect for a quick treat or elegant finish to any meal.
Ingredients
- 4 large pears (or 6 medium pears)
- 1/4 teaspoon ground cinnamon
- 1/2 cup (120ml) pure maple syrup
- 1 teaspoon pure vanilla extract
- Optional toppings: maple almond granola & plain Greek yogurt
Instructions
- Step 1: Preheat your oven to 375°F (190°C). Lightly spray a large baking pan or line a baking sheet with parchment paper or a silicone baking mat, then set aside.
- Step 2: Cut the pears in half and scoop out the seeds using a cookie scoop, melon baller, or spoon. Arrange the pear halves facing up in the prepared pan.
- Step 3: Sprinkle the pears evenly with ground cinnamon, adding more if you prefer a stronger flavor.
- Step 4: Whisk together the maple syrup and vanilla extract, then drizzle this mixture over the pears.
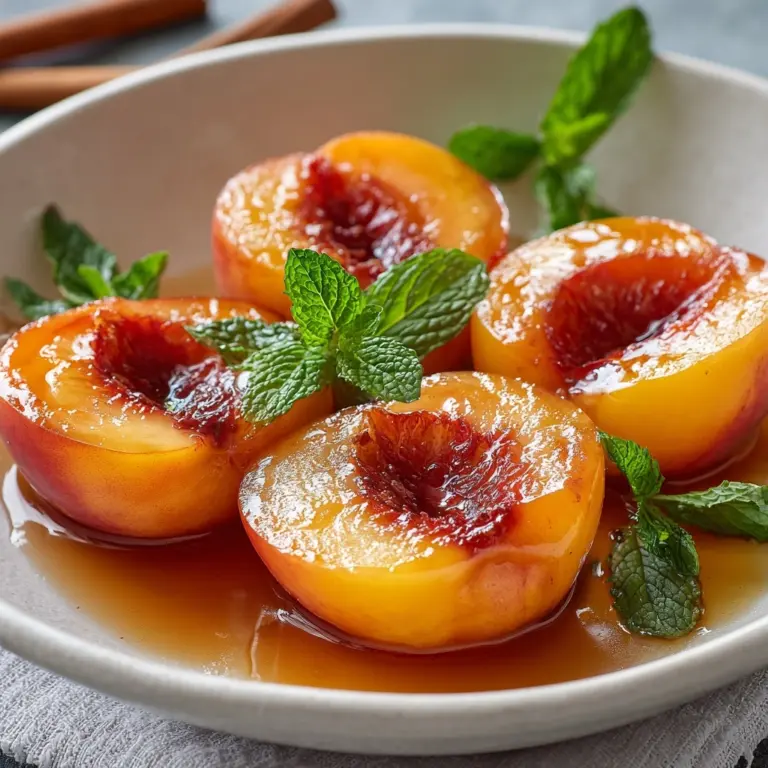
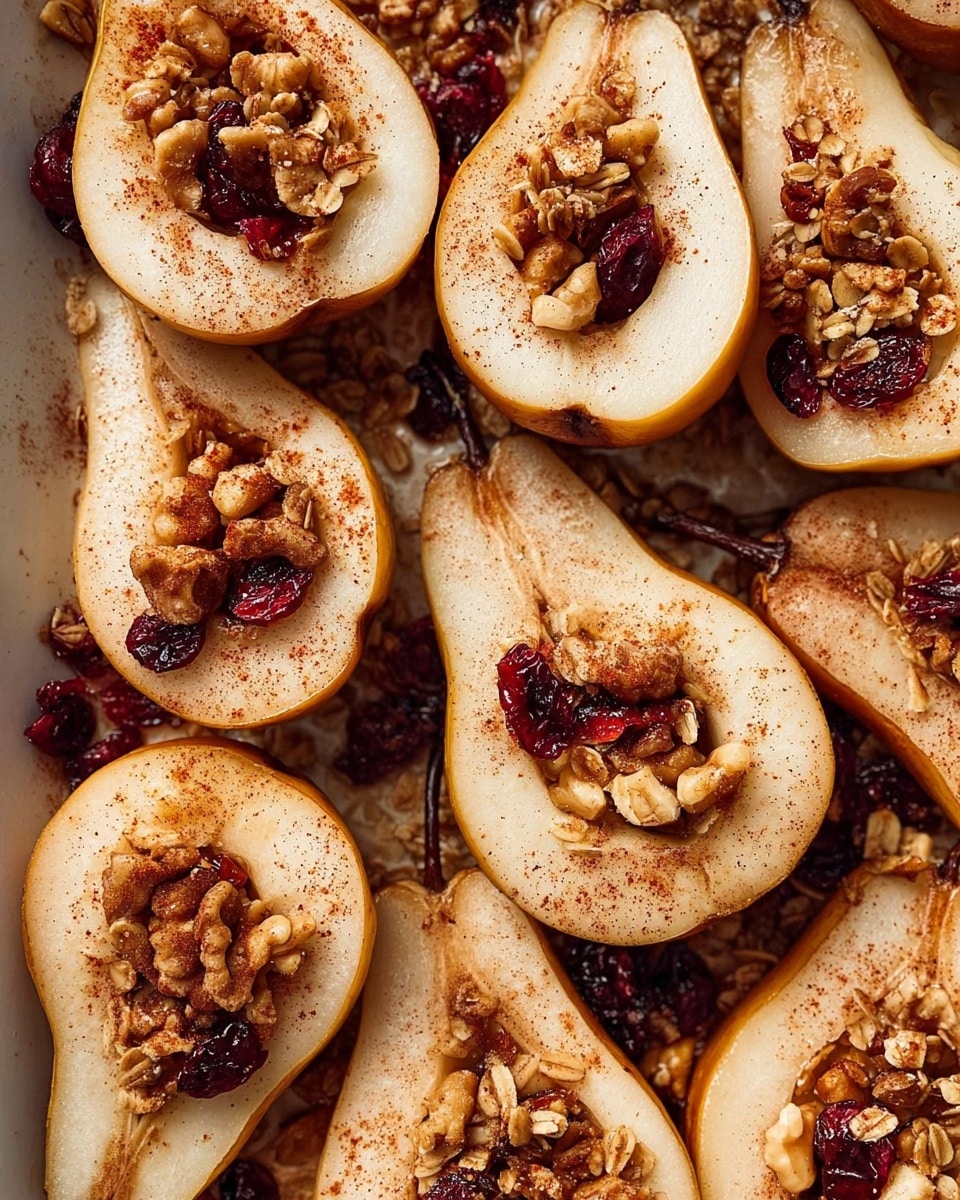
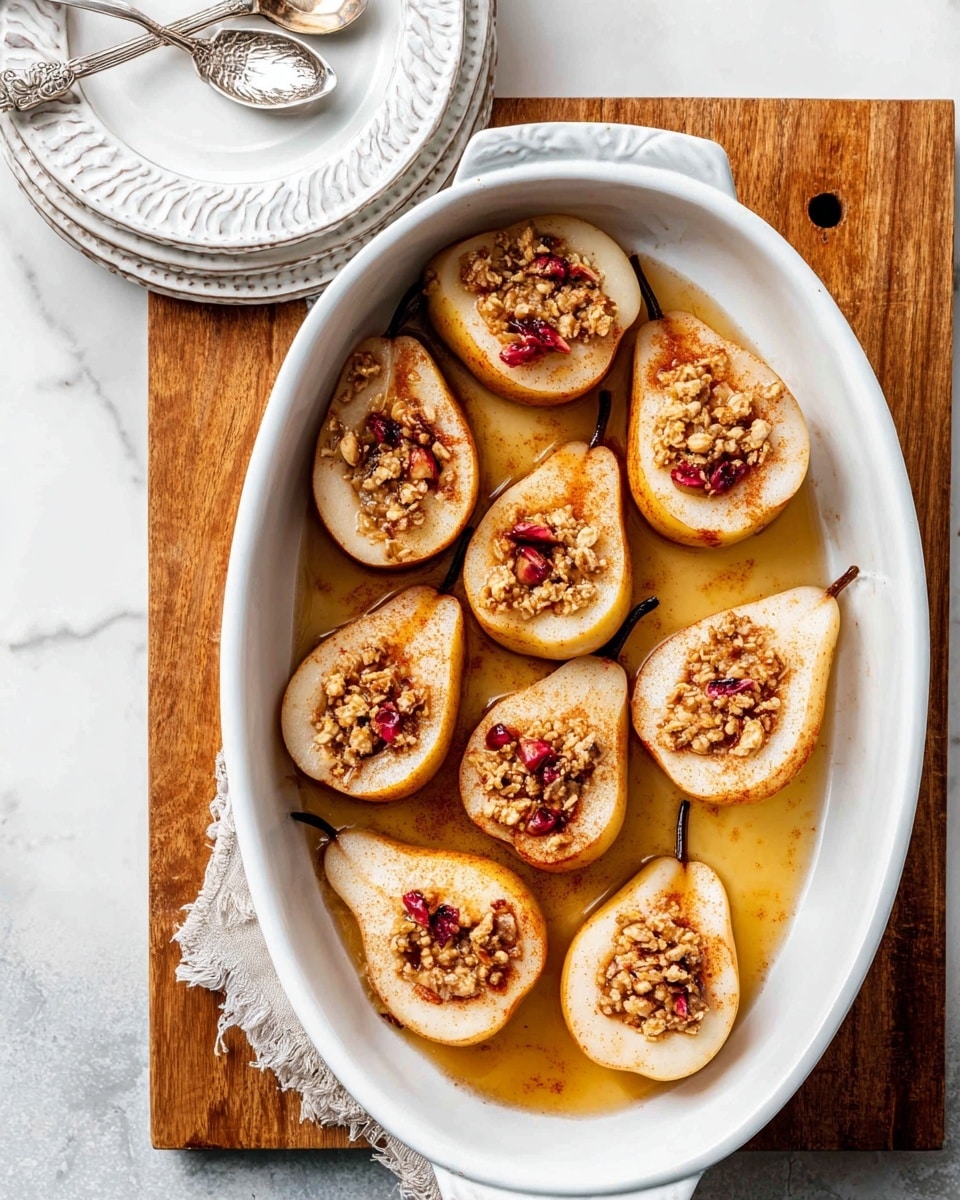
- Step 5: Bake the pears uncovered for about 25 minutes, until they are soft and lightly browned at the edges. If your pears are very firm, bake a little longer as needed.
- Step 6: Remove from the oven and serve warm. Top with maple almond granola and plain Greek yogurt if desired for added texture and creaminess.
Tips & Variations
- Try using different types of pears like Bosc or Anjou for varying textures and sweetness.
- Swap maple syrup for honey or agave nectar for a different flavor profile.
- For extra richness, drizzle a little melted butter over the pears before baking.
- Add a pinch of nutmeg or ground ginger along with cinnamon for a warm spice mix.
Storage
Store any leftover baked pears in an airtight container in the refrigerator for up to 5 days. Reheat gently in the microwave or oven before serving to enjoy their soft texture and sweet flavor.
How to Serve
Serve this delicious recipe with your favorite sides.
FAQs
Can I use canned pears for this recipe?
It’s best to use fresh pears for baking as canned pears are already cooked and may become too mushy when baked again.
How do I know when the pears are done?
The pears are ready when they are soft to the touch and have lightly browned edges. A fork or skewer should easily pierce the flesh.
PrintEasy Baked Pears Recipe
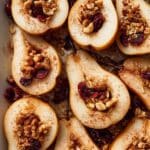
Easy Baked Pears is a simple and wholesome dessert featuring ripe pears baked with warm cinnamon and sweetened with pure maple syrup and vanilla extract. This effortless recipe delivers tender, caramelized pears perfect for a healthy treat, topped optionally with crunchy maple almond granola and creamy Greek yogurt.
- Prep Time: 10 minutes
- Cook Time: 25 minutes
- Total Time: 35 minutes
- Yield: 4 servings 1x
- Category: Dessert
- Method: Baking
- Cuisine: American
- Diet: Vegetarian
Ingredients
Pears
- 4 large pears (or 6 medium pears)
Flavorings
- 1/4 teaspoon ground cinnamon
- 1/2 cup (120ml) pure maple syrup
- 1 teaspoon pure vanilla extract
Optional toppings
- Maple almond granola
- Plain Greek yogurt
Instructions
- Preheat and Prepare Pan: Preheat your oven to 375°F (190°C). Lightly spray a large baking pan or line a baking sheet with parchment paper or a silicone baking mat. This prevents sticking and ensures even cooking.
- Prepare Pears: Cut the pears in half and use a cookie scoop, melon baller, or spoon to core out the seeds. Arrange the pears cut side up in the prepared pan or on the baking sheet. Sprinkle the pears evenly with ground cinnamon for warm spice flavor.
- Add Sweet Flavor: In a small bowl, whisk together the maple syrup and vanilla extract until combined. Drizzle this syrup mixture evenly over all the pear halves, ensuring each gets a dose of sweetness and aroma.
- Bake Pears: Place the pan in the oven uncovered, baking for about 25 minutes until the pears are soft and have lightly browned edges. If pears are very firm, add additional baking time as needed. The pears should be tender but hold their shape.
- Serve and Store: Remove from oven and serve warm. Optionally, top with maple almond granola and plain Greek yogurt for added texture and creaminess. Cover leftovers and store in the refrigerator for up to 5 days.
Notes
- You can adjust the amount of cinnamon to your taste preference; more cinnamon will add extra spice and warmth.
- If pears are particularly firm or unripe, increase baking time by 5-10 minutes for softness.
- Using ripe pears will yield the best natural sweetness and texture.
- This recipe is great for meal prep or a make-ahead dessert since leftovers keep well refrigerated.
- For a vegan version, use a plant-based yogurt instead of Greek yogurt as a topping.
Keywords: baked pears, maple syrup pears, cinnamon pears, healthy dessert, easy fruit dessert, baked fruit, fall dessert