Easy Oreo Cake Cheesecake Recipe
Introduction
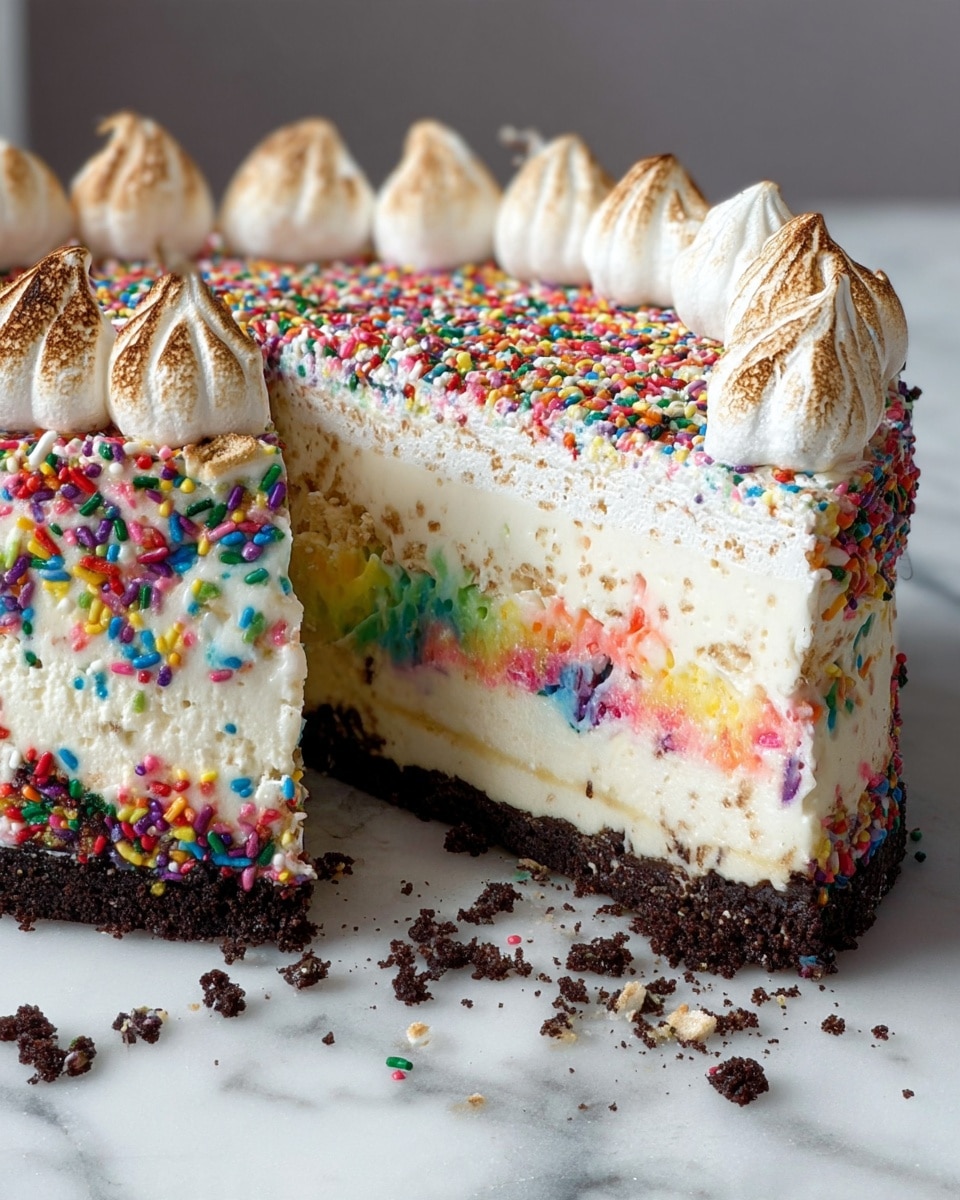
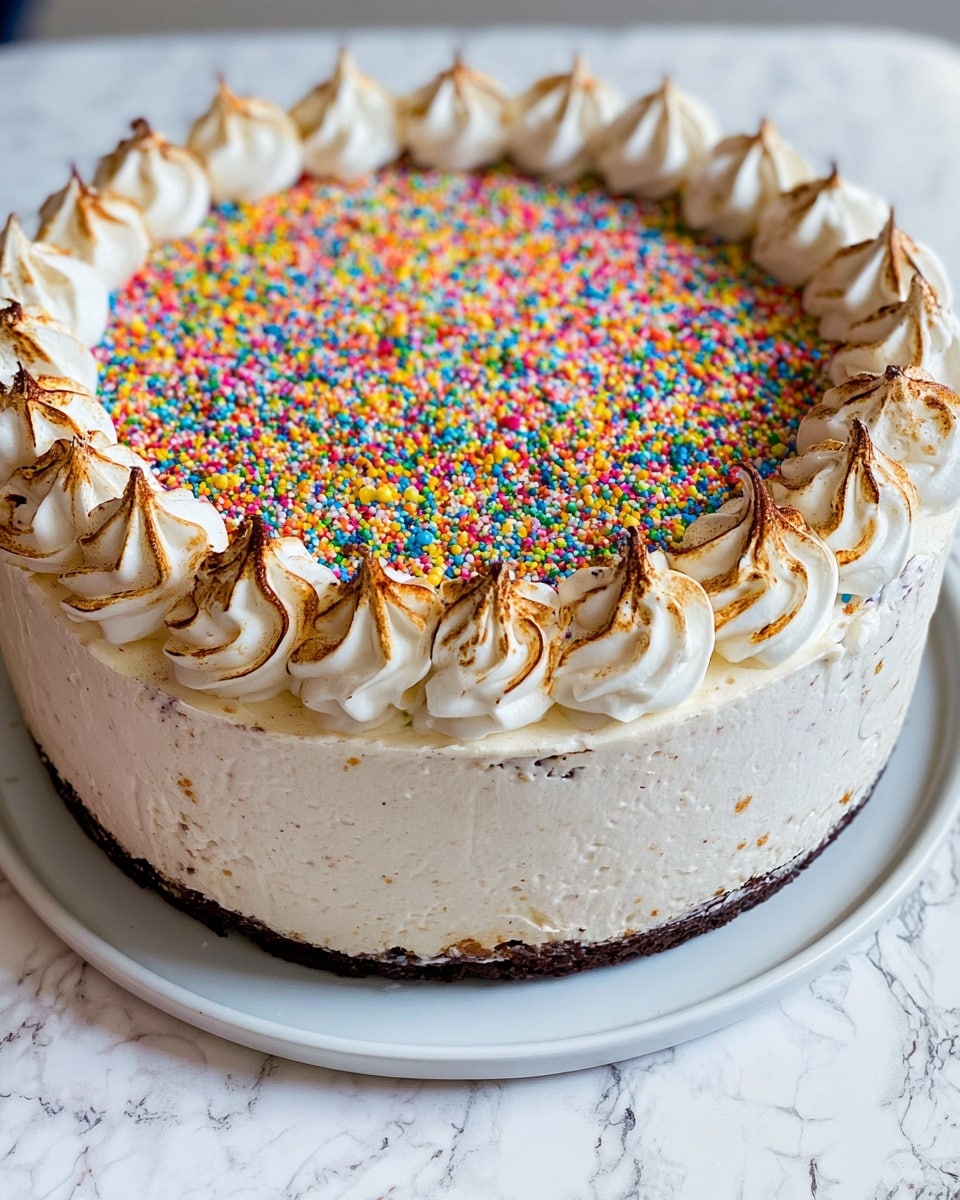
This easy Oreo cake cheesecake blends a crunchy Oreo crust with a creamy, fluffy cheesecake filling and a optional toasted meringue topping for a showy finish. It bakes no oven beyond chilling the filling and comes together with simple pantry ingredients for a crowd-pleasing dessert.
Ingredients
- 24 Oreos
- 4 tbsp unsalted butter, melted (60 g)
- 32 oz cream cheese, softened
- 1 cup granulated sugar
- 2 tsp vanilla extract
- 2 tsp lemon juice
- 2 cups heavy whipping cream
- 2 large egg whites
- 1/2 cup granulated sugar
- Pinch of kosher salt
- 1 tsp vanilla extract
Instructions
- Step 1: Make the crust: put the Oreos in a food processor and pulse until you have fine crumbs. Transfer to a bowl, stir in the melted butter, and mix until evenly moistened.
- Step 2: Press the mixture firmly into the bottom of a 9-inch springform pan lined with parchment paper. Chill in the fridge while you make the filling.
- Step 3: Make the cheesecake filling: in a large bowl, beat the softened cream cheese and sugar until smooth and creamy. Scrape down the sides as needed to remove lumps. Mix in the vanilla extract and lemon juice.
- Step 4: Gradually pour in the heavy cream in 3–4 additions, whipping after each one. Keep beating until the mixture turns light, fluffy, and holds soft peaks.
- Step 5: Assemble and chill: pour the cheesecake filling over the chilled crust and smooth the top. Cover the pan and refrigerate for 8–12 hours, or overnight, until fully set. Add sprinkles if desired.
- Step 6: Optional Swiss meringue topping: in a heatproof bowl, combine the egg whites, sugar, and salt. Set the bowl over a pot of simmering water, ensuring the bottom doesn’t touch the water. Gently whisk for about 4 minutes, until the sugar dissolves and the mixture is warm to the touch and smooth.
- Step 7: Transfer the bowl to a stand mixer and beat on medium-low until foamy. Increase the speed and continue whipping until stiff, glossy peaks form and the bowl feels cool, about 4–5 minutes. Add the vanilla and mix just to combine.
- Step 8: Pipe the meringue around the edges of the cheesecake and torch it until golden brown for a toasted marshmallow vibe and supportive structure.
Tips & Variations
- Chill the crust fully before filling to help prevent cracking.
- You can skip the meringue topping for a simpler cheesecake or use whipped cream instead for a lighter finish.
- For easier slice clean-up, run a warm knife between slices when serving.
Storage
Keep the cheesecake covered in the fridge for up to 3–4 days. The flavor deepens slightly as it rests. If using the meringue topping, store without the torching until ready to serve to prevent melting.
How to Serve
Serve this delicious recipe with your favorite sides.
FAQs
Can I bake this cheesecake instead of chilling?
This recipe relies on chilling to set the cheesecake. Baking is not recommended here as it may alter texture and require different timing.
Can I make this ahead or freeze it?
Yes, you can make the filling and crust ahead and assemble once cooled. The cheesecake freezes well for up to 1 month; thaw overnight in the fridge before serving.
PrintEasy Oreo Cake Cheesecake Recipe

A decadent no-bake Oreo cake cheesecake with a creamy vanilla filling layered over a crunchy Oreo crust, finished with optional toasted Swiss meringue. No oven required—perfect for a show-stopping dessert any time.
- Prep Time: 20 minutes
- Cook Time: 0 minutes
- Total Time: 8 hours 40 minutes
- Yield: 12 slices 1x
- Category: Dessert, Cheesecake
- Method: No-Cook
- Cuisine: American
- Diet: Vegetarian
Ingredients
Crust
- 24 Oreo cookies
- 4 tbsp unsalted butter, melted (60 g)
Cheesecake Filling
- 32 oz cream cheese, softened (4 blocks)
- 1 cup granulated sugar
- 2 tsp vanilla extract
- 2 tsp lemon juice
- 2 cups heavy whipping cream
- Pinch of kosher salt
- 1/2 cup granulated sugar
- 1 tsp vanilla extract
Optional Swiss Meringue Topping
- 2 large egg whites
- 1/2 cup granulated sugar
- Pinch of kosher salt
- 1 tsp vanilla extract
Instructions
- Prepare the crust: Pulse Oreo cookies in a food processor until fine crumbs. Transfer to a bowl, mix in the melted butter until evenly moistened, then press firmly into the bottom of a 9-inch springform pan lined with parchment paper. Refrigerate while making the filling.
- Make the filling: In a large bowl, beat the softened cream cheese and sugar until smooth and creamy. Scrape down the sides to remove lumps. Beat in vanilla extract and lemon juice.
- Whip the cream: With the mixer on low, gradually add the heavy cream in 3–4 additions, whipping after each addition. Increase speed and continue until the mixture is light, fluffy, and holds soft peaks.
- Combine filling with whipped cream: Fold or beat gently to integrate the whipped cream into the cream cheese mixture until uniform.
- Assemble the cheesecake: Pour the filling over the chilled crust and smooth the top with a spatula. Cover with plastic wrap and refrigerate for 8–12 hours, or overnight, until fully set. Add sprinkles if desired.
- Optional Swiss meringue topping: In a heatproof bowl, whisk egg whites, sugar, and salt. Set over a pot of simmering water and whisk for about 4 minutes until sugar is dissolved and the mixture feels smooth. Remove from heat and beat on medium-low until foamy, then increase to high until stiff, glossy peaks form and the bowl is cool to the touch (4–5 minutes). Beat in vanilla just to combine.
- Finish the topping: Pipe the meringue around the edges of the cheesecake and torch until golden brown for a toasted-marshmallow vibe and extra stability to the edges.
- Serve: Let the cheesecake rest for a few minutes, then slice and serve. Store leftovers in the refrigerator.
Notes
- Chill time is essential for the filling to set properly; plan at least 8–12 hours.
- For a dairy-free version, use cream cheese alternatives and coconut cream, though texture may vary.
- If you don’t have a kitchen torch, you can skip the meringue topping or briefly broil the edges watchfully to prevent over-browning.
- Bringing ingredients to room temperature helps achieve a smoother filling with fewer lumps.
Keywords: Oreo cheesecake, no-bake cheesecake, Oreo crust, Swiss meringue topping, vanilla cheesecake, dessert