Halloween Lush Recipe
Introduction
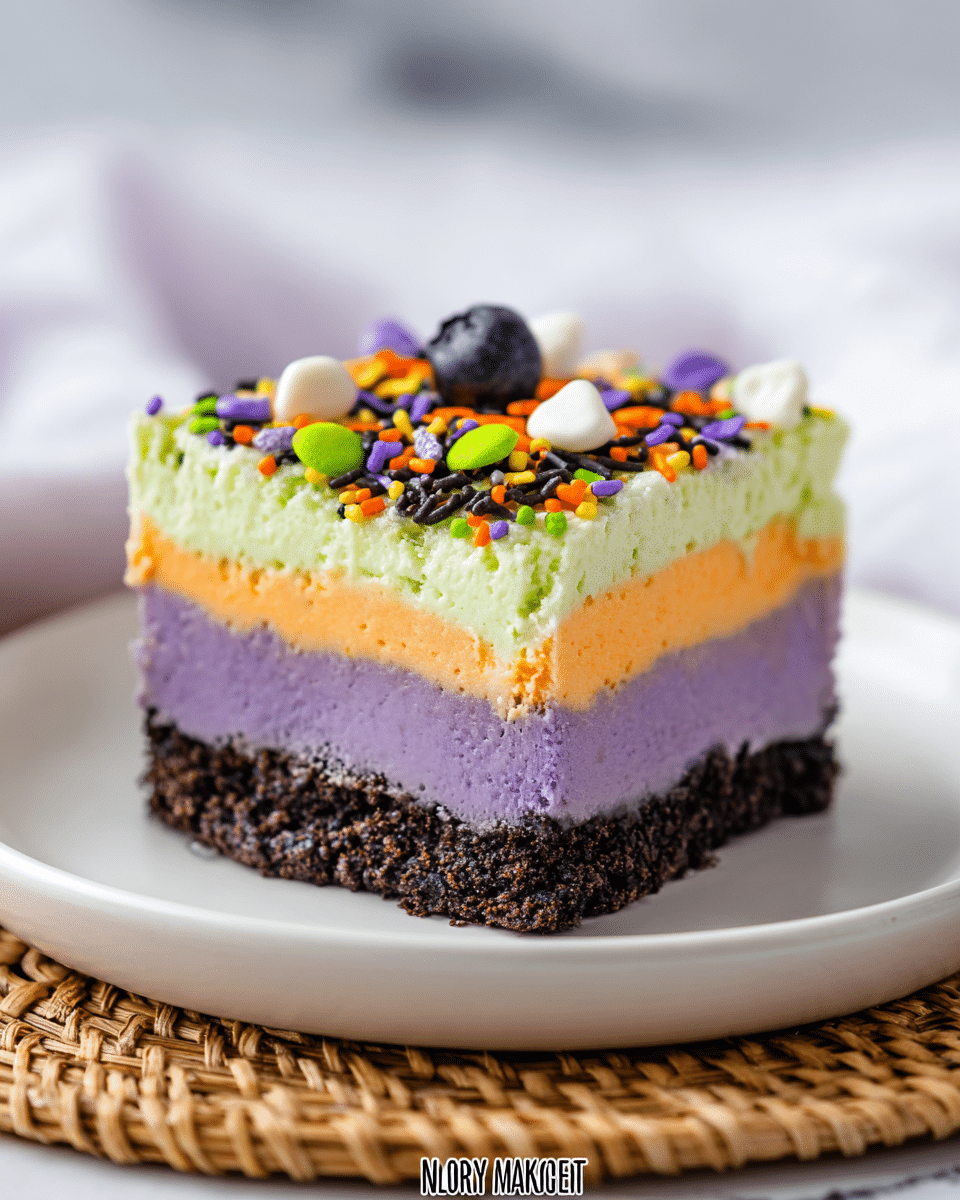
Halloween Lush is a festive, no-bake dessert perfect for spooky gatherings. Layers of cookie crust, creamy pudding, and colorful whipped topping create a fun and delicious treat everyone will love.
Ingredients
- 36 chocolate sandwich cookies
- 6 tablespoons butter, melted
- 6 ounces orange gelatin
- ⅓ cup boiling water
- 6.8 ounces vanilla instant pudding
- 2 ½ cups cold milk
- 8 ounces cream cheese, softened
- 1 cup powdered sugar
- 16 ounces whipped topping
- Green and purple food coloring
- Halloween sprinkles
Instructions
- Step 1: Using a food processor, crush all the chocolate sandwich cookies into fine crumbs.
- Step 2: Transfer the cookie crumbs to a large bowl and stir in the melted butter until well combined.
- Step 3: Press the cookie mixture firmly into the bottom of a 9×13 glass baking dish to form the crust.
- Step 4: In a small bowl, whisk together the orange gelatin and boiling water until most of the gelatin is dissolved. Set aside.
- Step 5: In a medium bowl, whisk the vanilla instant pudding mix with the cold milk until smooth. Then stir in the prepared orange gelatin until fully combined.
- Step 6: In a large bowl, beat the softened cream cheese and powdered sugar together using an electric mixer until smooth and creamy.
- Step 7: Fold in 2 cups of the whipped topping into the cream cheese mixture, stirring gently to combine.
- Step 8: Add a few drops of purple food coloring to the cream cheese layer and mix until you reach your desired purple shade.
- Step 9: Spread the purple cream cheese layer evenly over the cookie crust in the baking dish.
- Step 10: Carefully spread the orange jello and pudding mixture over the purple cream cheese layer.
- Step 11: In a separate bowl, mix the remaining whipped topping with a few drops of green food coloring until the color is evenly mixed and vibrant.
- Step 12: Spread the green whipped topping over the orange layer to create the final colorful top layer.
- Step 13: Sprinkle Halloween sprinkles on top for a festive finish.
- Step 14: Refrigerate the dessert for at least 4 hours before serving to allow the layers to set well.
Tips & Variations
- For a stronger festive look, try adding gummy worms or candy eyes along with the sprinkles on top.
- Substitute the orange gelatin with another flavor for a different taste and color combination.
- Use regular or reduced-fat cream cheese and whipped topping to lighten the dessert if desired.
- If you don’t have a food processor, place the cookies in a sealed plastic bag and crush them with a rolling pin.
Storage
Store Halloween Lush covered in the refrigerator for up to 3 days. Keep it chilled to maintain its creamy texture. When ready to serve, you can enjoy it cold or let it sit at room temperature for 10 minutes for a softer consistency.
How to Serve
Serve this delicious recipe with your favorite sides.
FAQs
Can I make Halloween Lush ahead of time?
Yes, this dessert benefits from making ahead and chilling for at least 4 hours or overnight for the flavors to meld and layers to set perfectly.
Can I use homemade whipped cream instead of whipped topping?
Absolutely! Homemade whipped cream can be used as a substitute for store-bought whipped topping for a fresher, creamier taste.
PrintHalloween Lush Recipe

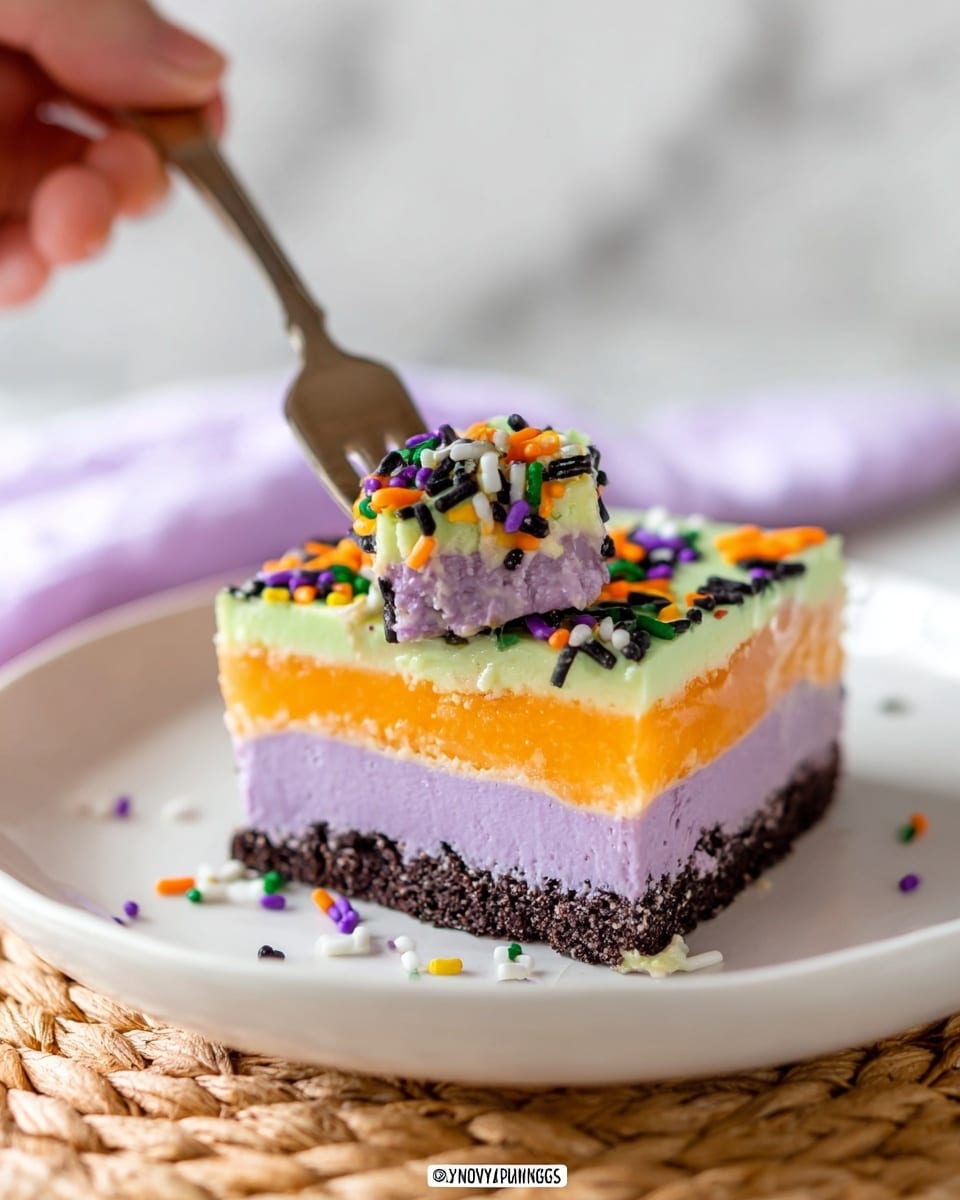
Halloween Lush is a festive, layered dessert perfect for spooky celebrations. Featuring a crunchy chocolate cookie base, creamy purple cream cheese layer, a vibrant orange gelatin-pudding mix, and a green whipped topping, this no-bake treat is as visually striking as it is delicious. Topped with Halloween sprinkles, it’s an easy and fun dessert to make and enjoy at any Halloween party.
- Prep Time: 20 minutes
- Cook Time: 0 minutes
- Total Time: 4 hours 20 minutes (including chilling time)
- Yield: 12 servings 1x
- Category: Dessert
- Method: No-Cook
- Cuisine: American
Ingredients
Crust
- 36 chocolate sandwich cookies
- 6 tablespoons butter, melted
Gelatin and Pudding Layer
- 6 ounces orange gelatin
- ⅓ cup boiling water
- 6.8 ounces vanilla instant pudding (dry mix)
- 2 ½ cups cold milk
Cream Cheese Layer
- 8 ounces cream cheese, softened
- 1 cup powdered sugar
- 16 ounces whipped topping, divided
- Green and purple food coloring
Toppings
- Halloween sprinkles
Instructions
- Prepare the Crust: Crush all the chocolate sandwich cookies into fine crumbs using a food processor. Transfer the crumbs to a large bowl and pour in the melted butter. Stir thoroughly until the cookie crumbs are fully coated and blended. Press this mixture evenly into the bottom of a 9×13 glass baking dish to form a firm crust layer.
- Make the Orange Gelatin: In a small bowl, add the orange gelatin powder and pour in ⅓ cup boiling water. Whisk continuously until the gelatin is fully dissolved and smooth.
- Prepare the Vanilla Pudding: In a medium bowl, whisk the dry vanilla instant pudding mix with 2 ½ cups cold milk until completely combined and slightly thickened.
- Combine Gelatin and Pudding: Gradually whisk the prepared orange gelatin mixture into the vanilla pudding, stirring gently until the mixture is uniform in color and texture.
- Make the Purple Cream Cheese Layer: In a large mixing bowl, beat the softened cream cheese and powdered sugar with an electric mixer on medium speed until smooth and creamy. Fold in 2 cups of whipped topping gently until blended. Add a few drops of purple food coloring and stir until you reach the desired purple shade.
- Assemble First Layer: Spread the purple cream cheese mixture evenly over the cookie crust in the baking dish.
- Add Gelatin Pudding Layer: Carefully spoon the orange gelatin-pudding mixture over the cream cheese layer, smoothing it out evenly.
- Prepare the Green Whipped Topping: Mix the remaining 14 ounces of whipped topping with a few drops of green food coloring until the desired green color is achieved.
- Add Final Layer: Spread the green tinted whipped topping gently over the gelatin layer to form the final layer of the dessert.
- Decorate and Chill: Sprinkle Halloween-themed sprinkles over the top. Refrigerate the dessert for at least 4 hours or until fully set.
- Serve: Once chilled and set, cut into squares and serve cold. Enjoy this colorful, creamy Halloween Lush!
Notes
- For best results, use full-fat cream cheese and whipped topping for a rich texture.
- You can substitute any color food coloring to customize your layers for different occasions.
- Ensure to chill the dessert thoroughly, as it needs time to set properly before serving.
- This recipe does not require baking, making it quick and easy for festive occasions.
- Store leftovers covered in the refrigerator and consume within 3 days.
Keywords: Halloween dessert, layered dessert, no-bake dessert, pudding gelatin dessert, festive dessert, chocolate cookie crust, cream cheese dessert