High-Protein Peanut Butter Cups Recipe
Introduction
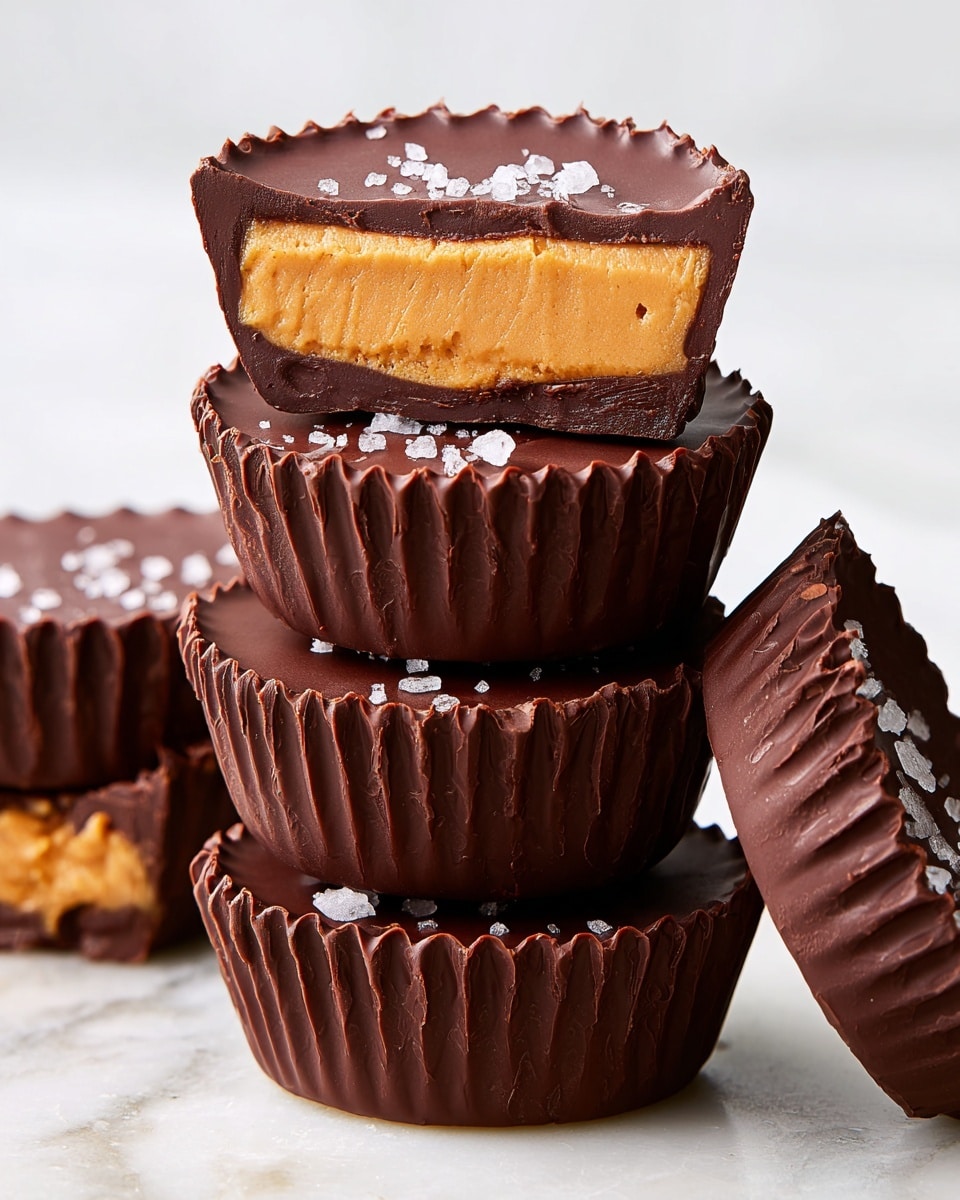
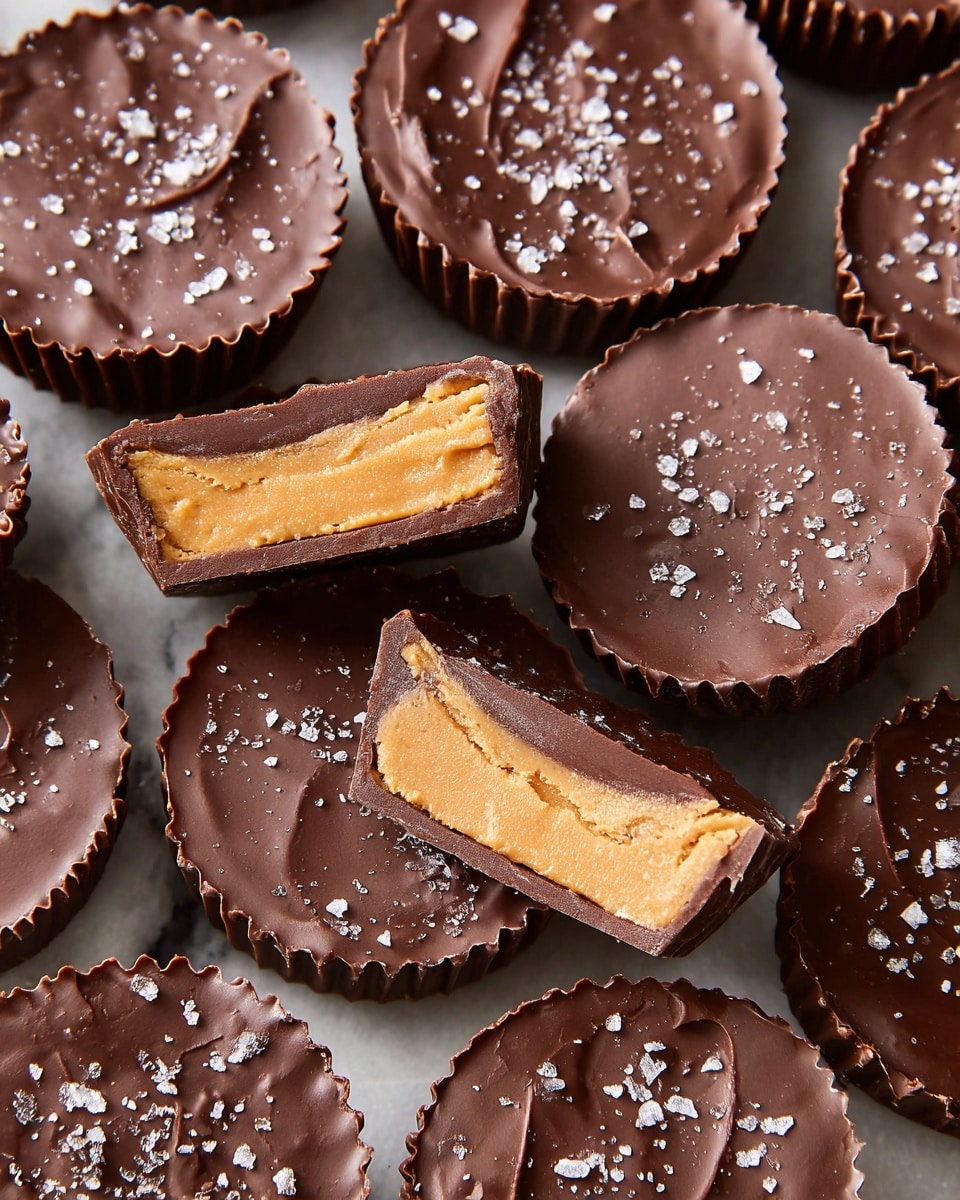
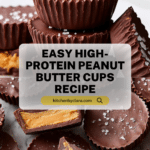
These High-Protein Peanut Butter Cups are a delicious twist on the classic treat, packed with creamy peanut butter and boosted with vanilla protein powder. They offer a satisfying, healthier indulgence perfect for a post-workout snack or anytime craving.
Ingredients
- 2 cups (340 g) semisweet chocolate chips, divided
- 1 teaspoon refined coconut oil, divided
- 2/3 cup creamy salted peanut butter (such as Skippy All-Natural)
- 1/3 cup (32 g) vanilla protein powder
- 2 tablespoons powdered peanut butter (such as PB2)
- Flaky sea salt (optional)
Instructions
- Step 1: Line 10 cups of a standard 12-cup muffin tin with paper liners.
- Step 2: In a small microwave-safe bowl, microwave 1 1/3 cups (227 g) chocolate chips and 1/2 teaspoon coconut oil in 30-second increments, stirring between each, until melted and smooth, about 2 minutes total.
- Step 3: Spoon 1 tablespoon of melted chocolate into each liner. Use an offset spatula or the back of a spoon to spread the chocolate across the bottom and about 3/4 inch up the sides.
- Step 4: Refrigerate the chocolate-lined cups until firm, about 1 hour.
- Step 5: In a small bowl, stir together the peanut butter, protein powder, and powdered peanut butter until smooth.
- Step 6: In another small microwave-safe bowl, microwave the remaining 2/3 cup (113 g) chocolate chips and 1/2 teaspoon coconut oil in 30-second increments, stirring between each, until melted and smooth, about 1 1/2 minutes total.
- Step 7: Dollop a scant 2 tablespoons (about 22 g) of the peanut butter filling into each chocolate cup. Using an offset spatula or clean fingertips, smooth to a flat layer. Top each with 2 teaspoons of melted chocolate and spread to cover the peanut filling. Sprinkle with flaky sea salt if desired.
- Step 8: Refrigerate the peanut butter cups until set, at least 1 hour.
- Step 9: For make-ahead storage, transfer the cups to an airtight container and keep refrigerated for up to 1 week or freeze in a freezer-safe container for up to 1 month.
Tips & Variations
- Use natural peanut butter for a less sweet, more wholesome filling.
- Swap vanilla protein powder for chocolate-flavored to deepen the chocolate taste.
- Add chopped peanuts inside the filling for extra crunch.
- Try using dark chocolate chips for a richer flavor and less sugar.
- If you don’t have coconut oil, substitute with a neutral oil like vegetable or canola oil.
Storage
Store the peanut butter cups in an airtight container in the refrigerator for up to one week. For longer storage, freeze them in a freezer-safe container for up to one month. To enjoy, thaw refrigerated cups at room temperature for a few minutes before eating, or unwrap frozen cups and let sit for 10–15 minutes.
How to Serve
Serve this delicious recipe with your favorite sides.
FAQs
Can I use crunchy peanut butter instead of creamy?
Yes, crunchy peanut butter will work fine and add a nice texture, but the filling might be slightly less smooth.
Is powdered peanut butter necessary?
Powdered peanut butter helps lighten the filling and reduce fat while enhancing peanut flavor. You can omit it if needed but the filling may be denser.
PrintHigh-Protein Peanut Butter Cups Recipe

These High-Protein Peanut Butter Cups are a delicious and nutritious twist on the classic treat. Made with semisweet chocolate, creamy salted peanut butter, vanilla protein powder, and powdered peanut butter, these cups provide an extra protein boost while satisfying your sweet tooth. Perfect for a post-workout snack or a healthier dessert option, these cups are easy to make and can be enjoyed chilled.
- Prep Time: 15 minutes
- Cook Time: 5 minutes
- Total Time: 2 hours 20 minutes
- Yield: 10 peanut butter cups 1x
- Category: Dessert
- Method: No-Cook
- Cuisine: American
- Diet: Low Fat
Ingredients
Chocolate Base:
- 2 cups (340 g) semisweet chocolate chips, divided
- 1 teaspoon refined coconut oil, divided
Peanut Butter Filling:
- 2/3 cup creamy salted peanut butter (such as Skippy All-Natural)
- 1/3 cup (32 g) vanilla protein powder
- 2 tablespoons powdered peanut butter (such as PB2)
- Flaky sea salt (optional)
Instructions
- Prepare the Muffin Tin: Line 10 cups of a standard 12-cup muffin tin with paper liners to prevent sticking and make it easy to remove the peanut butter cups once set.
- Melt the First Portion of Chocolate: In a small microwave-safe bowl, combine 1 1/3 cups (227 g) of the semisweet chocolate chips with 1/2 teaspoon of refined coconut oil. Microwave in 30-second increments, stirring between each until smooth and fully melted, about 2 minutes total.
- Form the Chocolate Base: Spoon 1 tablespoon of the melted chocolate into each prepared liner. Use an offset spatula or the back of a spoon to spread the chocolate evenly across the bottom and about 3/4 inch up the sides of each cup. This forms the chocolate shell.
- Chill the Chocolate Base: Refrigerate the muffin tin for about 1 hour, or until the chocolate has hardened and set firmly.
- Make the Peanut Butter Filling: In a small bowl, thoroughly mix the creamy salted peanut butter, vanilla protein powder, and powdered peanut butter until the mixture is smooth and well combined.
- Melt the Remaining Chocolate: In another small microwave-safe bowl, melt the remaining 2/3 cup (113 g) of chocolate chips with 1/2 teaspoon of refined coconut oil in 30-second increments, stirring until smooth and melted, approximately 1 1/2 minutes total.
- Assemble the Cups: Spoon a scant 2 tablespoons (about 22 g) of the peanut butter filling into each chocolate shell. Using an offset spatula or clean fingertips, smooth the filling to a flat layer. Then dollop 2 teaspoons of the melted chocolate over each peanut butter layer and spread to completely cover the filling. Optionally, sprinkle with flaky sea salt for a gourmet touch.
- Final Chill: Refrigerate the peanut butter cups until fully set, at least 1 hour.
- Make Ahead and Storage: These peanut butter cups can be prepared up to 1 week in advance. Store them in an airtight container in the refrigerator or freeze them for up to 1 month, ensuring a convenient, protein-packed treat whenever you desire.
Notes
- Use refined coconut oil as it has a neutral flavor and helps achieve a smooth chocolate consistency.
- Flaky sea salt is optional but enhances the chocolate-peanut butter flavor contrast.
- If you prefer a different protein powder flavor, vanilla is recommended to best complement the peanut butter and chocolate.
- For easier removal, allow cups to come to room temperature for a few minutes before peeling the liners off.
- Powdered peanut butter reduces fat content while maintaining a rich peanut flavor.
Keywords: High-protein peanut butter cups, protein snacks, healthy dessert, peanut butter chocolate cups
