Homemade Banana Pudding Recipe
Introduction
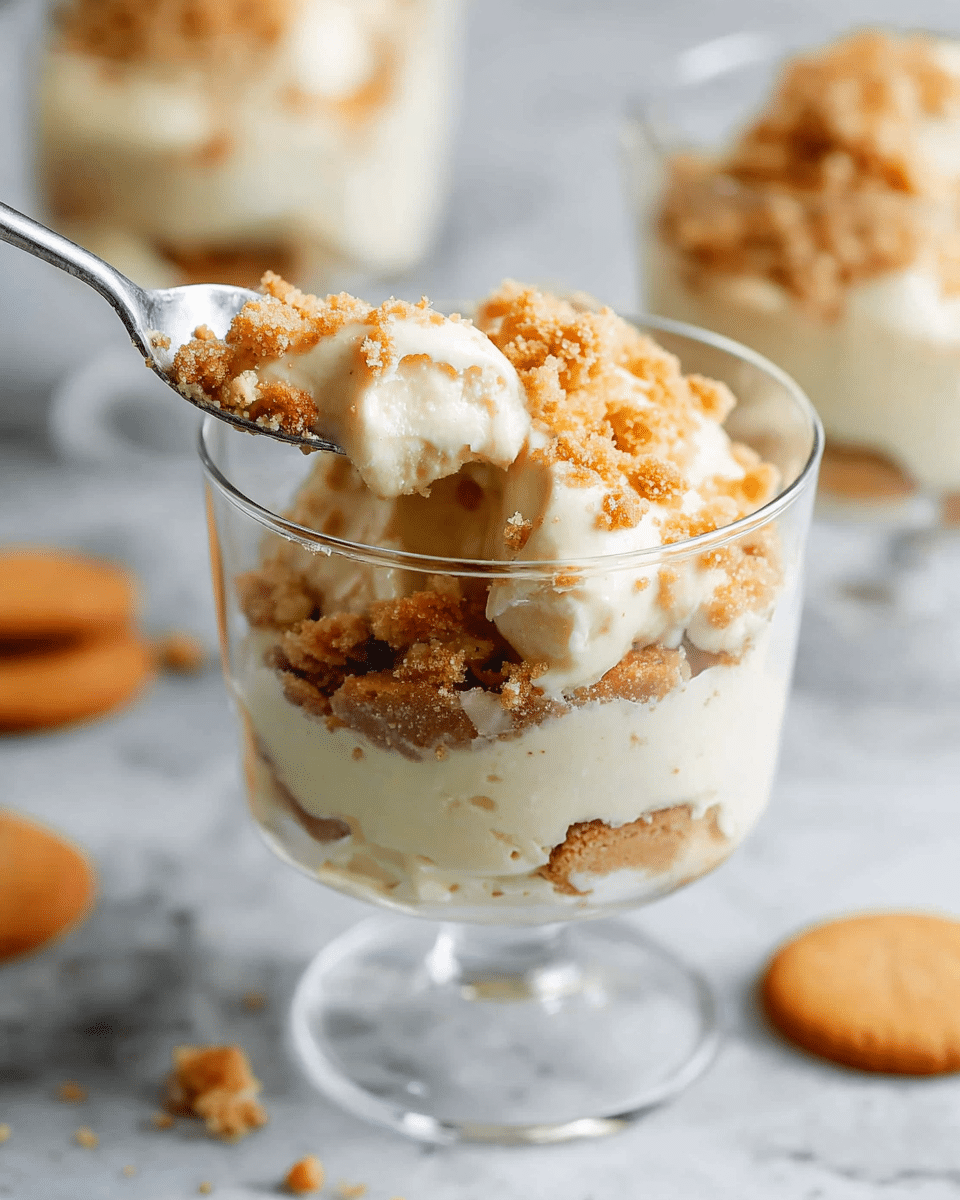
Homemade banana pudding is a classic Southern dessert that combines creamy, smooth pudding with fresh bananas and crunchy vanilla wafers. It’s an irresistible comfort treat perfect for any occasion and surprisingly easy to make from scratch.
Ingredients
- 2 1/2 cups whole milk
- 1/2 cup heavy cream
- 1 egg, at room temperature
- 2 egg yolks, at room temperature
- 3/4 cup granulated sugar
- 4 1/2 tablespoons cornstarch
- 4 tablespoons butter, chopped
- 3 teaspoons vanilla extract
- 1/2 teaspoon salt
- 1 box Nilla wafers
- 4 large bananas, sliced (use ripe, but not overly ripe bananas)
- Fresh whipped cream, for topping (optional)
Instructions
- Step 1: Add the milk and heavy cream to a medium saucepan and heat over medium heat until it begins to simmer, stirring often to prevent scorching.
- Step 2: In a medium bowl, whisk together the egg, egg yolks, sugar, and cornstarch until smooth and well blended.
- Step 3: Slowly spoon a few tablespoons of the hot milk mixture into the egg mixture while whisking constantly to temper the eggs and prevent scrambling. Repeat once more with another spoonful.
- Step 4: Pour the tempered egg mixture back into the saucepan and cook over medium-low heat, stirring continuously, until the pudding thickens and coats the back of a spoon, about 5 to 8 minutes. Do not let it boil.
- Step 5: Remove the saucepan from heat and stir in the butter, vanilla extract, and salt until fully incorporated.
- Step 6: Pour the pudding through a fine mesh strainer into a clean container to remove any lumps and create a smooth texture.
- Step 7: Place plastic wrap directly on the surface of the pudding to prevent a skin from forming. Refrigerate for at least one hour until chilled. Stir well before assembling.
- Step 8: To assemble the pudding, layer the bottom of a 9-inch square pan or serving dish with Nilla wafers. Add a layer of sliced bananas, then spread half of the pudding on top. Repeat the layers once more and finish with a layer of wafers, whole or crushed.
- Step 9: Cover the assembled pudding tightly with plastic wrap and refrigerate for 4 to 8 hours to let the flavors meld and wafers soften.
- Step 10: Before serving, top with fresh whipped cream if desired for an extra creamy touch.
Tips & Variations
- Use ripe but firm bananas to prevent the pudding from becoming mushy.
- For a lighter version, substitute half the heavy cream with additional milk.
- Try adding a layer of toasted coconut or chopped pecans for added texture and flavor.
- If you have no access to Nilla wafers, graham crackers work well as a substitute.
Storage
Store leftover banana pudding covered in the refrigerator for up to 3 days. The flavors improve as it sits, but the wafers will soften further. Reheat is not recommended; serve chilled for the best texture and taste.
How to Serve
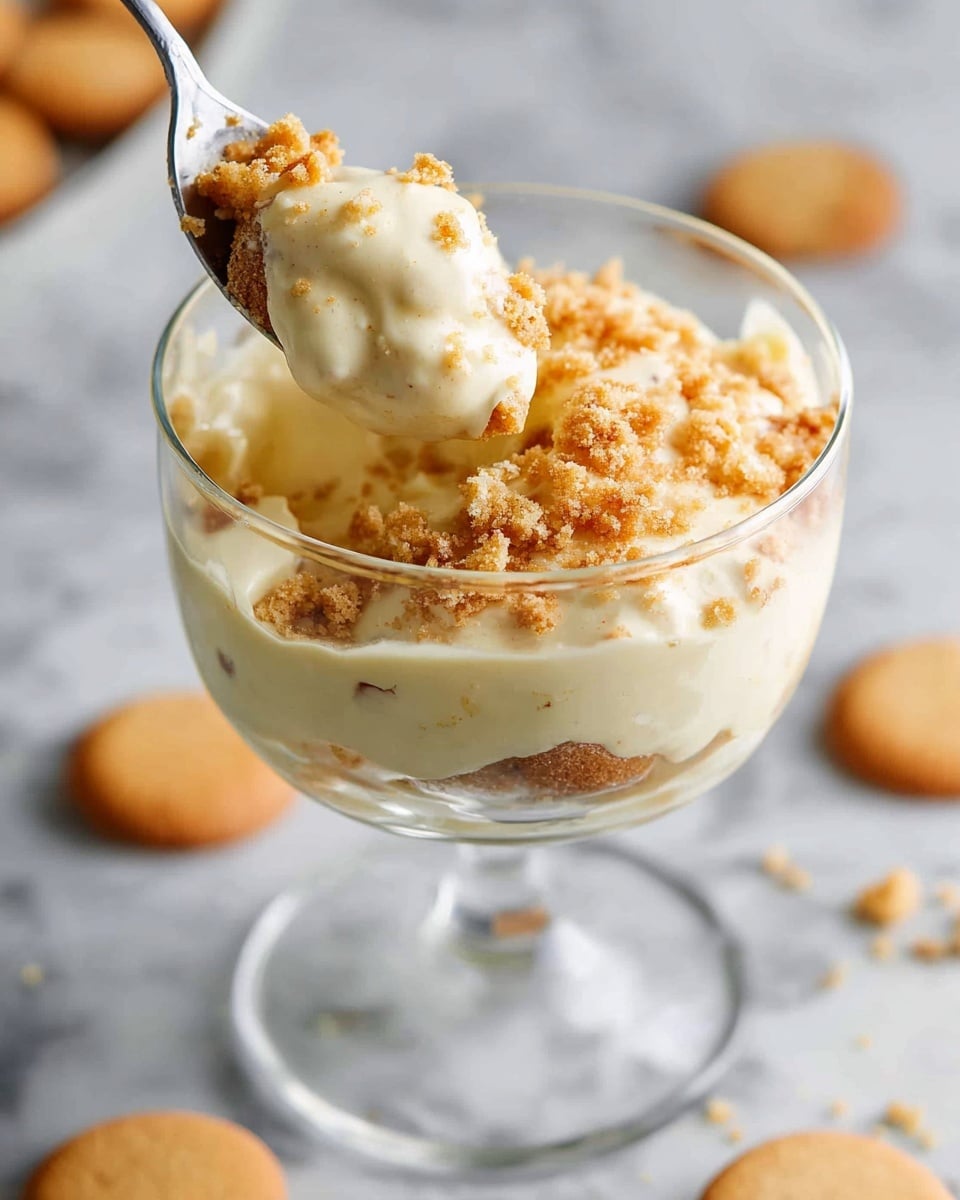
Serve this delicious recipe with your favorite sides.
FAQs
Can I make banana pudding ahead of time?
Yes, banana pudding actually tastes better if made a few hours ahead to allow the wafers to soften and flavors to meld. Prepare the pudding and assemble the dessert, then refrigerate for 4 to 8 hours before serving.
Can I use instant pudding mix instead of making from scratch?
While instant pudding mixes are quicker, homemade pudding has a richer, creamier texture and fresher flavor. Making it from scratch allows you to control the sweetness and avoid additives.
PrintHomemade Banana Pudding Recipe

This classic Homemade Banana Pudding recipe layers creamy, smooth vanilla pudding with ripe bananas and crisp Nilla wafers for a deliciously nostalgic dessert. Made from scratch with whole milk, cream, eggs, and butter, this pudding is rich and comforting, topped optionally with fresh whipped cream for an extra touch of indulgence.
- Prep Time: 20 minutes
- Cook Time: 10 minutes
- Total Time: 5 hours 30 minutes (including chilling and setting time)
- Yield: 8 servings 1x
- Category: Dessert
- Method: Stovetop
- Cuisine: American
Ingredients
Pudding:
- 2 1/2 cups whole milk
- 1/2 cup heavy cream
- 1 egg, at room temperature
- 2 egg yolks, at room temperature
- 3/4 cup granulated sugar
- 4 1/2 Tablespoons cornstarch
- 4 Tablespoons butter, chopped
- 3 teaspoons vanilla extract
- 1/2 teaspoon salt
Assembly:
- 1 box Nilla wafers
- 4 large bananas, sliced (use ripe, but not overly ripe bananas)
- Fresh whipped cream, for topping (optional)
Instructions
- Make Pudding: Add milk and heavy cream to a medium saucepan and heat over medium heat, bringing it to a simmer while stirring frequently to prevent scorching.
- Whisk Eggs and Sugar: In a separate medium bowl, whisk together the whole egg, egg yolks, granulated sugar, and cornstarch until smooth and fully combined.
- Temper Eggs: Slowly add a few spoonfuls of the hot milk mixture into the egg mixture while whisking continuously to raise the temperature of the eggs gently and prevent them from curdling.
- Cook Pudding: Pour the tempered egg mixture back into the saucepan with the remaining milk mixture. Cook over medium-low heat, stirring constantly, until the pudding has thickened and coats the back of a spoon, about 5 to 8 minutes. Avoid boiling the mixture.
- Add Butter and Flavor: Remove from heat and quickly stir in the chopped butter, vanilla extract, and salt until the butter is melted and fully incorporated.
- Strain Pudding: Pour the pudding through a fine mesh strainer into a clean container to remove any lumps for a silky smooth texture.
- Chill: Cover the surface of the pudding with plastic wrap to prevent a skin from forming and refrigerate for at least 1 hour until fully chilled. Stir well before assembling.
- Assemble: In a 9-inch square baking dish, trifle bowl, or individual serving dishes, layer vanilla wafers on the bottom, then a layer of sliced bananas, followed by half of the chilled pudding. Repeat the layers ending with a layer of wafers on top.
- Refrigerate Assembled Pudding: Cover the assembled banana pudding tightly with plastic wrap and refrigerate for 4 to 8 hours to allow the flavors to meld and the wafers to soften slightly.
- Serve: Optionally top with fresh whipped cream before serving for added richness and decoration.
Notes
- Use ripe but firm bananas to avoid overly mushy texture in the pudding.
- Tempering the eggs slowly is crucial to prevent scrambling in the pudding base.
- The pudding can be made a day ahead and assembled later to save time.
- Cover the pudding directly with plastic wrap to prevent a thick skin from forming as it cools.
- For a lighter option, substitute some or all of the heavy cream with additional milk.
Keywords: banana pudding, homemade banana pudding, classic banana dessert, vanilla pudding, Nilla wafers dessert, layered banana pudding