Witch Hat Cookies Recipe
Introduction
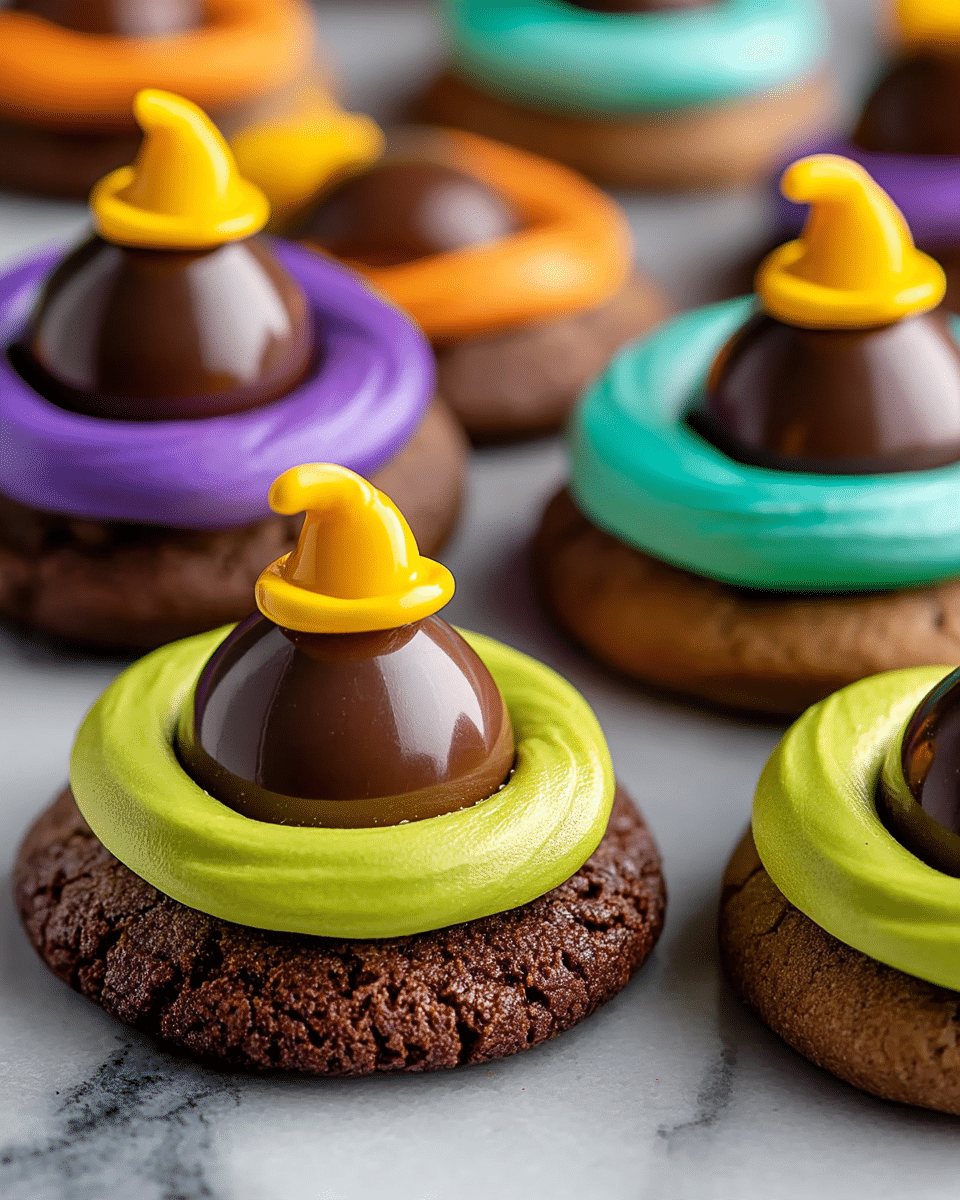
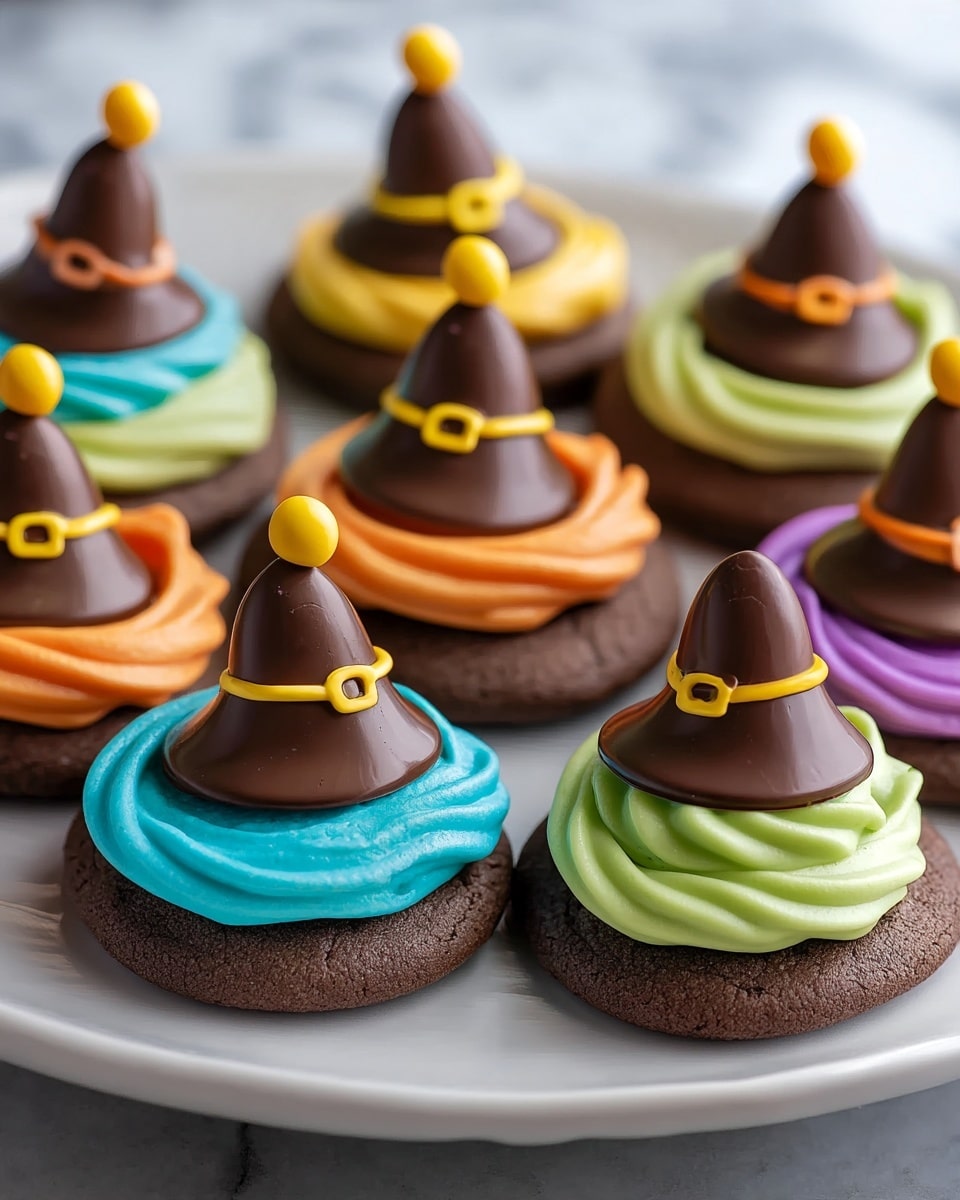
Witch Hat Cookies are a fun and festive treat perfect for Halloween or any spooky celebration. These adorable cookies combine rich fudge-covered bases with colorful frosting, chocolate kisses, and bright candy accents to create charming edible witch hats.
Ingredients
- 1 packet fudge-covered cookies
- 16 ounces white frosting
- Food coloring (various colors)
- 18 chocolate kisses (unwrapped)
- 18 mini yellow M&Ms
Instructions
- Step 1: Arrange the fudge-covered cookies in a single layer on a baking tray.
- Step 2: Divide the white frosting into small bowls and mix in food coloring until desired shades are achieved.
- Step 3: Fill piping bags with the colored frosting by cutting off one corner of each bag.
- Step 4: Place a dollop of colored frosting in the center of each cookie.
- Step 5: Press one chocolate kiss into the frosting on each cookie to create the witch hat shape.
- Step 6: Add a mini yellow M&M as a buckle on each hat by pressing it gently into the frosting.
- Step 7: Allow the cookies to set for 15-20 minutes before serving to let the frosting firm up.
Tips & Variations
- Use different colors of frosting to create a variety of witch hat designs for a more festive look.
- If you don’t have piping bags, a resealable plastic bag with a small corner cut off works well for frosting application.
- For extra flair, add edible glitter or sprinkles to the frosting before it sets.
Storage
Store the witch hat cookies in an airtight container at room temperature for up to 3 days. Keep them away from direct heat and sunlight to prevent the frosting from melting. If refrigerated, bring to room temperature before serving for the best texture. They are not recommended for freezing due to frosting texture changes.
How to Serve
Serve this delicious recipe with your favorite sides.
FAQs
Can I make these cookies ahead of time?
Yes, you can prepare the cookies a day in advance. Just store them in an airtight container at room temperature and add the M&M buckles right before serving to keep them fresh.
What can I use instead of fudge-covered cookies?
If fudge-covered cookies aren’t available, chocolate-covered sandwich cookies or simple chocolate cookies work well as a sturdy base for these witch hats.
PrintWitch Hat Cookies Recipe

Whimsical and festive Witch Hat Cookies featuring fudge-covered cookies adorned with colorful white frosting, chocolate kisses forming the hats, and mini yellow M&Ms as buckles. Perfect for Halloween or themed parties, these easy no-bake treats are both fun to make and delightful to eat.
- Prep Time: 15 minutes
- Cook Time: 0 minutes
- Total Time: 35 minutes
- Yield: 18 cookies 1x
- Category: Dessert
- Method: No-Cook
- Cuisine: American
Ingredients
Cookie Base
- 1 packet fudge-covered cookies
Frosting & Decorations
- 16 ounces white frosting
- Food coloring (various colors)
- 18 chocolate kisses (unwrapped)
- 18 mini yellow M&Ms
Instructions
- Prepare the Cookies: Arrange the fudge-covered cookies in a single layer on a baking tray, making sure they are evenly spaced to facilitate decorating.
- Color the Frosting: Divide the white frosting into small bowls and mix in different food coloring shades until you reach the desired vibrant colors for decorating.
- Fill Piping Bags: Transfer each colored frosting into piping bags by cutting off a small corner of the bag to allow precise application.
- Add Frosting to Cookies: Place a generous dollop of colored frosting on the center of each fudge-covered cookie to act as the hat’s adhesive and decoration.
- Attach Chocolate Kisses: Gently press one unwrapped chocolate kiss into the center of the frosting on each cookie to form the iconic pointed witch hat shape.
- Decorate the Buckle: Place one mini yellow M&M on the front of each chocolate kiss to mimic a witch hat buckle, enhancing the visual appeal.
- Let Set: Allow the decorated cookies to set at room temperature for 15-20 minutes so the frosting can firm up and secure the chocolate pieces.
Notes
- Use various frosting colors to create a fun, colorful assortment of witch hats.
- Ensure chocolate kisses are unwrapped completely to avoid contamination in frosting.
- For easier frosting application, chill the cookies briefly before decorating.
- Store finished cookies in an airtight container at room temperature for up to 2 days.
- This is a no-bake recipe, great for quick holiday treats and kids’ activities.
Keywords: Witch hat cookies, Halloween cookies, no-bake cookies, fudge cookies, chocolate kisses, festive treats