Easy Lava Cake Recipe
Introduction
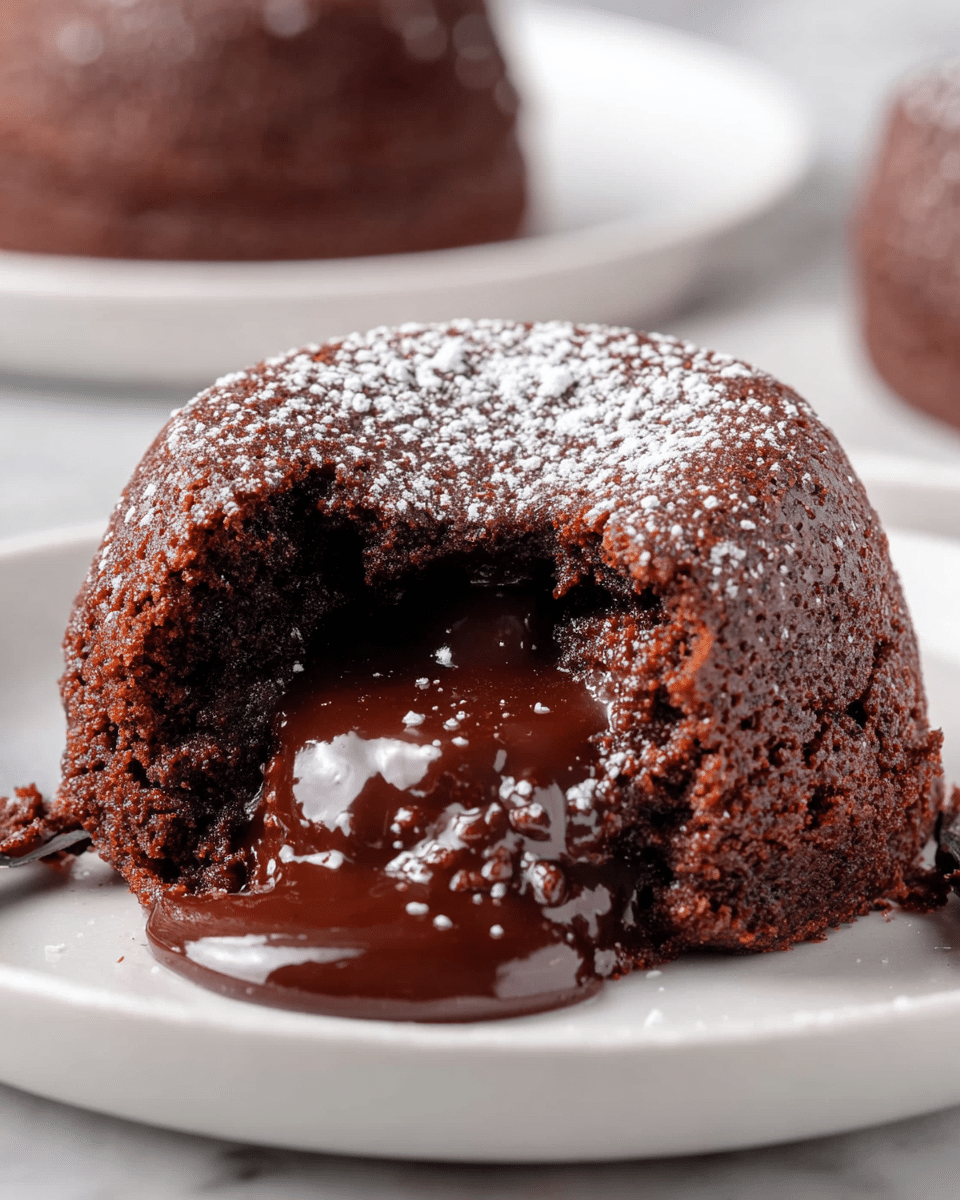
Easy Lava Cake is a delightful dessert that combines a rich, gooey chocolate center with a soft, tender cake exterior. This recipe is perfect for home cooks looking for an impressive yet simple sweet treat that comes together quickly.
Ingredients
- ¾ cup good quality dark chocolate chips (I used Ghirardelli)
- ¼ cup whole milk
- ¾ cup powdered sugar
- ¼ cup unsweetened cocoa powder
- 1 tablespoon unsweetened cocoa powder
- ¾ teaspoon baking powder
- ¼ teaspoon baking soda
- 1 cup cake flour
- ½ teaspoon kosher salt
- ¾ cup whole milk (room temperature)
- ½ cup vegetable oil
- 1 teaspoon pure vanilla extract
- 2 tablespoons powdered sugar (for dusting)
- Vanilla ice cream (optional garnish)
- Chocolate syrup (optional drizzle garnish)
Instructions
- Step 1: Add the dark chocolate chips to a small heat-safe bowl.
- Step 2: Heat ¼ cup of whole milk in a microwave-safe bowl for 30 seconds. Pour the hot milk over the chocolate chips and let sit for a few seconds. Stir until smooth and completely melted. Place the mixture in the refrigerator for 20 minutes to chill.
- Step 3: In a medium mixing bowl, sift together the powdered sugar, ¼ cup cocoa powder, baking powder, and baking soda.
- Step 4: Whisk in the cake flour and kosher salt until well combined.
- Step 5: Add the remaining ¾ cup whole milk (room temperature), vegetable oil, and vanilla extract. Fold together gently until the batter is uniform.
- Step 6: Remove the chilled chocolate mixture from the refrigerator. Use a 1-teaspoon measuring spoon to scoop out the chocolate.
- Step 7: Lightly brush an Appe pan with vegetable oil and heat it over medium-low heat.
- Step 8: Fill each cake cup about ⅔ full with batter, approximately 1 tablespoon.
- Step 9: Place ⅔ teaspoon of the chilled chocolate mixture in the center of the batter in each cup. Spoon just enough batter over the chocolate to cover it.
- Step 10: Cover the pan with the lid and cook for 5 to 7 minutes. Carefully turn each cake over using a spoon or butter knife, then cover and cook for an additional 1 minute.
- Step 11: Remove the lava cakes from the pan and place them on a serving plate. Repeat with the remaining batter and chocolate.
- Step 12: Dust the finished cakes with powdered sugar. Serve warm with optional vanilla ice cream and a drizzle of chocolate syrup.
Tips & Variations
- Use a good quality dark chocolate for the best flavor and a smooth melted center.
- Make sure the chocolate mixture is well chilled before adding it to the batter to maintain the lava effect.
- If you don’t have an Appe pan, small ramekins can be used in the oven at 350°F (175°C) for about 10-12 minutes.
- For a nutty twist, sprinkle chopped toasted nuts on top before serving.
Storage
Store any leftover lava cakes in an airtight container in the refrigerator for up to 2 days. Reheat gently in the microwave for 20-30 seconds to restore the warm, gooey center. These cakes are best enjoyed fresh for optimal texture.
How to Serve
Serve this delicious recipe with your favorite sides.
FAQs
Can I make lava cakes ahead of time?
You can prepare the batter and chilled chocolate filling ahead and refrigerate separately. Assemble and cook just before serving to maintain the molten center.
What if I don’t have an Appe pan?
Small ramekins or muffin tins can be used instead. Bake in a preheated oven at 350°F (175°C) for about 10-12 minutes until the edges look set but the center is still soft.
PrintEasy Lava Cake Recipe
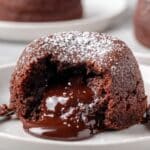
This Easy Lava Cake recipe offers a simple and quick way to enjoy the rich, gooey center of classic molten chocolate cake. Made with quality dark chocolate and cake flour, it yields individual mini lava cakes cooked on the stovetop for a perfectly molten middle without the need for an oven.
- Prep Time: 15 minutes
- Cook Time: 10 minutes
- Total Time: 25 minutes
- Yield: 6 mini lava cakes 1x
- Category: Dessert
- Method: Stovetop
- Cuisine: American
Ingredients
Chocolate Mixture
- ¾ cup good quality dark chocolate chips (e.g., Ghirardelli)
- ¼ cup whole milk
Dry Ingredients
- ¾ cup powdered sugar
- ¼ cup unsweetened cocoa powder
- 1 tablespoon unsweetened cocoa powder
- ¾ teaspoon baking powder
- ¼ teaspoon baking soda
- 1 cup cake flour
- ½ teaspoon kosher salt
Wet Ingredients
- ¾ cup whole milk (room temperature)
- ½ cup vegetable oil
- 1 teaspoon pure vanilla extract
For Finishing
- 2 tablespoons powdered sugar (for dusting, use a sifter)
- Vanilla ice cream (optional garnish)
- Chocolate syrup (optional drizzle garnish)
Instructions
- Melt the Chocolate: Place the dark chocolate chips in a small heat-safe bowl. Heat ¼ cup whole milk in the microwave for 30 seconds, then pour it slowly over the chocolate. Let it sit a few seconds, then stir until smooth and fully melted. Refrigerate the mixture for 20 minutes to cool and thicken.
- Combine Dry Ingredients: Sift together the ¾ cup powdered sugar, ¼ cup unsweetened cocoa powder, 1 tablespoon unsweetened cocoa powder, baking powder, and baking soda into a medium mixing bowl to ensure even distribution and remove lumps.
- Add Flour and Salt: Whisk the cake flour and kosher salt into the dry mixture until well combined.
- Add Wet Ingredients: Pour in ¾ cup room temperature whole milk, ½ cup vegetable oil, and 1 teaspoon vanilla extract. Fold the ingredients gently until the batter is smooth and homogenous.
- Prepare the Pan: Remove the cooled chocolate mixture from the refrigerator. Using a pastry brush, lightly coat the cups of an Appe pan with vegetable oil. Heat the pan over medium-low heat.
- Assemble the Cakes: Fill each cake cup about two-thirds full (approximately 1 tablespoon) with the chocolate batter. Scoop about ⅔ teaspoon of the chilled dark chocolate mixture and place it in the center of the batter in each cup. Cover the chocolate with a little more batter to fully enclose the molten middle.
- Cook the Cakes: Cover the pan with its lid and cook the cakes for 5 to 7 minutes over medium-low heat. Carefully flip each mini cake using a spoon or butter knife, cover again, and cook for an additional 1 minute to finish cooking the other side.
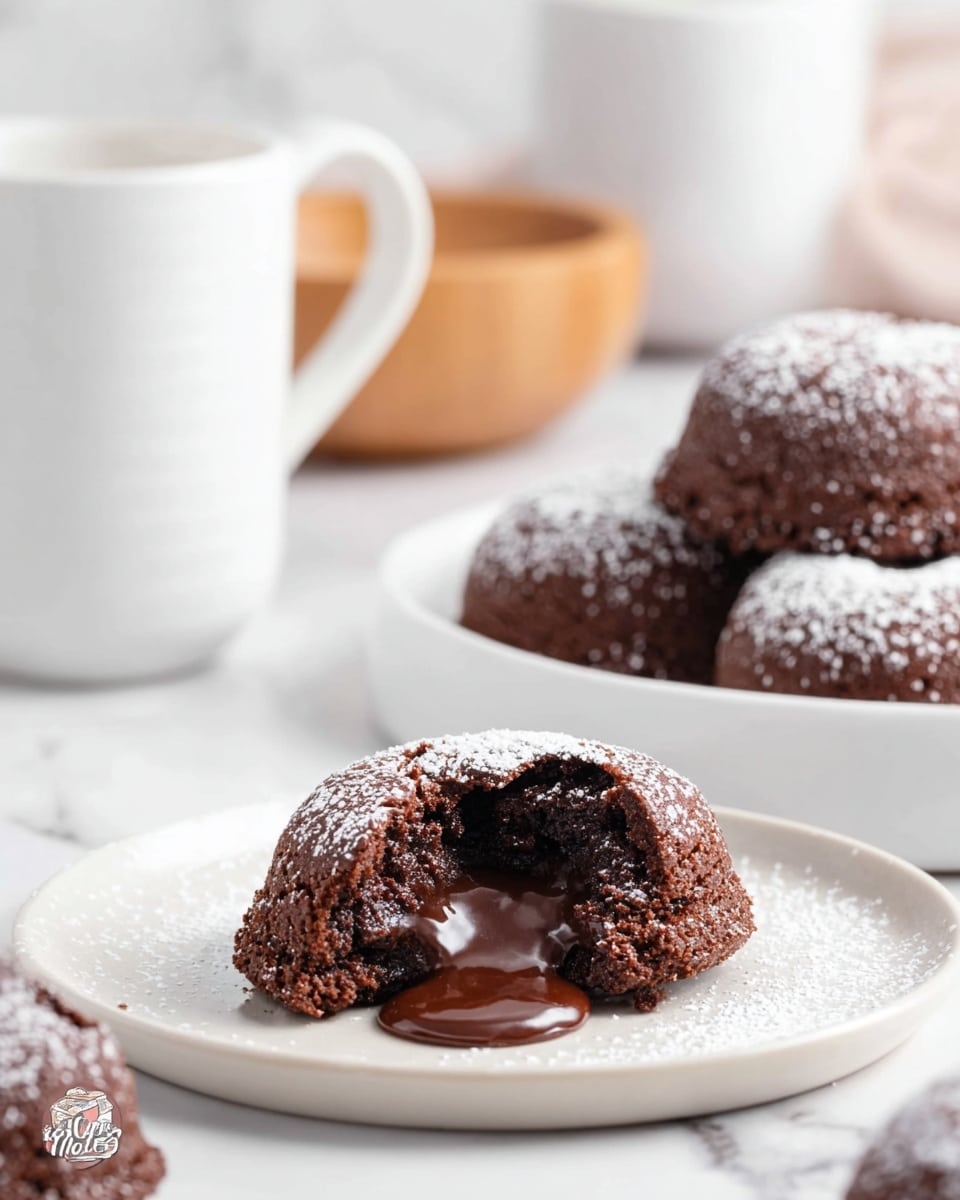
- Serve: Gently remove the lava cakes from the pan and place them on a serving plate. Dust with powdered sugar using a sifter. Optionally, drizzle with chocolate syrup and serve with a scoop of vanilla ice cream for extra indulgence.
Notes
- Use good quality dark chocolate for the best melt and flavor.
- Be careful when flipping the lava cakes to keep the molten center intact.
- Cooking times may vary depending on your stove’s heat; watch closely to avoid burning.
- If you don’t have an Appe pan, use a small nonstick skillet or any pan with small indentations.
- Let the chocolate mixture chill well to create a perfect molten center.
Keywords: lava cake, molten chocolate cake, easy dessert, stovetop lava cake, mini lava cakes, chocolate dessert, quick chocolate cake