Mac and Cheese Cups Recipe
Introduction
Mac and Cheese Cups are a fun and delicious twist on the classic comfort food. These bite-sized treats are perfect for parties or a cozy snack, with a crispy topping and creamy cheesy center.
Ingredients
- Cooking spray for greasing
- 3 tablespoons grated Parmesan cheese
- 3 tablespoons panko breadcrumbs
- 8 ounces elbow macaroni
- 2 tablespoons unsalted butter
- 2 tablespoons all-purpose flour
- 1/4 teaspoon black pepper
- 1/2 teaspoon salt
- 1/2 teaspoon garlic powder
- 1/4 teaspoon onion powder
- 1/4 teaspoon smoked paprika
- 1/2 cup whole milk
- 4 ounces freshly grated medium cheddar cheese
- 4 ounces freshly grated sharp white cheddar cheese
- 1 large egg
- Freshly chopped green onions for garnish
Instructions
- Step 1: Preheat your oven to 400°F and generously grease a mini muffin pan with cooking spray.
- Step 2: In a small bowl, mix the grated Parmesan cheese and panko breadcrumbs together; set this topping aside.
- Step 3: Cook the elbow macaroni according to the package directions until al dente. Drain and set aside.
- Step 4: In a saucepan, melt the butter over medium heat. Stir in the flour, black pepper, salt, garlic powder, onion powder, and smoked paprika. Cook the mixture for about 2 minutes to form a roux.
- Step 5: Gradually whisk in the milk, stirring continuously until the sauce thickens.
- Step 6: Remove the saucepan from heat and add both types of grated cheddar cheese. Stir until the cheese has fully melted. Taste and adjust seasoning if needed.
- Step 7: Beat the egg in a small bowl, then mix it into the cheese sauce thoroughly.
- Step 8: Combine the cooked macaroni with the cheese sauce, mixing well so every piece is coated.
- Step 9: Spoon the mac and cheese mixture into the prepared mini muffin pan, gently pressing it down to make it compact.
- Step 10: Sprinkle the breadcrumb and Parmesan topping evenly over each cup.
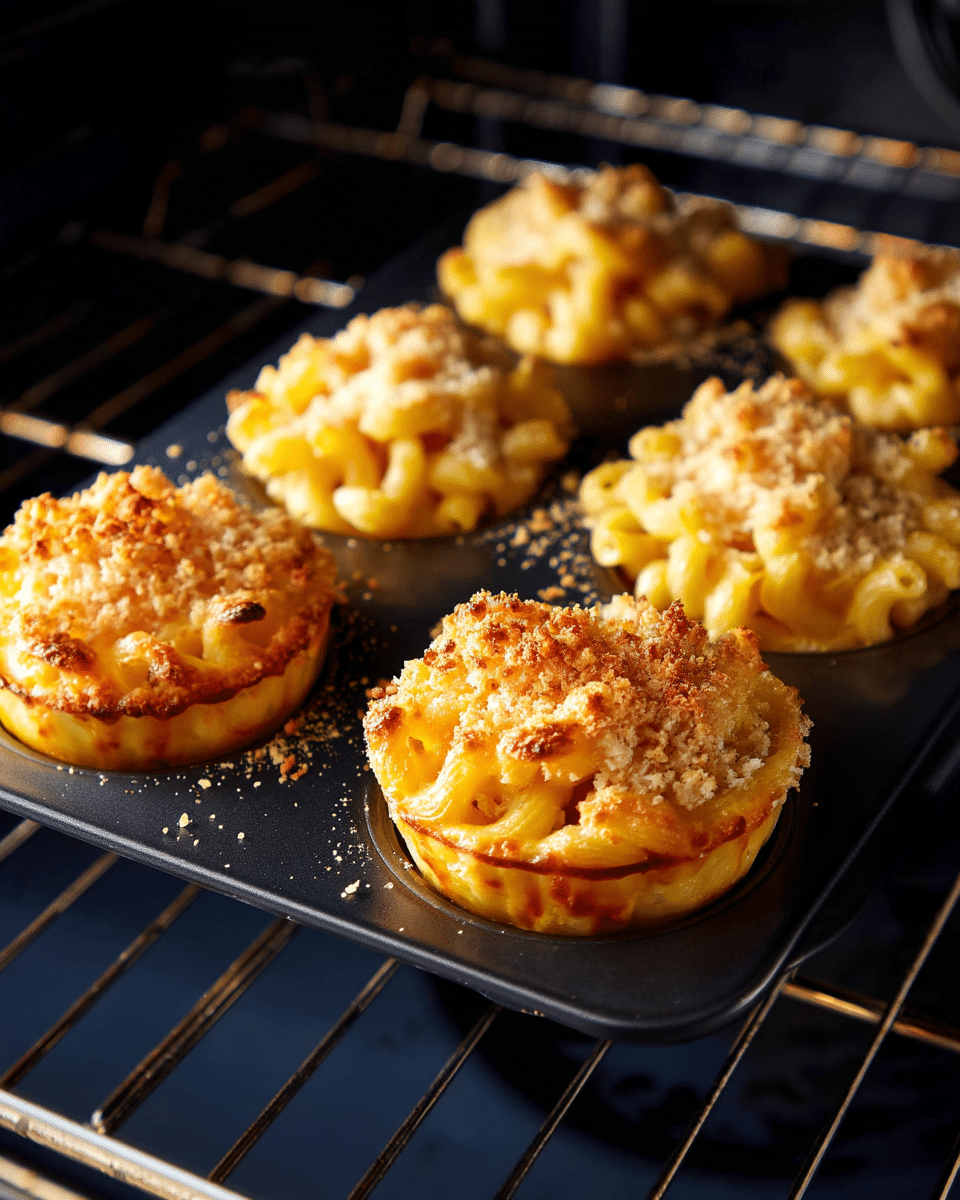
- Step 11: Bake in the preheated oven for 15-20 minutes until the cups are golden brown and set.
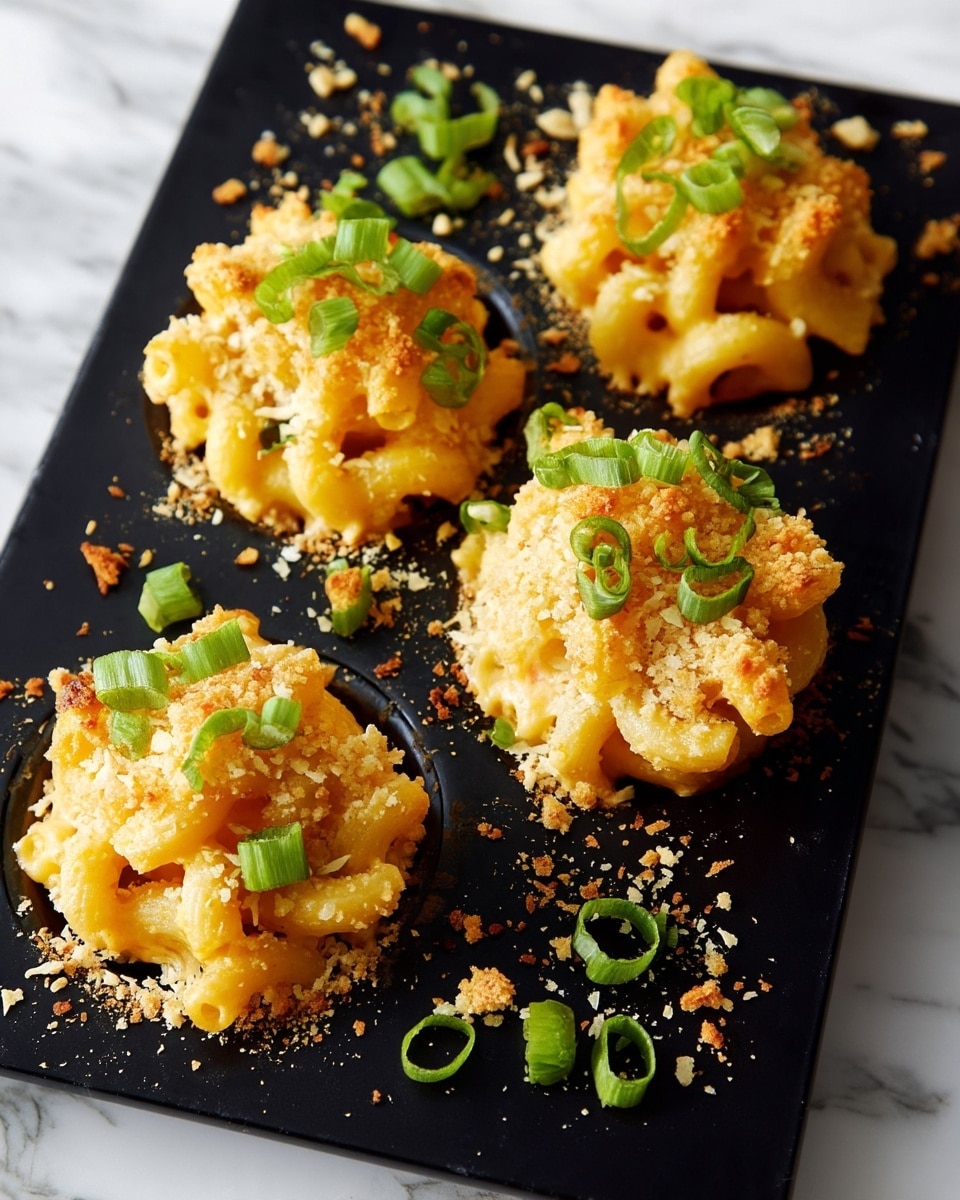
- Step 12: Let the cups rest for 10 minutes before removing them from the pan. Garnish with freshly chopped green onions before serving.
Tips & Variations
- Use sharp cheddar for extra flavor or mix in a little smoked gouda for a smoky twist.
- For a gluten-free version, substitute the flour with a gluten-free flour blend and use gluten-free breadcrumbs.
- Add cooked bacon bits or caramelized onions to the cheese sauce for added richness.
- Make sure to press the mac and cheese firmly into the muffin cups to hold their shape after baking.
Storage
Store leftover mac and cheese cups in an airtight container in the refrigerator for up to 3 days. Reheat in the oven at 350°F for about 10 minutes to keep them crispy, or microwave briefly if you prefer softer cups.
How to Serve
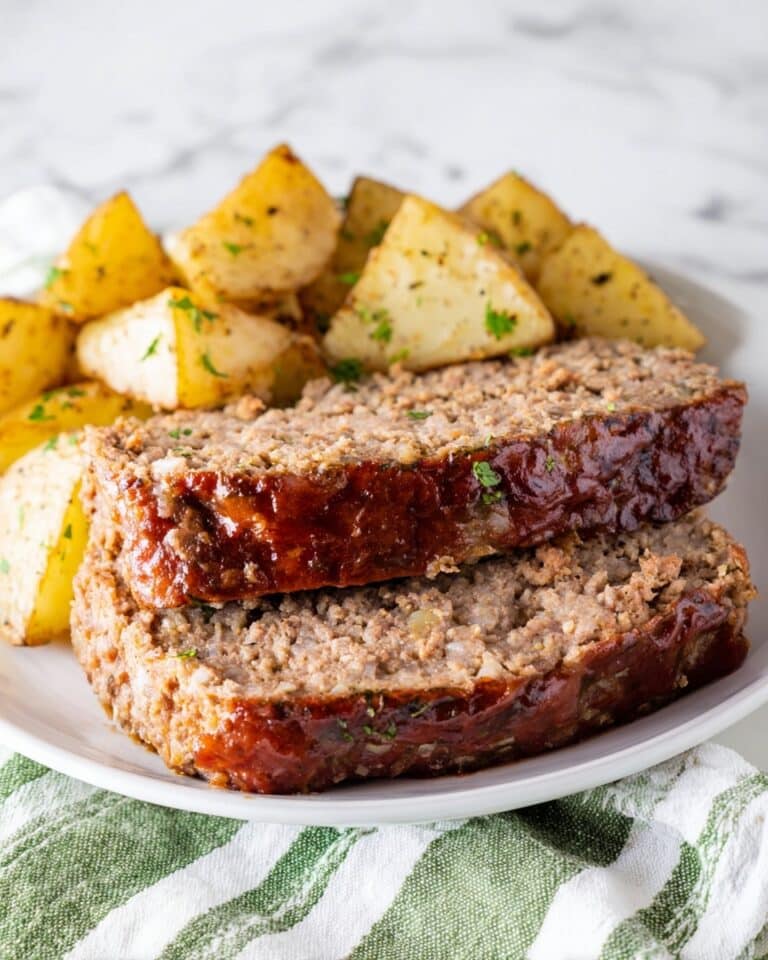
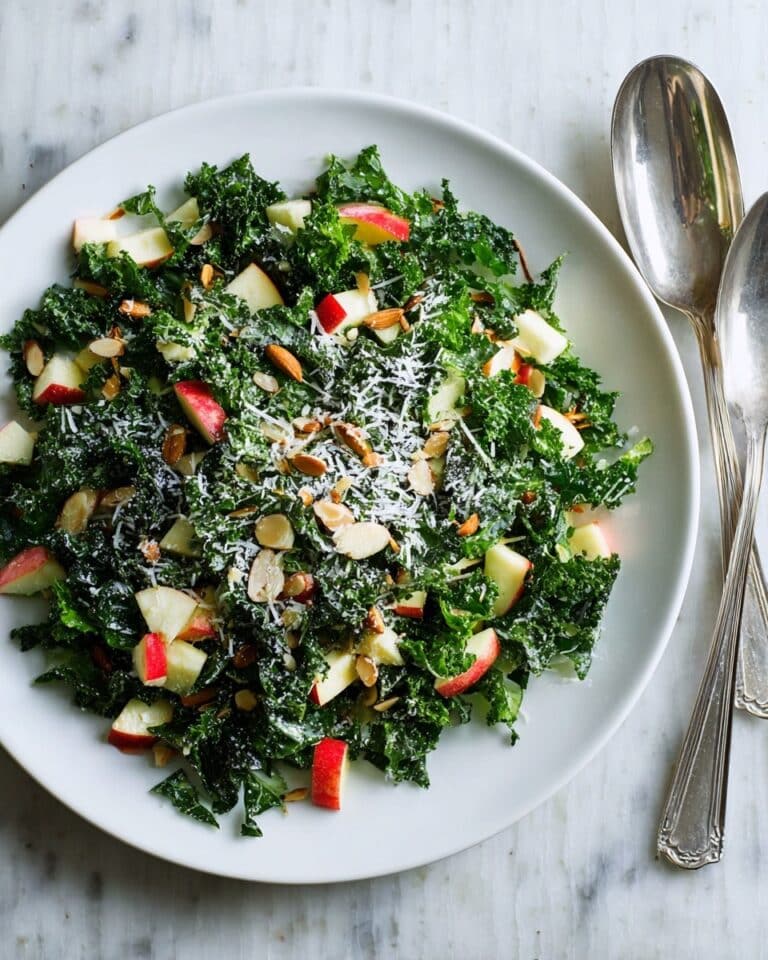
Serve this delicious recipe with your favorite sides.
FAQs
Can I use different types of pasta for this recipe?
Yes, while elbow macaroni works best due to its size and shape, you can use small pasta shapes like shells or mini penne. Just make sure they’re cooked al dente.
Can I prepare the mac and cheese cups ahead of time?
Absolutely! You can assemble the cups, cover tightly, and refrigerate for up to 24 hours before baking. Just add a couple extra minutes to the baking time if they’re cold from the fridge.
PrintMac and Cheese Cups Recipe
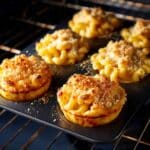
These Mac and Cheese Cups are a delightful twist on the classic comfort food, combining creamy, cheesy pasta with a crispy, golden breadcrumb topping. Baked in mini muffin tins, they make perfect individual servings that are great for parties, snacks, or a fun family meal. The recipe features a rich cheese sauce made with a blend of sharp and medium cheddar cheeses, infused with flavorful spices and topped with a crunchy Parmesan-panko mixture.
- Prep Time: 15 minutes
- Cook Time: 25 minutes
- Total Time: 40 minutes
- Yield: 24 mini mac and cheese cups 1x
- Category: Appetizer
- Method: Baking
- Cuisine: American
Ingredients
For the Mac and Cheese Cups
- Cooking spray for greasing
- 8 ounces elbow macaroni
- 2 tablespoons unsalted butter
- 2 tablespoons all-purpose flour
- 1/4 teaspoon black pepper
- 1/2 teaspoon salt
- 1/2 teaspoon garlic powder
- 1/4 teaspoon onion powder
- 1/4 teaspoon smoked paprika
- 1/2 cup whole milk
- 4 ounces freshly grated medium cheddar cheese
- 4 ounces freshly grated sharp white cheddar cheese
- 1 large egg
- Freshly chopped green onions for garnish
For the Topping
- 3 tablespoons grated Parmesan cheese
- 3 tablespoons panko breadcrumbs
Instructions
- Preheat and Prepare Pan: Preheat your oven to 400°F (200°C). Generously grease a mini muffin pan with cooking spray to prevent sticking.
- Mix Topping: In a small bowl, combine the grated Parmesan cheese and panko breadcrumbs. Set this mixture aside for topping the mac and cheese cups later.
- Cook Macaroni: Cook the elbow macaroni according to the package instructions until al dente. Drain thoroughly and set aside to cool slightly.
- Make Cheese Sauce: In a medium saucepan, melt the unsalted butter over medium heat. Stir in the all-purpose flour along with black pepper, salt, garlic powder, onion powder, and smoked paprika. Cook this roux for about 2 minutes, stirring constantly to eliminate raw flour taste.
- Add Milk Gradually: Slowly pour in the whole milk while whisking continuously, cooking until the sauce has thickened and is smooth.
- Melt Cheeses: Remove the saucepan from heat and stir in the grated medium and sharp white cheddar cheeses until fully melted and the sauce is creamy. Taste the sauce and adjust seasoning as needed.
- Add Egg: Lightly beat the large egg in a separate bowl then mix it thoroughly into the cheese sauce. This helps bind the macaroni mixture in the cups.
- Combine Pasta and Sauce: Fold the cooked macaroni into the cheese sauce, mixing gently to coat all the pasta evenly.
- Fill Muffin Pan: Spoon the mac and cheese mixture into the prepared mini muffin pan, pressing gently to compact each cup. This ensures they hold their shape once baked.
- Add Topping: Sprinkle the Parmesan and panko breadcrumb mixture evenly over the top of each mac and cheese cup to create a crunchy crust.
- Bake: Place the muffin pan in the preheated oven and bake for 15 to 20 minutes until the tops are golden brown and the cups are set.
- Rest and Serve: Let the mac and cheese cups cool and rest in the pan for 10 minutes to firm up. Garnish with freshly chopped green onions before serving for a fresh, mild onion flavor.
Notes
- Use freshly grated cheese for the best melting quality and flavor.
- You can substitute whole milk with 2% milk, but avoid skim milk to keep the sauce creamy.
- Pressing the mac and cheese mixture firmly into the muffin pan helps the cups keep their shape when served.
- These cups can be made ahead and refrigerated, then reheated in the oven for a few minutes before serving.
- For a spicier kick, add a pinch of cayenne pepper to the cheese sauce.
Keywords: mac and cheese cups, baked mac and cheese, mini mac and cheese, party appetizer, comfort food, cheesy pasta cups